
I always find myself leaving the house with two bags in tow. One is my purse for carrying my wallet and car keys, anything I will need to take into a store. The other is a tote bag. In this, I carry a book, a hand-sewing project, a bottle of water, a snack, etc.. This tutorial will show you how to make a tote bag with a lining, my current favorite to sew.

Tote Bags Are So Useful
When it comes to useful and handy belongings, the tote bag is near the top of my list. I frequently sew a new one to use up some fabric that I like, so I have a good selection to choose from. I put the things in them that I will need when I am from home. But my children often ask for a bag to carry their belongings in, so they use them too. A tote bag with a lining is a far more attractive vessel than a plastic grocery bag!
I think it is a good idea to have a stash of tote bags to choose from. When one gets a little grimy, it can get washed, and there are still some available for use.
Tote Bags Make Great Gifts
A handmade tote bag with a lining can be perfect gift, because we can all use one. Your family and friends may need a library bag or a beach bag. If you have a generous fabric stash, it can be a no extra cost sort of gift. Handmade and full of heart and character!
Fabric Considerations
Tote Bags should be sturdy and hold up to being tossed around, and jammed with our belongings. For this reason, I try to choose medium weight cotton or linen fabric. Linen fabric is very durable and strong. Consequently, it has been used for thousands of years for clothing and everyday household needs. Linen can be three times stronger than cotton because the fibers are longer and can be wrapped more tightly. And if you are interested in trivia, United States paper currency is made from a cotton and linen blend.
Lining A Tote Bag
A Lining is an extra touch that makes a bag seem more “finished”. An extra layer of fabric also makes it more sturdy and gives a bag more substance. The more substantial nature of a lined tote bag also makes it easier to slip onto my shoulder.
Furthermore, linings can add some fun to your tote bag! I love to use a contrasting or whimsical lining as a little surprise on the inside of a bag.

A Few Supplies To Gather:
- Sewing Machine
- Scissors
- Iron
- Thread
- Water soluble fabric marking pen
- Fabric for outside of tote bag- 1/2 yard 45″ or 54″ wide
- Fabric for lining- 1/2 yard 45″ or 54″ wide
- Fabric for pocket
My Fabric Choices
I have chosen to use a piece of linen for main fabric of the bag. It was already on hand, since it was left over from a previous project. I straightened the linen fabric, you can learn that technique here.

A good size for a tote bag is, I have found, 17 inches by 19 inches.
After straightening it, my fabric had plenty of length, but it was not wide enough. It was only 13 inches wide.
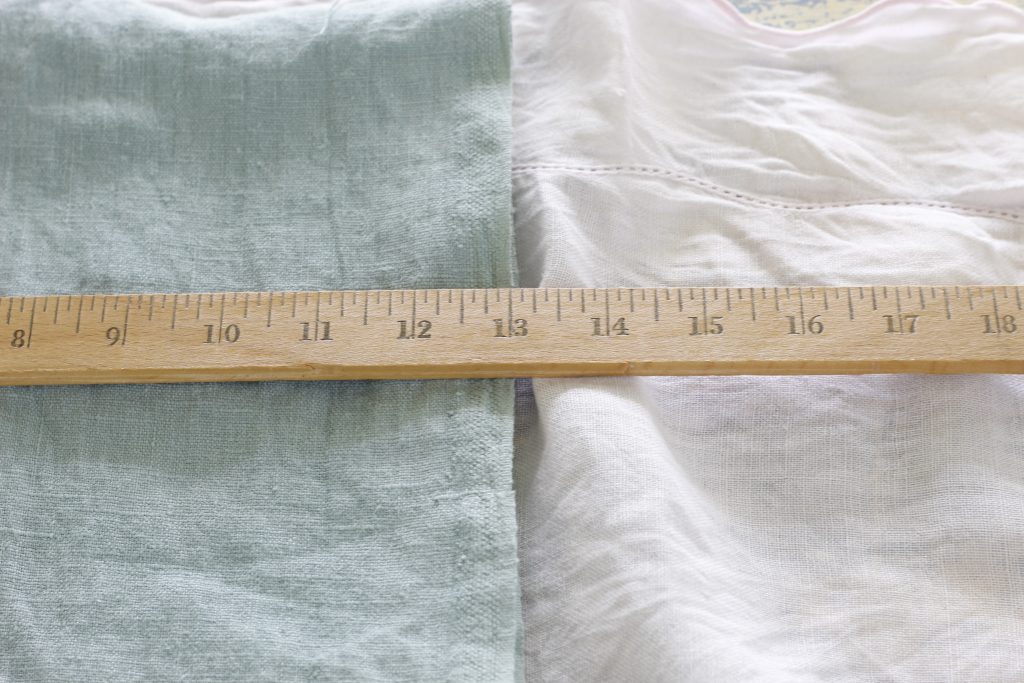
So, I cut out two 19 inch long pieces of green linen fabric for the outside of the bag.

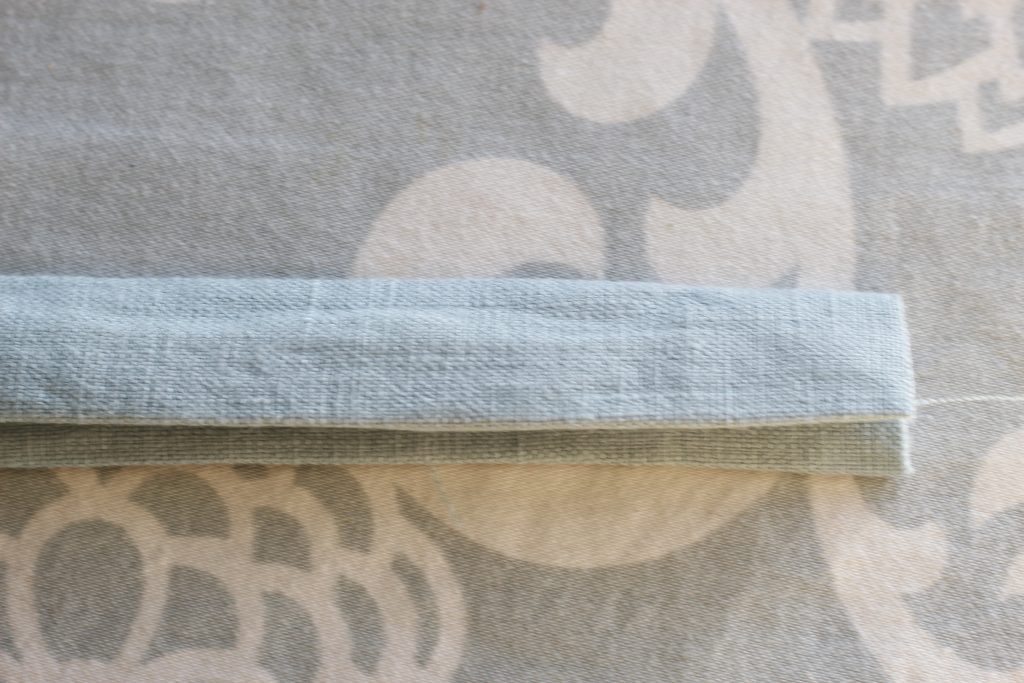
From the remaining fabric, I cut two strips that were 4 1/4 inches wide and 19 inches long. To cut them straight, I pulled a thread out the whole way across and it made a cutting line.
My intention was to sew these strips onto my main fabric to make them the correct size of 17 inches by 19 inches. The 1/4 inch extra was for seam allowance.
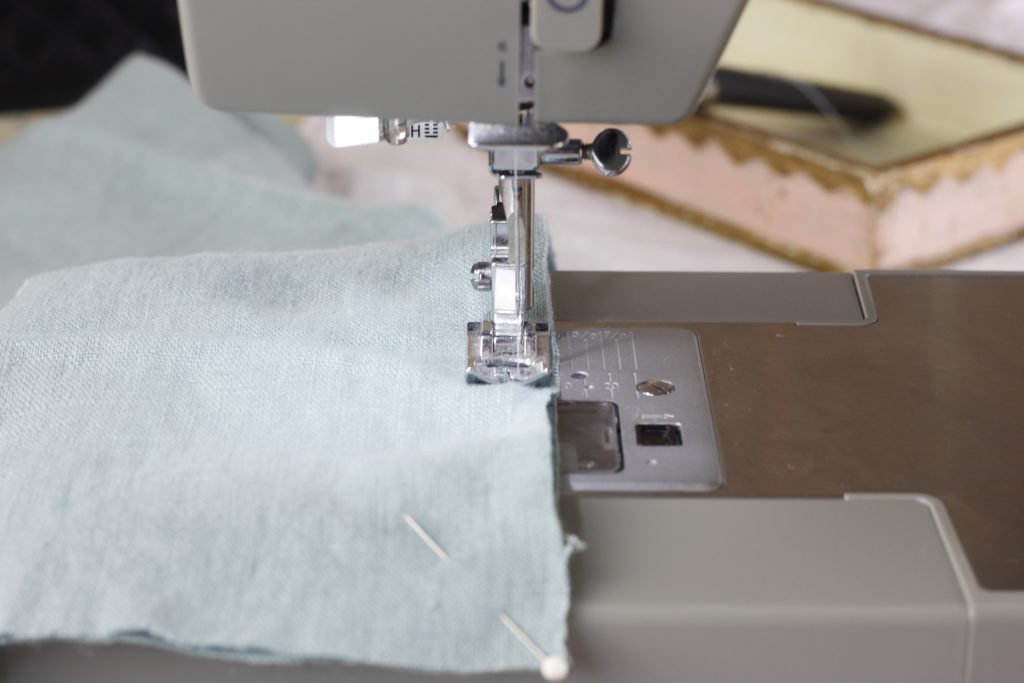
Next, I pinned the strips, right sides together, to the larger panel. Then I sewed the seams with 1/4 inch seam allowances.

Adding A Pocket To My Tote Bag
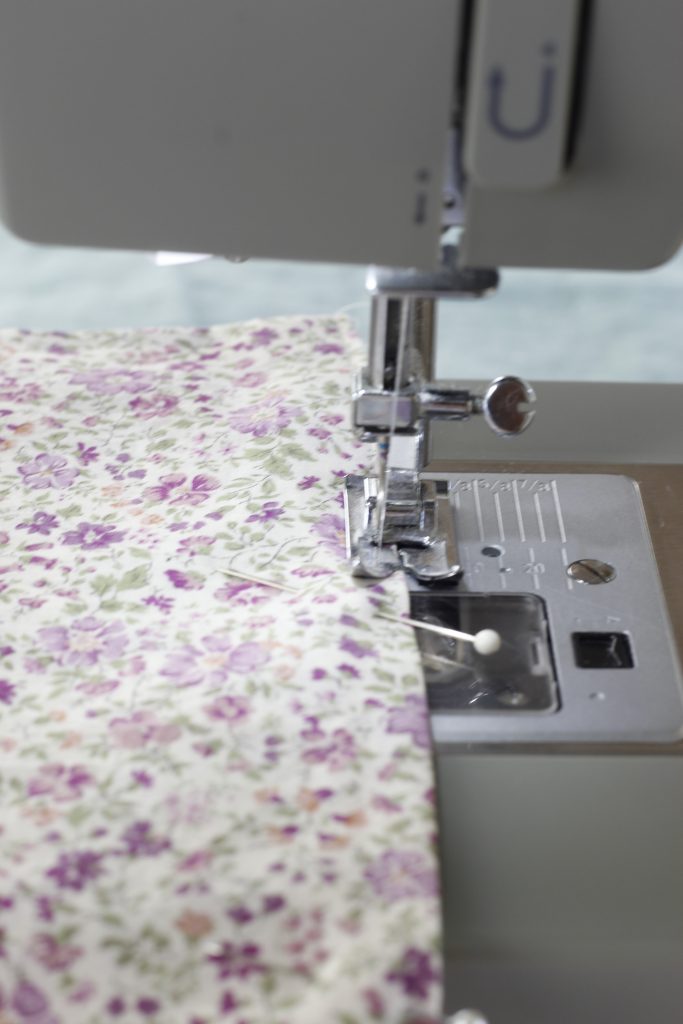
Often, I will add a pocket to my tote bags. They are practical but also decorative. I chose a pretty piece of floral lawn in my scrap basket. I straightened it out and it’s size was 9 1/2 by 17 inches. Because the fabric was a thin lawn, I folded it double, right sides together. I pinned it and sewed the two side seams with 1/2 inch seams.

Next, I turned the pocket right side out, and pressed the seams flat with my iron.
Furthermore, I closed up the open part of the pocket.

I folded in a 1/2 inch of the raw edge on each layer of the fabric toward the wrong side and pressed the layers together. Once it was neat and pressed, I pinned the seam and sewed close to the edge, about 1/8 inch.
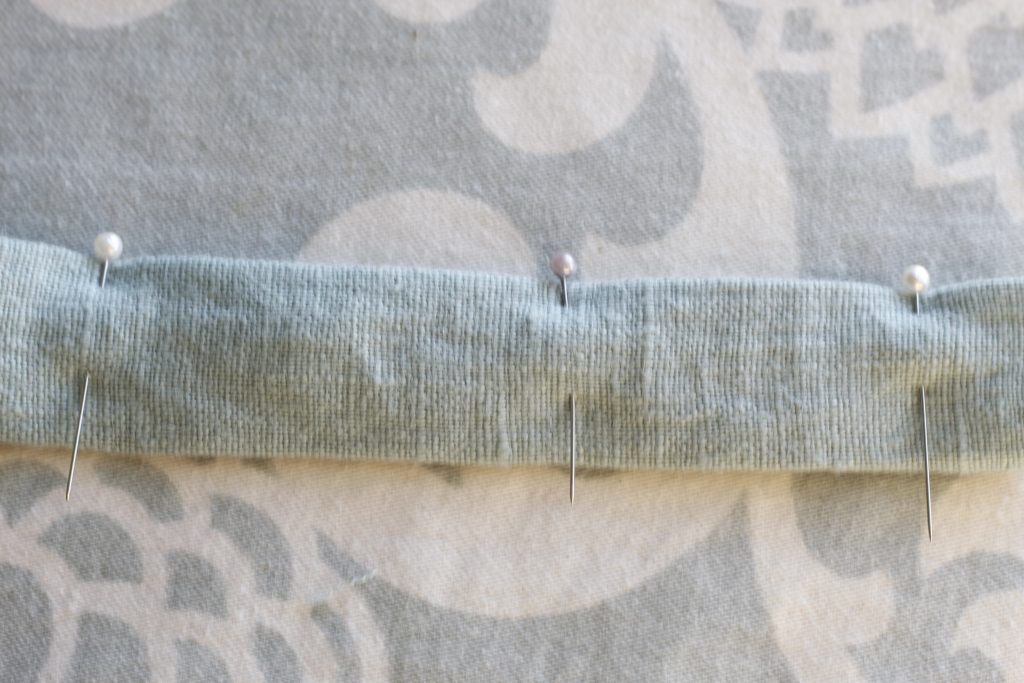
Next, I pinned the pocket onto the right side of the front half of my tote bag. I made sure to leave plenty of space for sewing up the side seams and bottom seam.
When I was happy with the placement, I sewed close to the edge of the pocket. I started at the top right of the pocket, back stitched a few times (for extra durability). Following the edge of the fabric, I continued to sew to the bottom right corner, pivoted and sewed along the bottom and up the left side. Again, I backstitched at the top left corner.

And, of course, I pressed to set the seam and make it flat!
Sewing The Body Of The Tote Bag
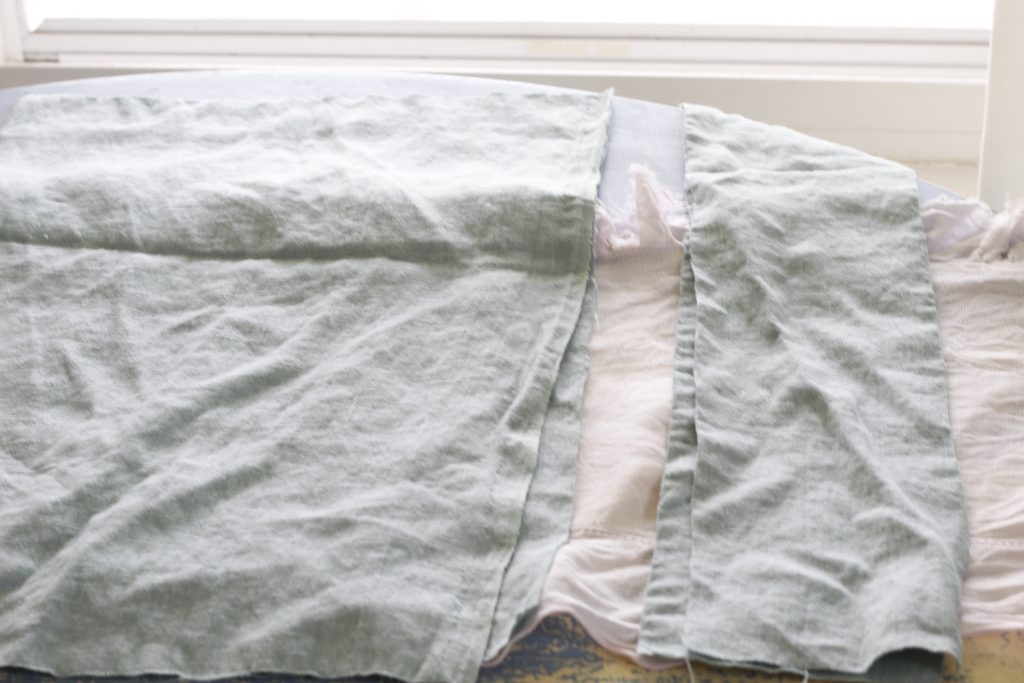
Now the main part of my tote bag was ready to sew together. So, I pinned it, right sides together, lining up the seams. Then, I sewed around the sides and bottom with a 1/4 inch seam, leaving the top unsewn.

Making Gussets
Gussets on the bottom of a tote bag give three dimensional shape and look nice, so I like to add gussets to my bags.
First, I laid my tote bag flat wrong sides facing outwards.
Second, I grabbed a bottom corner and lined up the right side of the bottom seam with the right side of the side seam. This caused the bottom corner to make a prominent triangle.

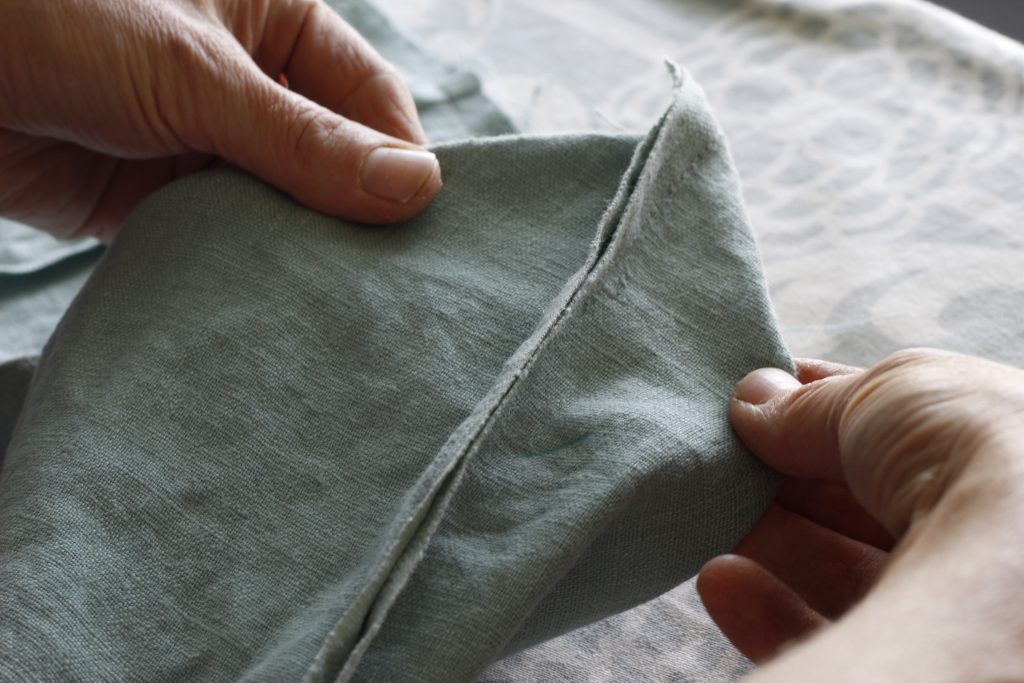

Third, I ironed it flat and measured from the point of the triangle 3 inches down, marking it with a fabric marker.

Fourth, I pinned and sewed across this line.

Fifth, I cut the triangle off the bag, being careful to not get too close to the sewn seam.
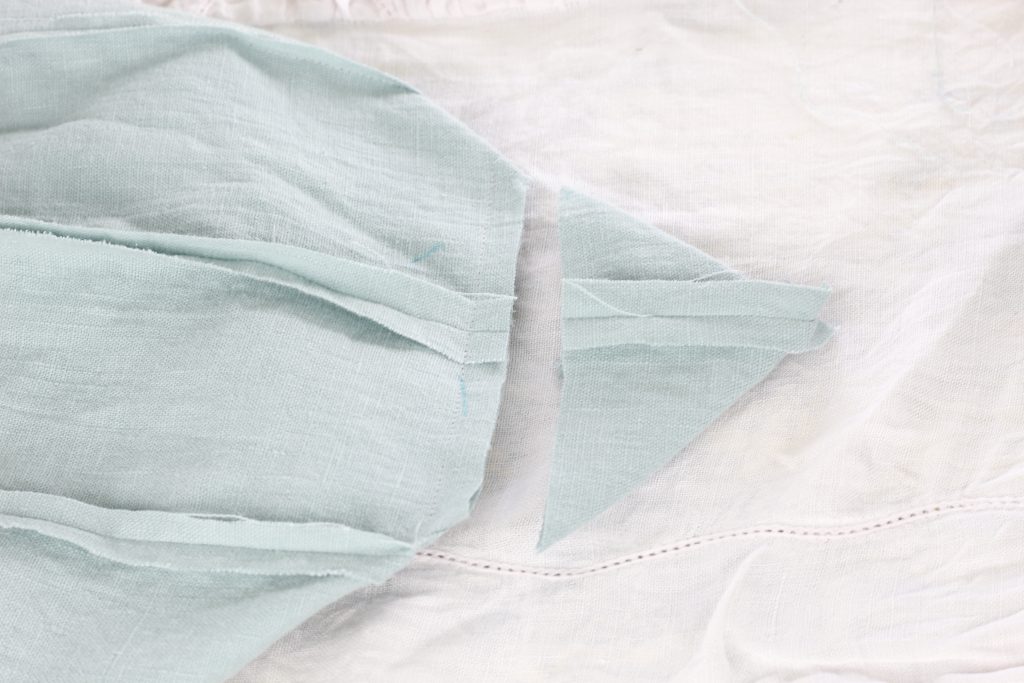
Sixth, I repeated the gusset for the other bottom corner and ironed all the seams.
Making The Lining For The Tote Bag
The lining fabric was salvaged from a baby crib bed skirt. Removing the skirt part of it, I had the whole flat part that the mattress rests upon.


Following preparing the lining fabric, I repeated all of the above main sewing steps for it.
However, there were several things I did differently with the lining. The first was, I did not have to piece fabric together to make up the width. Secondly, I omitted the pocket. The third difference was to leave a 4 inch opening in the bottom seam of the lining. That is for turning the bag right side out after sewing in the lining.

How I Made The Straps For The Tote Bag
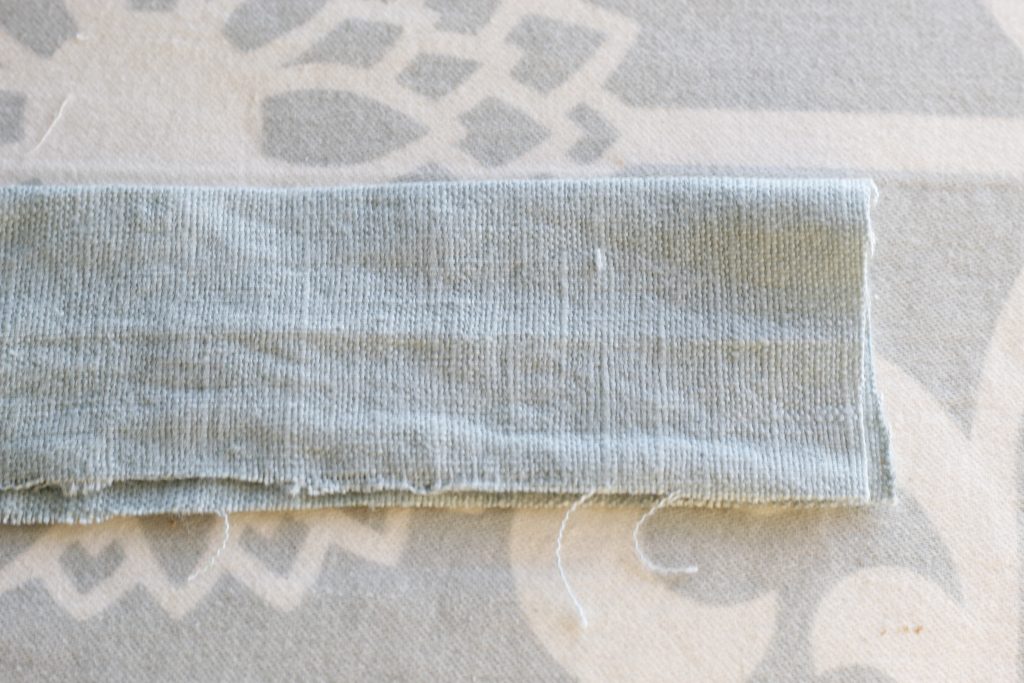
There was still a strip of the linen fabric left, so I cut two straps. The dimensions were 4 inches x 27 inches.
- Iron the strips in half wrong sides together
2. Open the strip up and lay it flat on the ironing board.
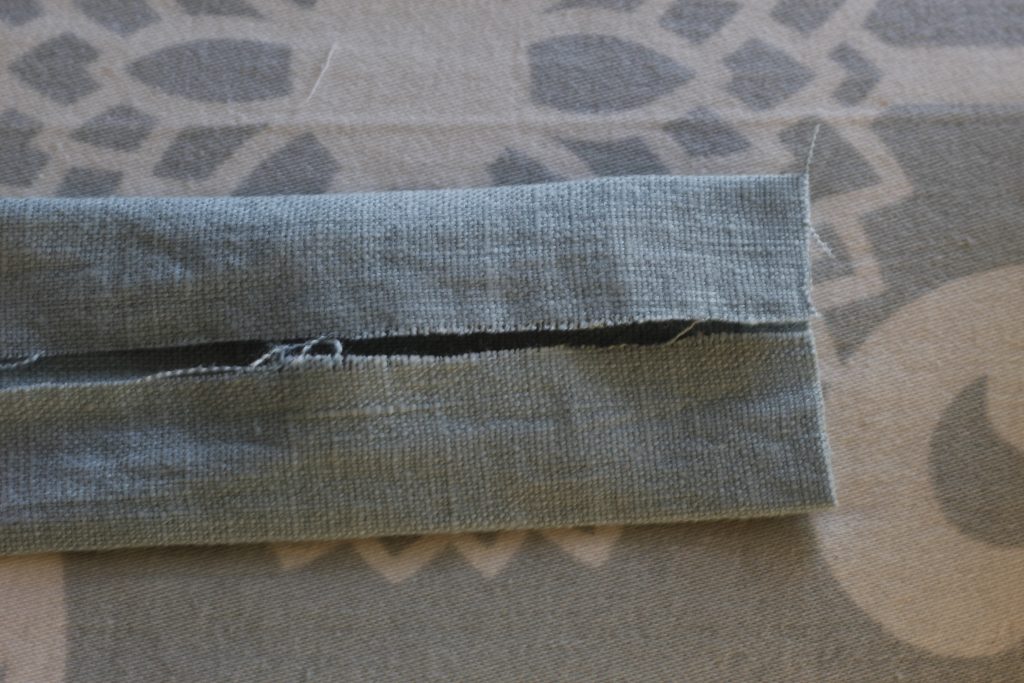
3. Fold in the long edges to meet the center crease and press the length flat.
4. Fold the whole strip together again with folded edges lined up, and press. All raw edges should now be enclosed.
5. Pin and sew close to the pinned edge.

Attaching The Straps
Once the straps were sewn, I put the main part of the bag and the lining right sides together. The main fabric was wrong side out and the lining was inside this part. At this point, I lined up the side seams of the outer bag with the side seams of the lining.

Making sure the strap was not twisted, I placed the first one between the layer of white lining and green linen. I measured 4 inches from each side seam and pinned the strap at that point, lining up the edges of the strap and the top edge of tote. I repeated for the other strap on the other side of the bag.
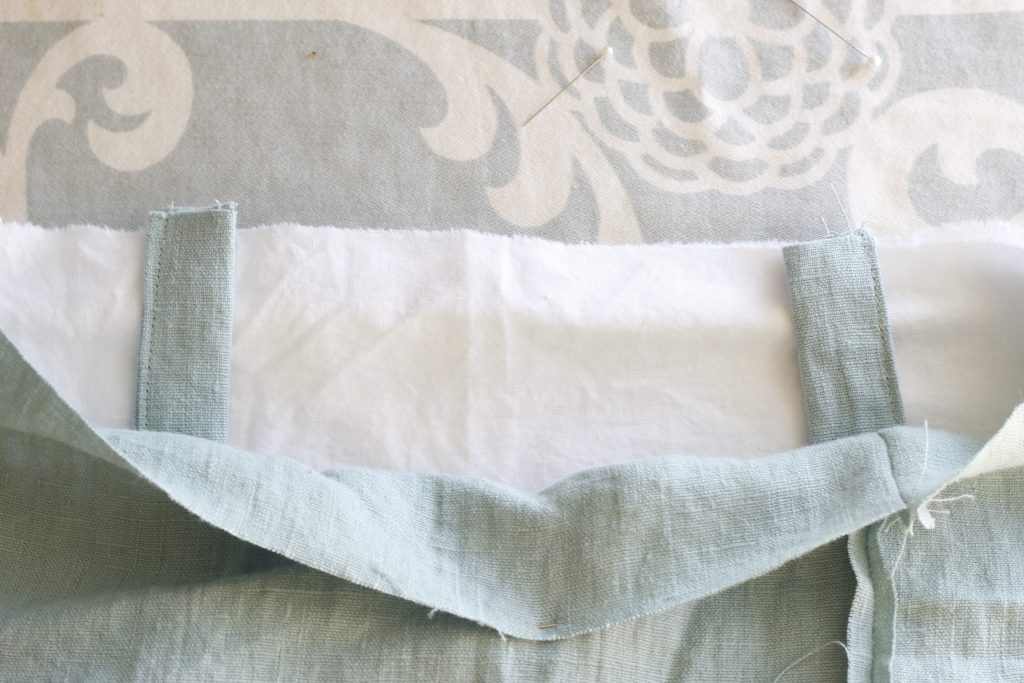
Furthermore, I pinned the layers together all around the top edge of the bag. Then sewed the seam with a 1/2 inch seam allowance.
Finishing Steps!
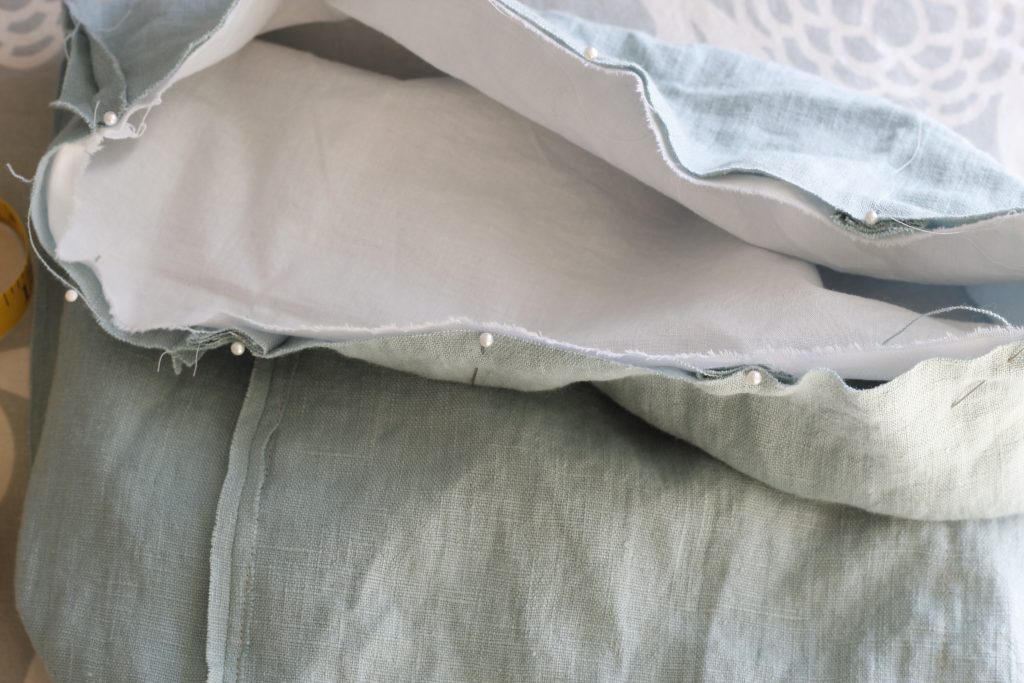
Now, this is the really fun part! Once the top edge is sewn, I pulled the lining up and out of the bag.

Following that, I reached my hand through the opening in the lining and grabbed the green linen layer. I pulled it out through the opening in the lining layer. Next, I pinned the seam opening after folding the two raw edges in 1/2 inch to the wrong side. And then I sewed the opening closed.


So now the tote bag was right side out with the lining pulled out. I pushed the lining back inside the bag and ironed the top opening edge neatly.
My final step was to topstitch the top edge of the tote bag 1/8 inch from the edge, because that keeps the lining from popping up over the edge. It also gives the tote bag with a lining a more finished look!
So here it is! There are a lot of steps, but it is a very fun sewing project, I thoroughly enjoyed it!

Customize!
There are so many ways to customize this tote bag and make it yours. You can try putting a pocket on the lining inside. You can make it with one strap, or shorten the two straps if you don’t want to carry it on your shoulder. It can be made in a smaller size. And, of course, use your favorite fabrics!
Have fun! Let me know your ideas for customizing this tote bag. Do you have any sewing projects you make again and again because they are so useful and fun to create? Tell me in the comments.
Love it! This would be a perfect sewing project for my daughter!
Thank you. I have not had my daughters try it yet. I hope she enjoys it!
I love the pocket detail!
Thank You!
What a wonderful and fun idea! Your projects always make me want to take out my sewing machine and create something 🙂
Thanks for your sweet comment!
What a great idea! These will make wonderful Christmas gifts! Thanks for sharing!
Thank You! Good idea, I have begun to ponder handmade Christmas gifts as well!
Once plastic bags were made illegal here and the stores are charging for paper bags I started getting reusable bags for the groceries but I keep forgetting them and now I may have to take out a 2nd job to keep buying them everytime but hopefully a few homemade ones will be easier to remember, thanks!
You’re welcome, that’s a good use for handmade bags. I always use my things more when I’ve made them myself!
These are such great detailed directions! Which is something I definitely need when sewing technical things like this. I know they’re supposedly “simple” haha, but for people not used to this type of thing, my brain needs very concise directions. I appreciate it! Also, can I say I love your fabric choices?! They’re so quaint.
Thank you, I am happy it’s helpful! I try to think of the details that I would have been stuck on years ago!