
We make our homes beautiful and curated to our preferences one project at a time. This tutorial has step by step instructions so that you can create your own custom mousepad. So, elevate an “everyday” useful item, to something whimsical!

Supplies :
First, you will need to gather some supplies.
Cardstock pictures– You can get mine here.
Cork– I have found 11 ¾ x 7 ¾ sized self-adhesive cork strips at The Dollar Tree. They are very thin, so I’ve used two for this project.
Glue– I like this glue because it dries clear.
Protective topcoat– This is the one I’ve used in this project.
Ruler
Ribbon– ⅜ inch wide, 40 inches long, for finishing the edge of the mousepad
1 inch foam brush or paint brush
Paper plate– for holding glue and sealant
Large, heavy book– for flattening during various parts of the process
Cup of water– for placing brush into between coats
Note– Mod Podge can be used in place of the glue and topcoat. I just used what I
had on hand.
Let’s Get Started!

Day One-
- First, gather everything from the supply list.
- Remove the paper strip from one piece of cork and put glue onto the sticky side, a line of glue around the edges and a “plus sign” through the middle.

3. Remove the paper strip off the second sheet of cork and line up the cork sheets sticky sides together. The coating of glue allows you to reposition the cork sheets if you don’t get them straight on the first try.
Put your heavy book onto the cork sheets and allow them to rest for an hour so that they adhere completely. Meanwhile, cut the white borders off the pictures you have printed out.

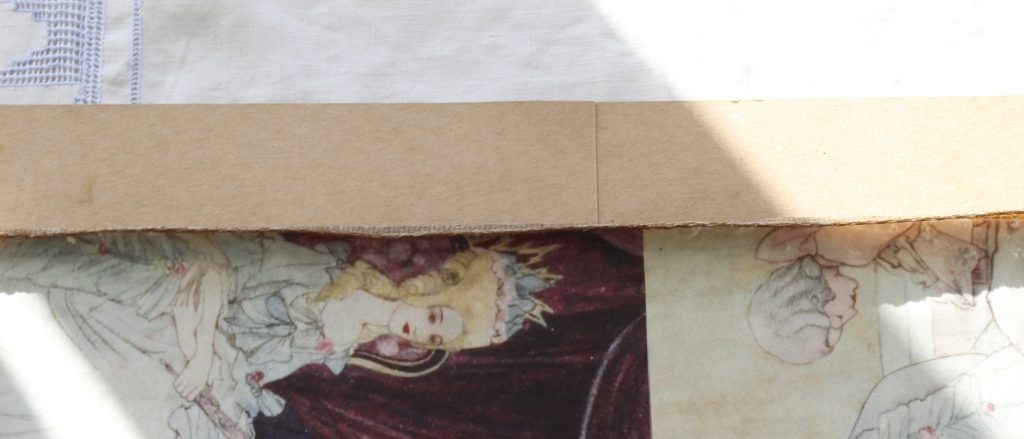
4. Remove your book from the cork sheets. Then, place your pictures in different positions to decide how you’d like them to look. I have used two full sized pictures and cropped a third picture to fill in the blank spaces.


5. Next, cover the entire back of the pictures with glue, using the foam or brush. Position them how I have, or the arrangement you prefer. Smooth the pictures with your hand and put the heavy book back onto it. This will help them to not buckle. Let your mousepad rest like this for two hours.
Finishing The Edge Of Your Custom Mousepad
6. Now it’s time to glue the ribbon onto the edge. Apply a moderate amount of glue onto the narrow edge, not so much that it is dripping, but enough so that the ribbon will be slightly soaked by it. Start on one of the sides, not a corner.

7. Line up the edge of the ribbon against the bottom side of the cork so that the ribbon sticks up off the right, picture covered, side. Start applying the ribbon on one of the sides, not a corner. Do your best to place it snugly, so there are no gaps. Neatly overlap the ends of the ribbon when you get back to where you’d begun.
8. Allow the glue to dry overnight!
Day Two-
- First, apply a line of glue around the sides of the top,(picture covered), part of your mousepad. Push down the ribbon. Then, when you get to the corners, miter them into points.


2. Next, put the book back onto your custom mousepad, peeking under at all the edges to make sure the ribbon is flat.
Note- After a few hours, I checked my mousepad and there were a few spots where the ribbon didn’t fully adhere. Here, I just used a dab of hot glue!

3. Finally, your handmade mousepad is ready for the topcoat. Using a foam brush, I applied a thin layer, keeping the strokes going in one direction. If there are any spots where the pictures are sticking up, you can brush a little under those and push down with your brush. Ensure the entire surface is covered in a thin layer. Allow it to dry. Apply one more layer of topcoat for the best results.
In Conclusion
An interesting result of using the varnish to protect the surface of my mousepad: It has crackled in a few places. I really like this outcome, it makes it look aged.
Also, a few hours after I was sure it was dry (I didn’t want anything to adhere to the surface), I placed my heavy book back onto my mousepad. This finalized the flat surface I wanted.

So, let me know
So tell me how your mousepad turns out! Did you try my pictures, or did you use different ones? What other everyday useful items would you like to customize?
Tell me in the comments below!
Thanks for stopping by!
Courtney
Wow I never thought about making my own custom mouse pad. I will definitely try to make one!
Great! I hope you enjoy it!
What a great idea! Your mouse pad is so adorable. Now I need to go out & get the supplies to make my own 🙂
Thank You! Have fun!
This a beautiful. I have often thought to make my own mousepad. Thanks for the inspiration!
Thanks so much!