

I search for slow-fashion brands and ethically made clothing fairly often. Although, these days there are plenty of brands to choose from, most of the prices are not in my budget. Sewing my own garments is my solution and can be for you too. There are a lot of lovely independent sewing brands’ patterns out there that are perfect for those of us who are interested in sewing slow fashion. Many of them are only available as print-at-home PDF patterns. In this post, I am going to walk you through my method of assembling and preparing a PDF sewing pattern.
Ultimately, I can think of three main reasons for my decision to sew my own clothes. First, I love to sew my own clothing. Ultimately, I get a lot of satisfaction in the whole process. I enjoy the creative decisions I am able to make, and consequently, getting to wear a custom article of clothing.
Second, I can choose the fabric I like best. My local Salvation Army has a big fabric sale every autumn and I am blessed to be able to stock up. Since all of the fabric are donations, it’s all second hand. This means that it’s all getting used up from other sewists’ stashes. Other than that, I try to use sustainable fabric, such as linen, as much as possible.
My third reason to sew clothing is that I am able to wear sustainable, slow fashion in a frugal way. It is cheaper to buy “ready to wear” clothes. Even so, sewing “slow-fashion clothes” as opposed to buying “slow-fashion clothes”, is very frugal!
Considering a PDF Sewing Pattern
Buying sewing patterns from independent pattern companies online is extremely easy. Furthermore, they are plentiful with many options. However, a majority of the patterns are available only as a PDF. Even if you are an experienced seamstress, you may opt for a simple or beginner friendly PDF pattern. They will be almost certain to have less pattern pieces, therefore making it an easier task using a PDF sewing pattern for the first time.
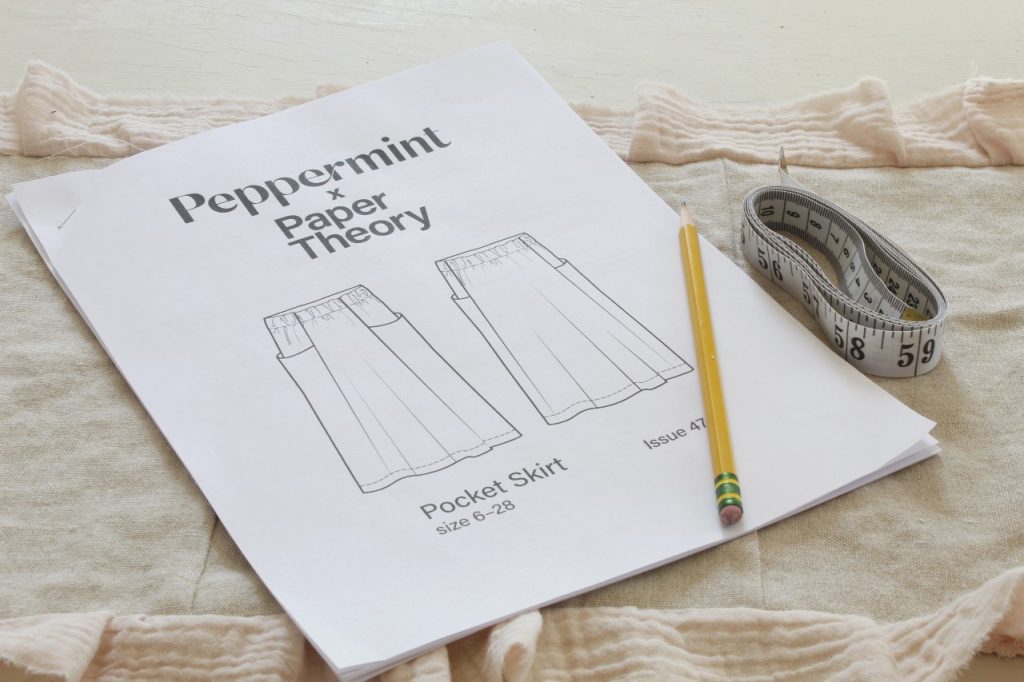
The pattern I’ve chosen to use is the Pocket Skirt from Peppermint Magazine. You can find it here. The Pocket Skirt is beginner friendly and as its name indicates, has great pockets.
Although this pattern has a “pay what you want” paying scale, it also has a “free” option. I opted to pay $5 for this pattern.
Supplies Needed:
Peppermint Magazine Pocket Skirt PDF sewing pattern
Clear tape
Scissors for cutting paper
Pencil
Pattern paper- translucent white paper, I use this type.
Yard stick
The First Step
First, click the “pay what you want” amount and then click “add to cart”. Fill out the email and name information spaces and click the “free download” button.
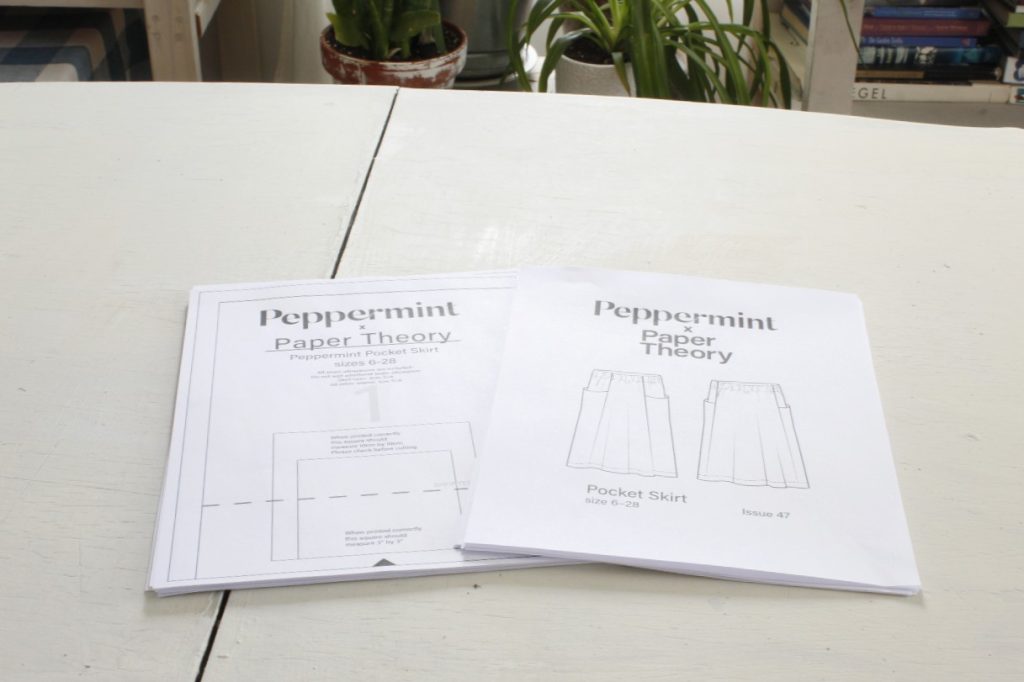
Peppermint Magazine will send an email with download links, or they provide links on that final page. There will be separate links for printing your pattern and for the instructions.
Print the A4 pattern if you are printing your pattern on your home printer.
There is also the option to download your PDF to a thumb drive and have it printed at a print shop. The A0 option refers to the paper size. With that option, the pattern can be printed on full sheets of paper, like traditional sewing patterns.
Print your pattern and instruction sheets.
Assembling a PDF Sewing Pattern
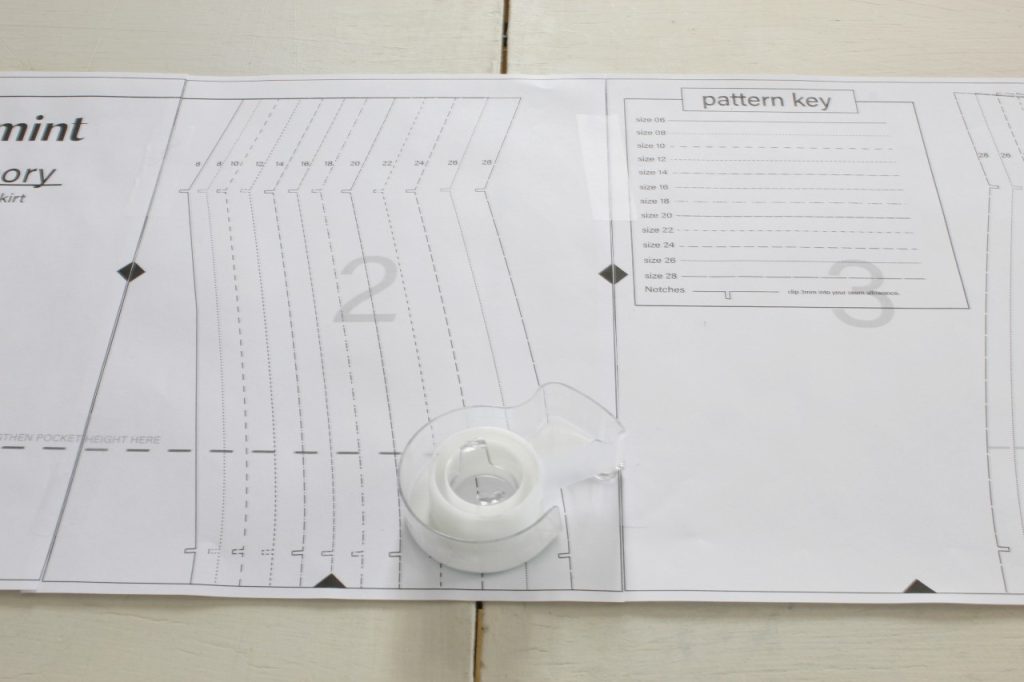
After downloading and printing my pattern, I assembled the pattern as shown on page 5 of the instructions.
The process of assembling PDF sewing patterns is quite simple. It requires a large work surface and some patience. A dining room table or even the floor make ideal workspaces. If you are already a sewist, you are accustomed to exercising your patience!
Taping Together the First Row
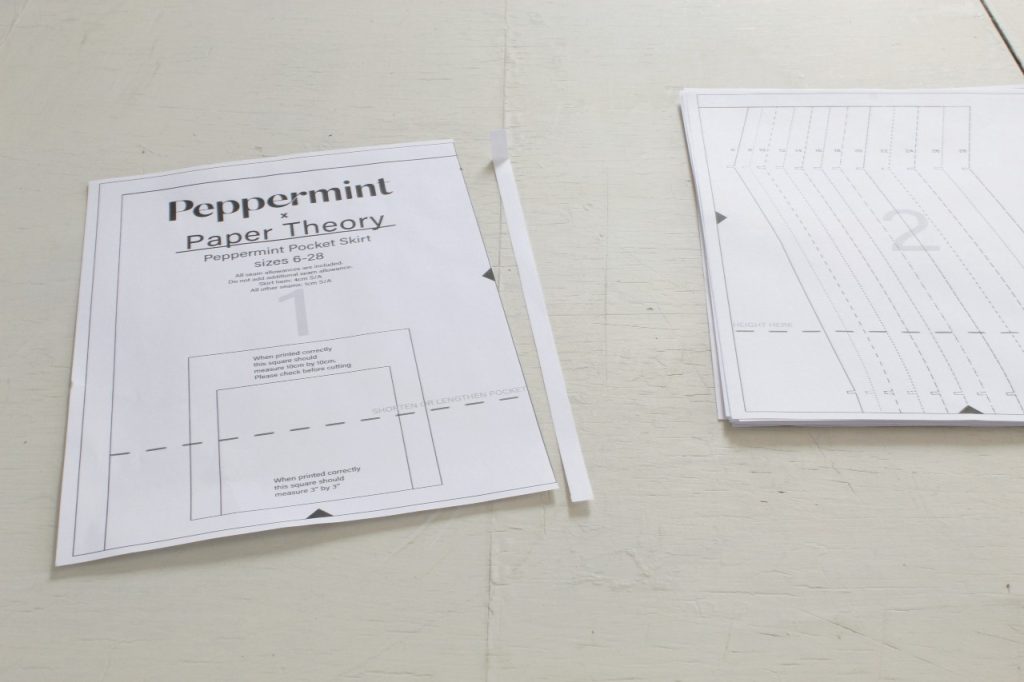
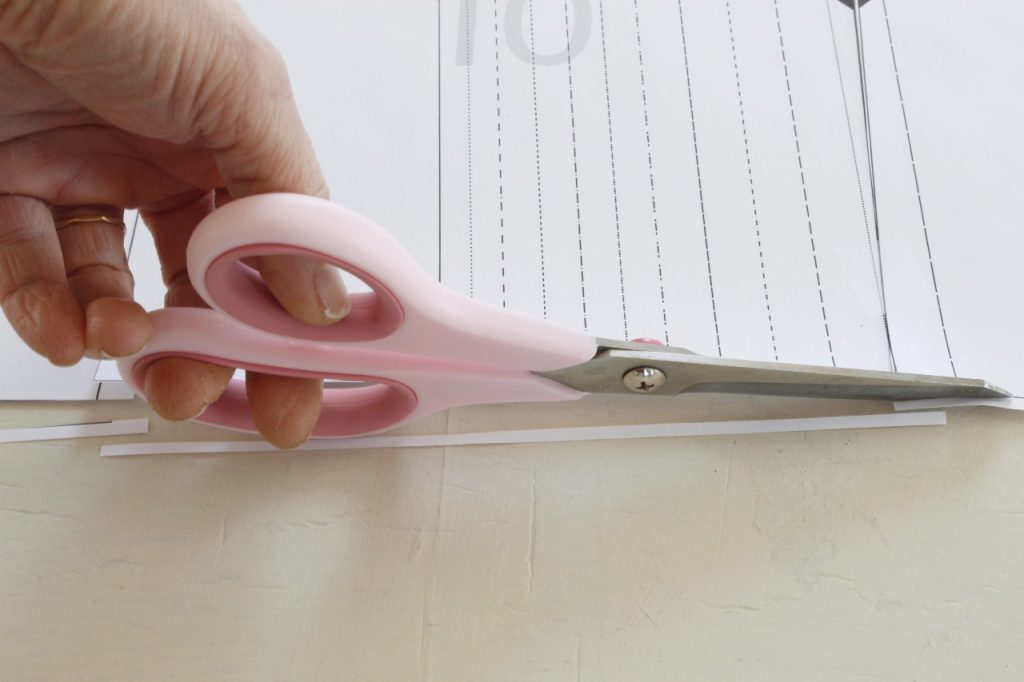
Begin by working with pages 1 and 2. You will need to cut off the right-hand or left-hand margin of your pages. I prefer to cut off the right- hand margin when I’m assembling PDF sewing patterns.
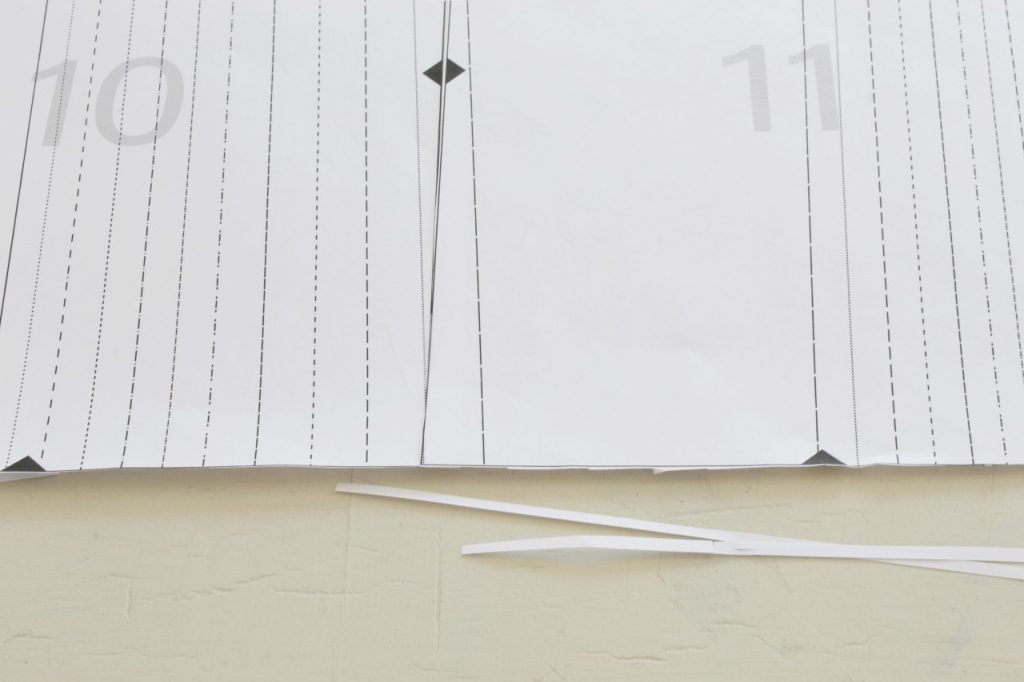
After cutting off the right-hand margin of page 1, line up page 2 against it. Line up the pages so that the black diamonds match up, and tape them together using 2-3 small pieces of clear tape.
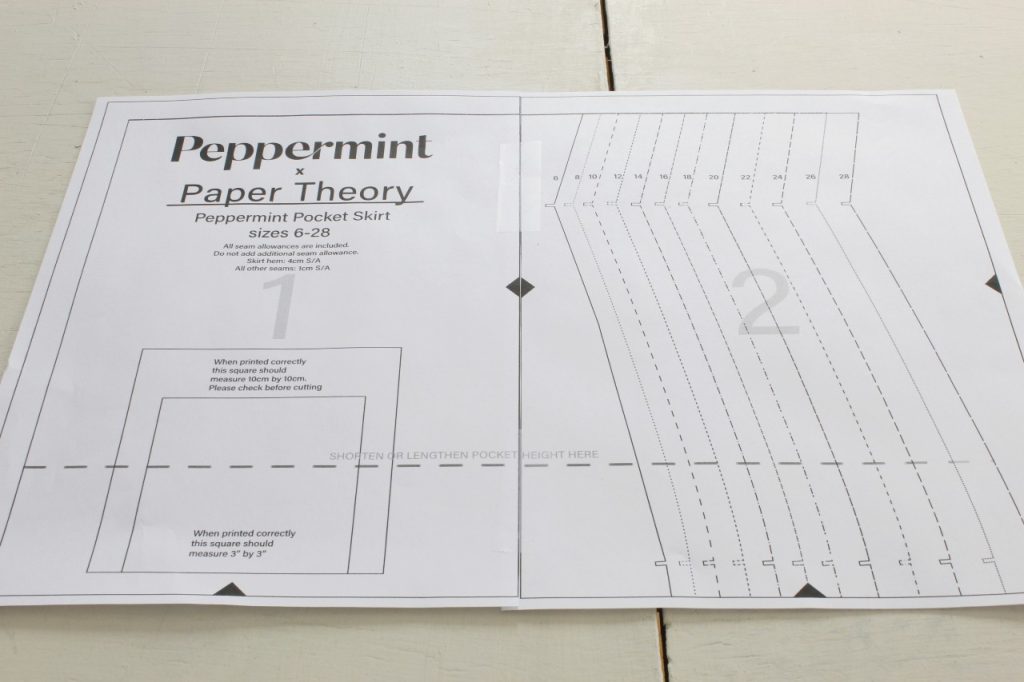
Next, cut off the right-hand margin of page 2 and tape page 3 to it.
Repeat these steps for page 4.
The PDF pattern for The Pocket Skirt has 4 pages per row and 7 rows of pages. So, after you are finished taping pages 1-4, it is time to move on to the next row.
That means the entire bottom margin of this row needs to be cut off, as well.
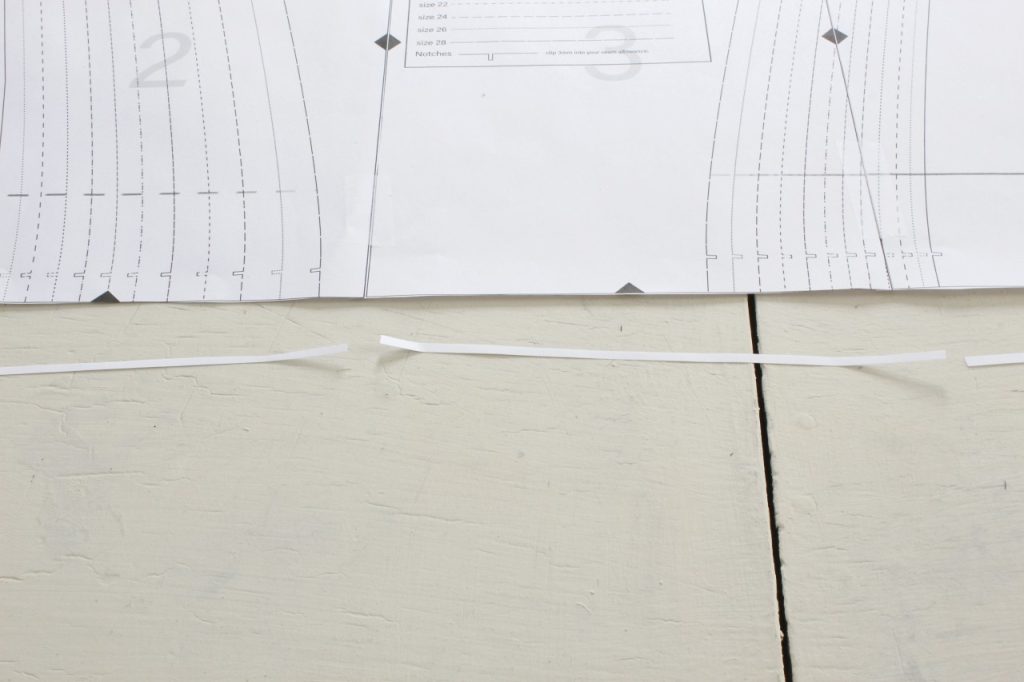
So, trim off the margin the entire way across.
Taping Together the Second Row
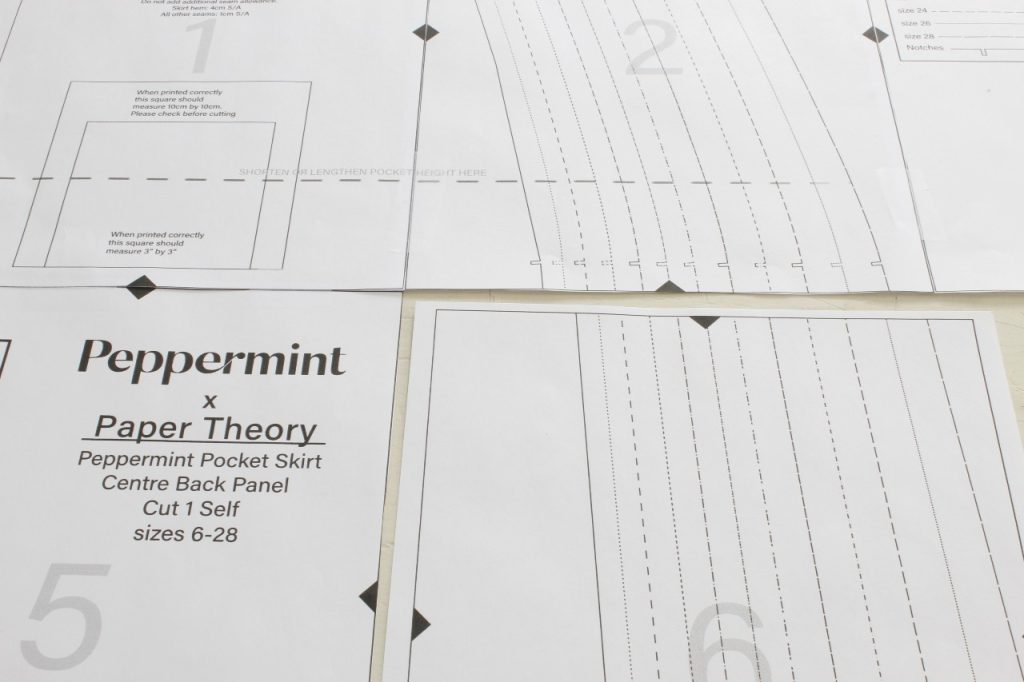
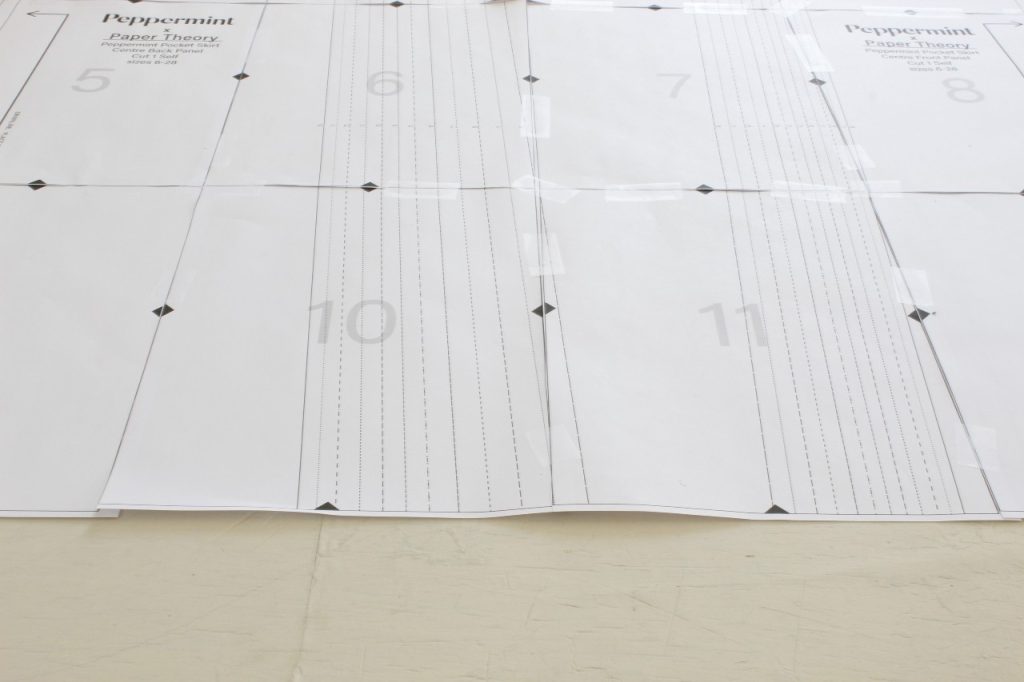
Next, cut off the right-hand margin of page 5 and line it up the top edge against the bottom of page 1. Cut off the right-hand margin of page 6 and put it into place. At this point, put a small piece of tape on each of these pages to secure them to the ones above them.
Continue in this fashion attaching four pages in each row. This results in seven rows of four pages each.
A PDF Sewing Pattern Completely Assembled
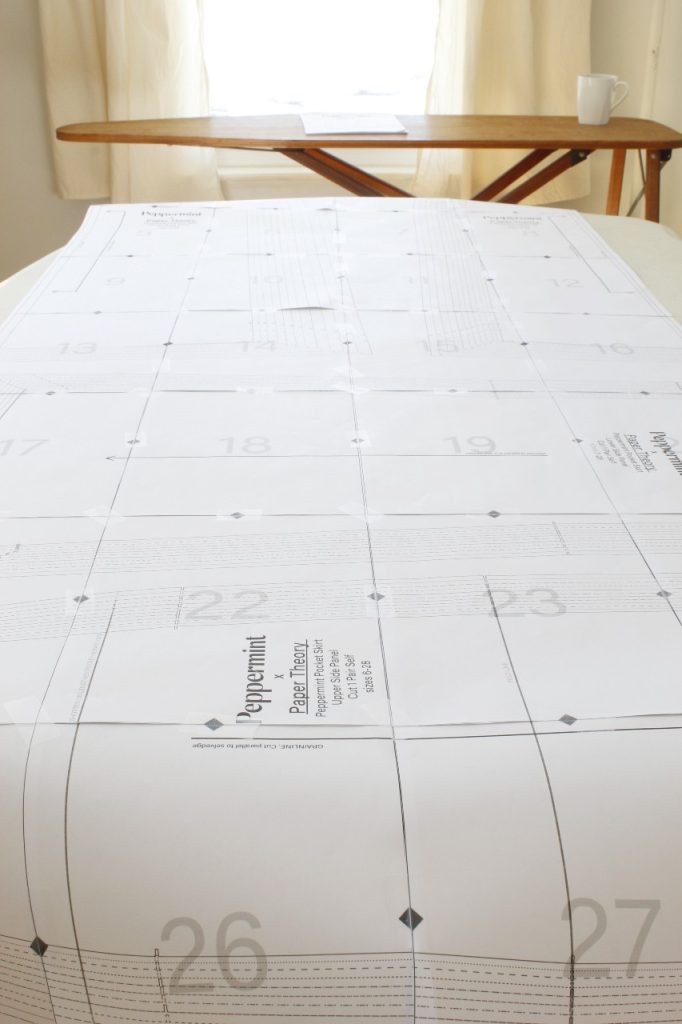
As you can see, this is a very large sheet of pattern pieces!
Therefore, the pattern is easier to work with if the sheet is cut into two pieces.
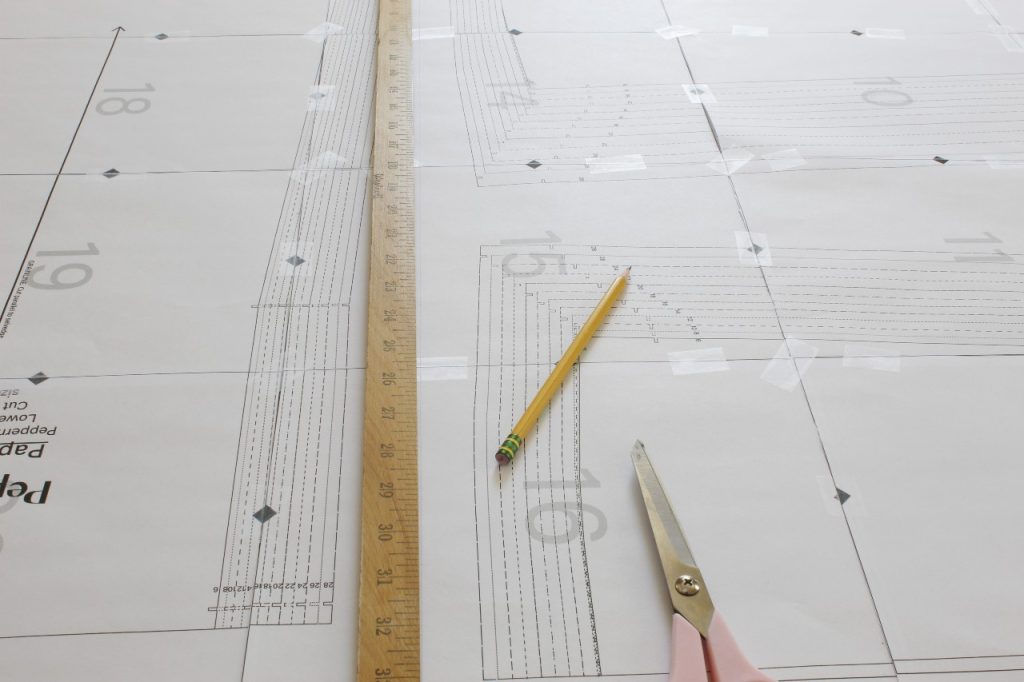
Using a yard stick, make a line down the middle of the pattern sheet. Just be certain you do not cut any of your pattern pieces, but it is a wide enough space. As long as you use care it will not be a problem!
You can see in the photo above that I made the line on pages 13-16 in the gap between pattern pieces.
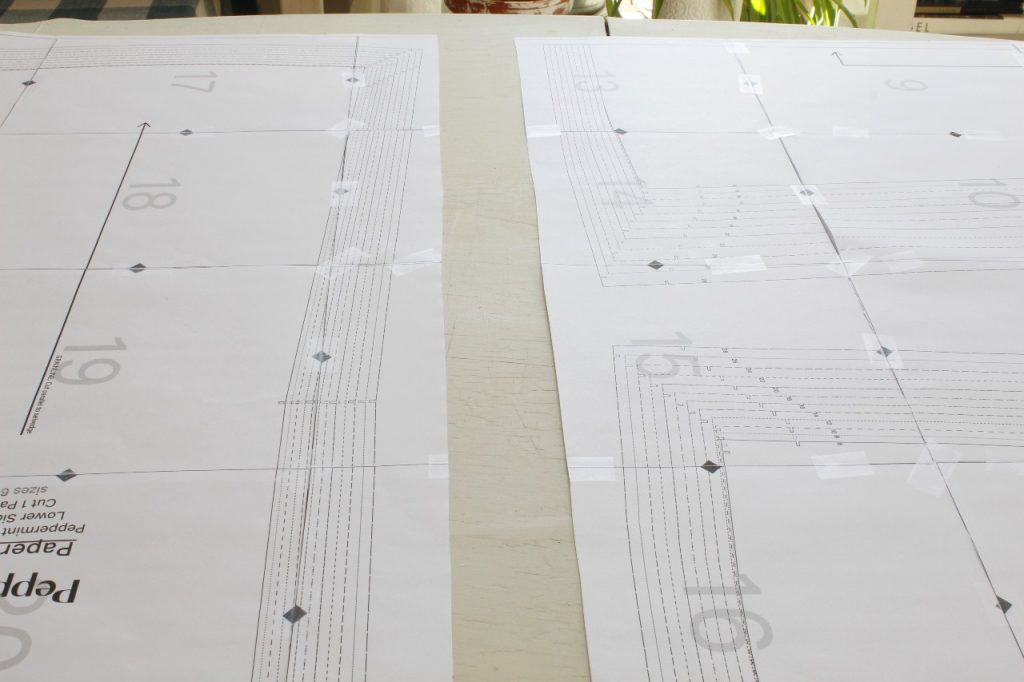
Finally, that left two sheets of pattern pieces that were much more manageable.
What To Do Next?
The next step is a matter of your preference. You can cut the pattern out in your size or trace it in your size onto pattern paper. I will be tracing the pattern because I may want to sew this Pocket Skirt in other sizes for me or my daughters. If I trace it, I need not print the pattern again and re-assemble.
Check out my upcoming post where I will trace the Pocket Skirt Pattern onto paper and show how I sew my skirt step by step.
Do you enjoy slow and frugal sewing projects? Maybe you like sewing projects that help you use up your fabric scraps? Check out this post and this post! And please let me know if you tried them, I would love to hear about it. Tell me in the comments!

Leave a Reply