
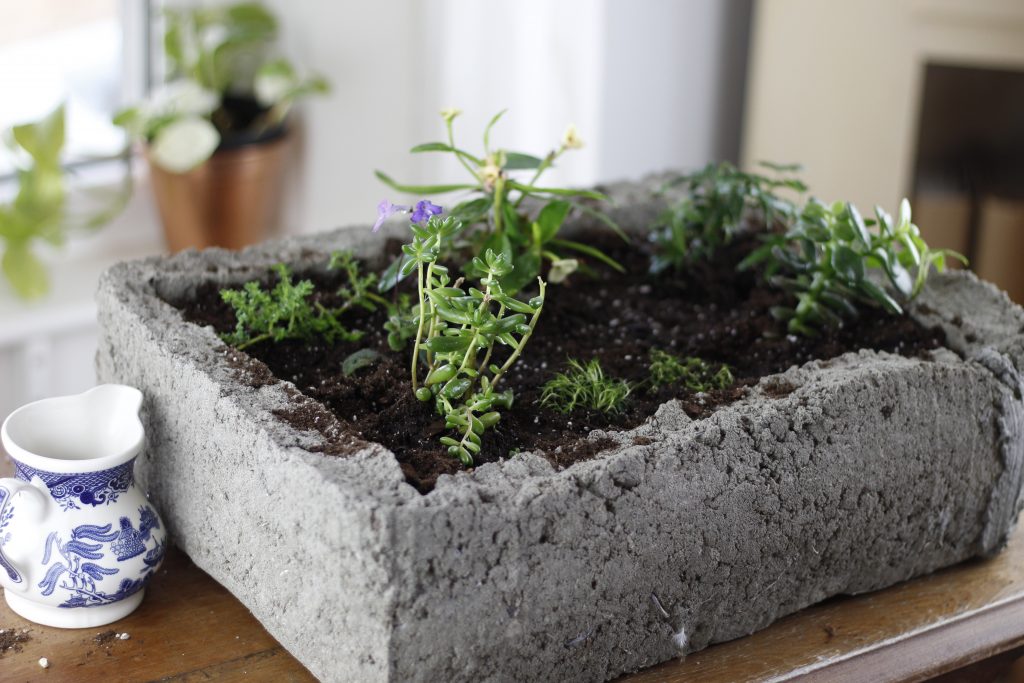
Houseplants are a way I bring nature into my home. I feel happy when I see the juxtaposition of rustic and refined. Planting houseplants in a hypertufa trough combines those two styles beautifully!
A few things about hypertufa
- Alpine gardens are very conducive for hypertufa troughs, as they are usually very shallow.
- Hypertufa can hold up in the cold of winter, down to about 20 degrees
- Hypertufa planters can last for about ten years before they begin to crumble
- People used antique livestock watering troughs as planters, and hypertufa became an inexpensive alternative
A couple summers ago, my oldest son and I spent several weekends trying out the skill of hypertufa making. Hypertufa is the mixing of cement, sphagnum moss or peat moss, and perlite to make a pot to plant into or lawn ornaments. The end product is lighter weight and easier to move that concrete pots. We followed this this project.
Firstly, my son and I really enjoyed the process, it was fun to mix together these ingredients, it was like we were mixing together a big mud pie. Then we had the anticipation of uncovering our molds to see the end result of our experiment!
What were our results?
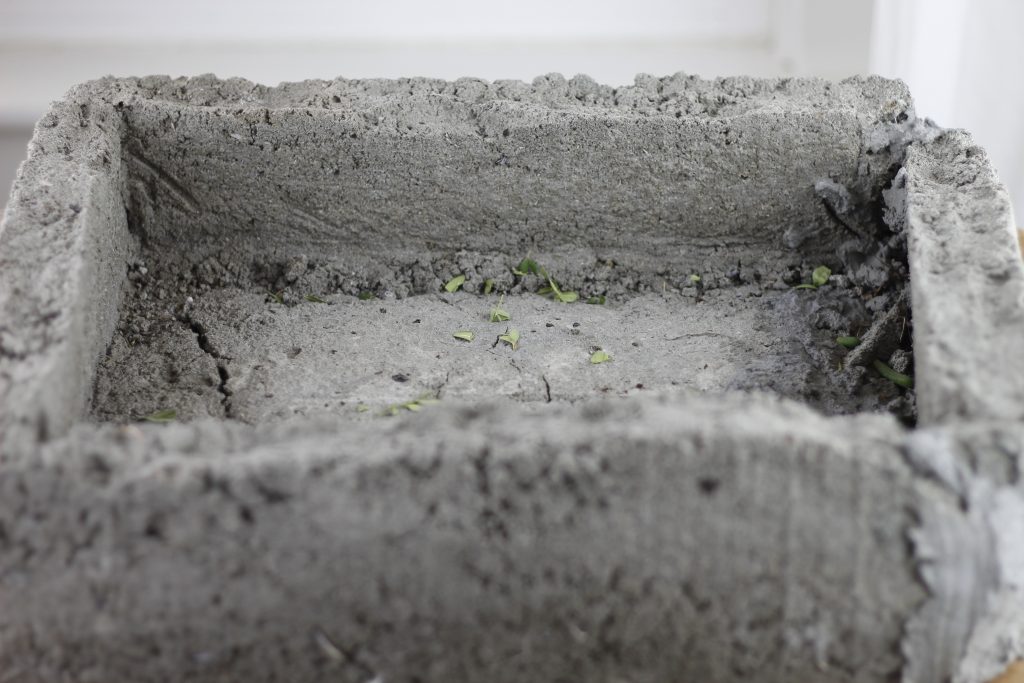
Our first attempt resulted in no useable pots. We tried the next weekend, and again none of the pots were useable. They all cracked or broke to pieces. The third attempt was a success! We made two troughs that stayed completely intact and a third that had a couple of cracks. I salvaged the third trough with a simple repair.
So, for the cracked trough, I mixed Portland cement and water into a fairly thick paste and patched the cracks closed. With gloved hands, I spackled the cement mixture into the cracks and wiped off the excess cement. I set the patched trough in our shed to protect it and I checked it a couple days later, and it was dry. The Portland cement patch made this trough heavier than the other troughs we had made.
Next, I left the hypertufa trough to dry completely. After this I allowed it to set outside to gather rainwater. Also, I filled it with water several times and allowed the water to drain through the porous structure. Allowing water to soak through a hypertufa pot several times, or letting it weather over a period of time is important. This enables the alkalinity, from the Portland cement, to leach from the hypertufa. Your plants have a greater chance to thrive if you follow through with this step.
Now everything was ready for planting houseplants in my hypertufa trough.
Useful items for planting houseplants in a hypertufa trough:
- A hypertufa trough that you have made or one you have bought
- Indoor potting soil
- A selection of plants best for growing in terrariums, rock gardens, or fairy gardens
- A watering can or small pitcher
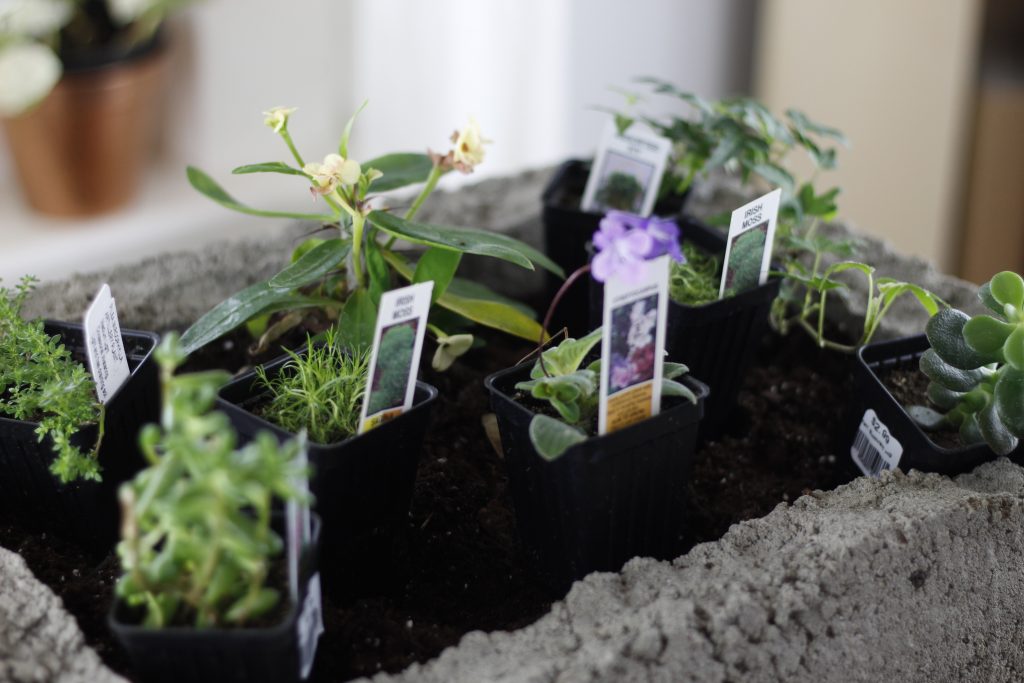
Plants I have chosen for my hypertufa trough:
It is important to choose plants that will thrive in a shallow planter, so I visited a local nursery’s greenhouse to find the right plants. The greenhouse had a large terrarium and succulent selection, it was difficult to make choices. I chose plants that would not grow very tall, and would spread and creep.
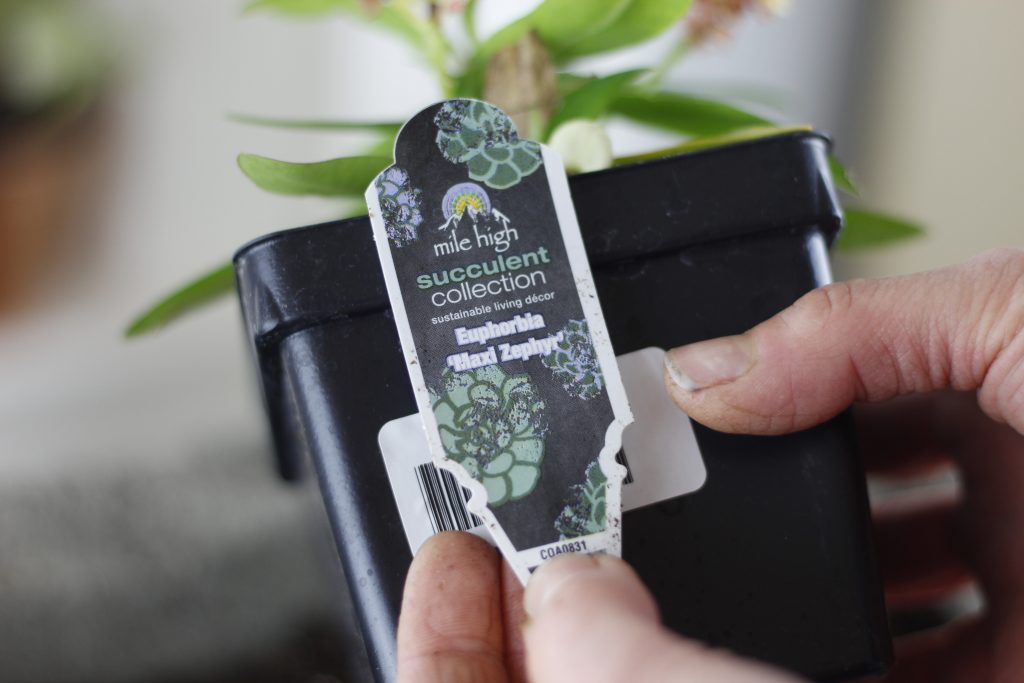
Euphorbia “Maxi Zephyr” blooms with a creamy peach flower and has thorns. The main stalk of the plant looks cactus-like.
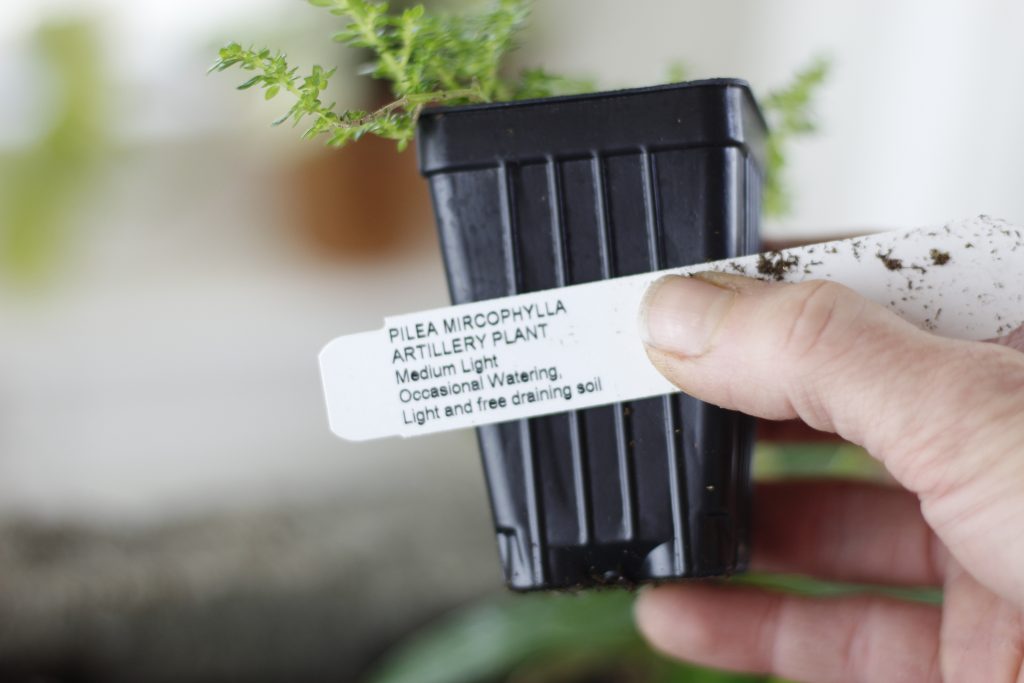
Artillary Plant is fern-like and succulent. This is a plant that rarely blooms indoors. When it does bloom, it has tiny pink flowers that are followed by brown fruits.

Next, I chose two Irish Moss plants. It is technically not moss, and also called Corsican Pearlwort or Scotch Moss. This is my favorite among all my plants, it grows in compact mounds and blooms small white flowers.

Following that one is a Jade Plant, a popular succulent. This plant develops woody stems and is easy to propagate to make new plants.

I am excited to have an ivy plant, “Hedera Helix”. As it grows, I may create a topiary feature in my hypertufa trough.

Finally, I chose a “Streptocarpus” with pretty purple flowers. The leaves have a soft fuzzy texture reminiscent of African Violets.

So, my hypertufa trough was ready and I had my plants and indoor potting soil.

This bag of potting soil was about double the amount that was required, but it is good to have some left over. Occasionally “topping up” the soil is good for plants.

Next, I filled my hypertufa trough about half full and started placing plants on top of the soil. I moved them around to visualize the layout.
When the layout pleased me, I took them out and started planting.

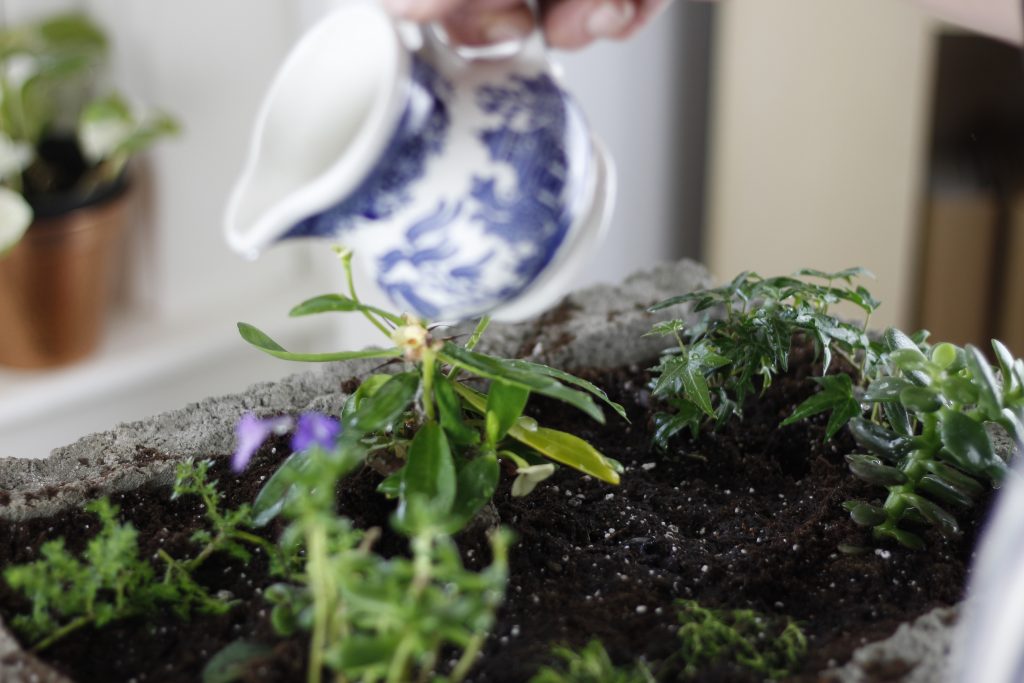
Nearly finished, I gently patted the soil down around my plants and watered them lightly.
Watering My Hypertufa Trough:
I will have to allow my trough to dry out between times of watering, as that is the preference of all the plants I have chosen. There are no drainage holes added to my hypertufa trough, so I will water sparingly and more often.
There is another reason I will water less, but more often. My trough has found its home on the top of an antique dresser and soaking the trough would most certainly drain through the bottom and warp the dresser.
I am so happy with my results! It is just what I love. It looks old, rustic, and at the same time, elegant. I feel calm and content when I look at my planted hypertufa trough. That is the reason I feel it is so important to bring some nature into our houses, we all need to have that feeling!
For more homemaking inspiration, check out this post, How To Cheer Up Your Home With Painted Baskets!
Do you like to bring nature to your house in the form of houseplants? What are other ways you enjoy nature indoors? Have you ever tried your hand at making a hypertufa pot? Tell me in the comments below!
Leave a Reply