
Join me as I make a notebook cover with vintage book illustrations!
I have a deep affection for book illustrations. When I am at a library or bookstore and I spot a book that was a family favorite in years past, I must have a peek! I feel a little flip in my belly, a feeling of homesickness and nostalgia. Then, I am instantly back to the time when one of my children loved the book and we poured over them again and again.

So, I want to surround myself with the charm and beauty of these works of art.
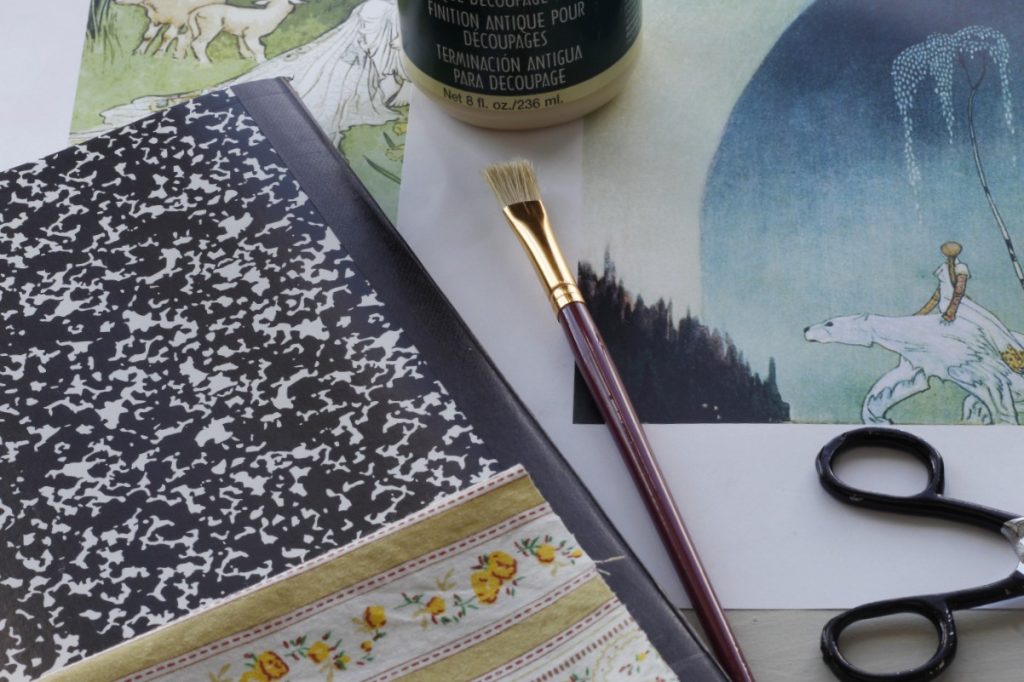
What You Will Need
- Composition notebook
- Scissors
- Ruler
- Decoupage glue- I used a bottle of antique finish Royal Coat that I already had on hand.
- Paintbrush
- Four vintage book illustration printables- you can get my free illustrations here.
- Scrap of fabric
A plain composition notebook is ideal for this project because they are inexpensive and the covers are so sturdy. They hold up and do not buckle with the layer of glue applied. But if you use another kind of notebook, just be sure the covers have a similar sturdiness.
The decoupage glue I had on hand is a very old bottle and the lid was glued on tightly. I turned the bottle upside down and let it soak in a shallow bowl of water. After about 15 minutes, I was able to twist off the lid. It had a dried layer across the top, but under that, it was still perfectly usable!
The vintage book illustration printables I have used are available here. They are in 5×7 format, so when they are printed there will be a white border around the edge of the picture.
First Steps to Make a Notebook Cover
First, choose your placement of the illustrations. You will need four total, two for the outer covers and two for the inside covers.
Open up the notebook and place it on your work surface so that both outside covers are facing up. Brush a layer of decoupage glue onto the covers, but not onto the spine of the notebook.

Center the illustrations on the covers and line them up so that they are along the edge of the spine of the notebook.

Smooth the paper onto the cover with your hands to remove any air bubbles.
Next, flip over your notebook and open one of the covers. Make a fold along the bottom right-hand corner in order to make it mitered. Unfold the corner and brush onto it a thin layer of glue then refold and press the corner down onto the notebook.

Repeat that step on the top right-hand corner.

So you will be left with the three straight edges of the paper, on which you can make the initial folds. Brush them with glue and press down flat onto the notebook.


Repeat all of the above steps on the other cover of the notebook. The covers of the notebook will need to dry completely, so on a work surface, open the covers and lay the notebook open. Both covers will be right side up. While they dry, this is the perfect time to cover the spine.
Covering the Notebook Spine
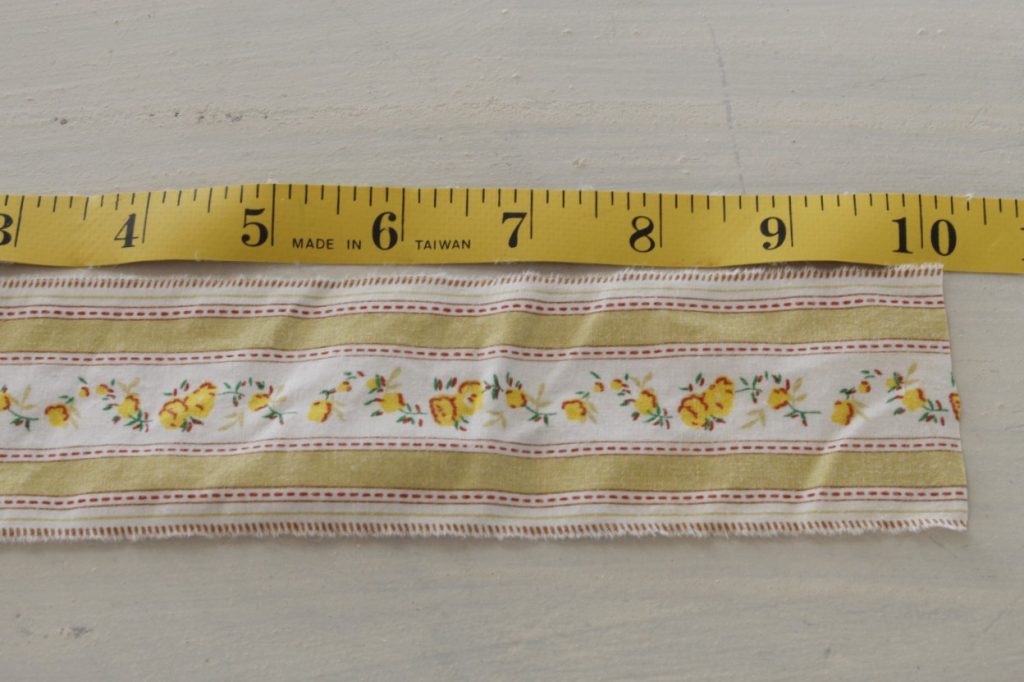
You may want to iron your fabric if it is wrinkled. Measure your scrap of fabric and cut it size so that it covers the width of the spine. Give the length an extra ⅛ inch on both the top and bottom, for folding the raw edges under.

Fold the short ends of your fabric under ⅛ inch to the wrong side to tuck in the raw ends and press flat with your hands or an iron.

Once you have your fabric ready, apply a layer of decoupage glue to the notebook spine. Place your fabric strip onto the glued spine with care, shifting and smoothing it a little until you’re happy with its placement.

Book Illustrations for the Inside Notebook Cover
Folding over and gluing the front and back papers for the covers left the inside covers of the notebook with an unfinished look. I wanted my notebook to look nice when I opened the cover, so it needed vintage book illustrations too.

So, for my next step, I opened my notebook and laid it out flat on a table. I slipped another illustration under the wrong side of one of the covers and traced around it with a pencil. I traced as closely to the edge as I could. This step is helpful to get the shape of the inside cover correct since it is slightly rounded at the corners.

Then I cut off excess paper a little inside the line that I traced. This step ensures that your inside cover paper does not stick out over the notebook edge.
Now glue the vintage illustration onto the inside cover of your notebook, lining it up so that it is reaching close to the edges but not the entire way to the edge.

I left the inside covers bare of decoupage glue since they will not get as much wear.
The Final Step

There is one step remaining for your notebook cover; to coat it in decoupage glue to protect it. Using a paintbrush or a sponge, apply a thin even layer and then allow it to dry completely before you use it.
I painted a layer of the glue onto the fabric covered spine, but that is optional, you may prefer the fabric to stay unsealed.

Notes:
- Beautifully covered notebooks make wonderful gifts and can be tailored to suit the preferences of the recipient. Add a pen and you are good to go!
- Letting your notebook “cure” for a couple of days is wise. If it is placed against other books or papers and left like that for a while they may stick, especially in humid conditions.
- If the fabric on the spine is left bare of a final coat of glue, just be sure it is well glued down. If it lifts at the edges, simply put a little dab of glue under the edge and press it down.
Please let me know if you try this project and how you like it in the comments below.
Thank you for stopping by!
Courtney
Leave a Reply