
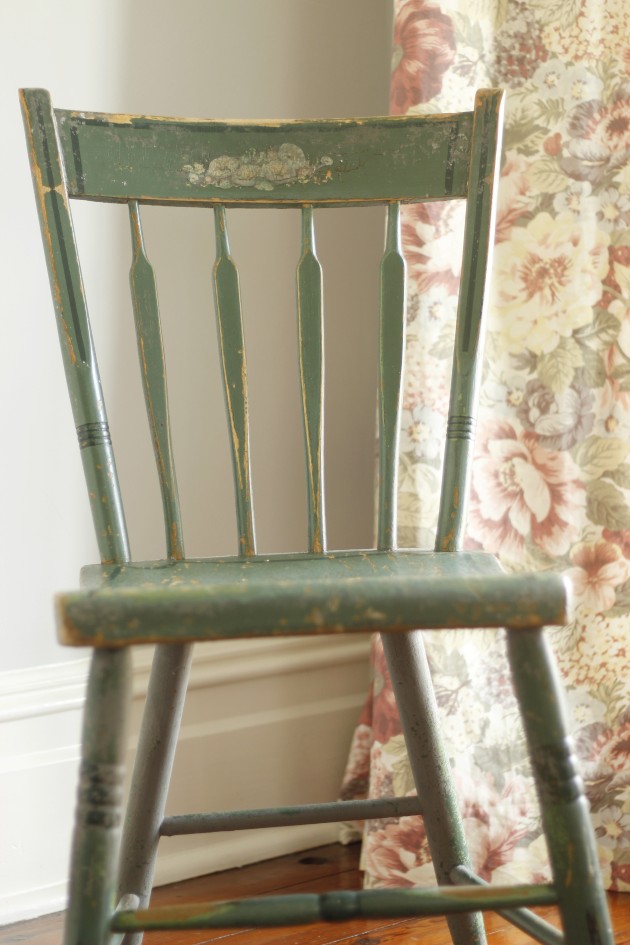
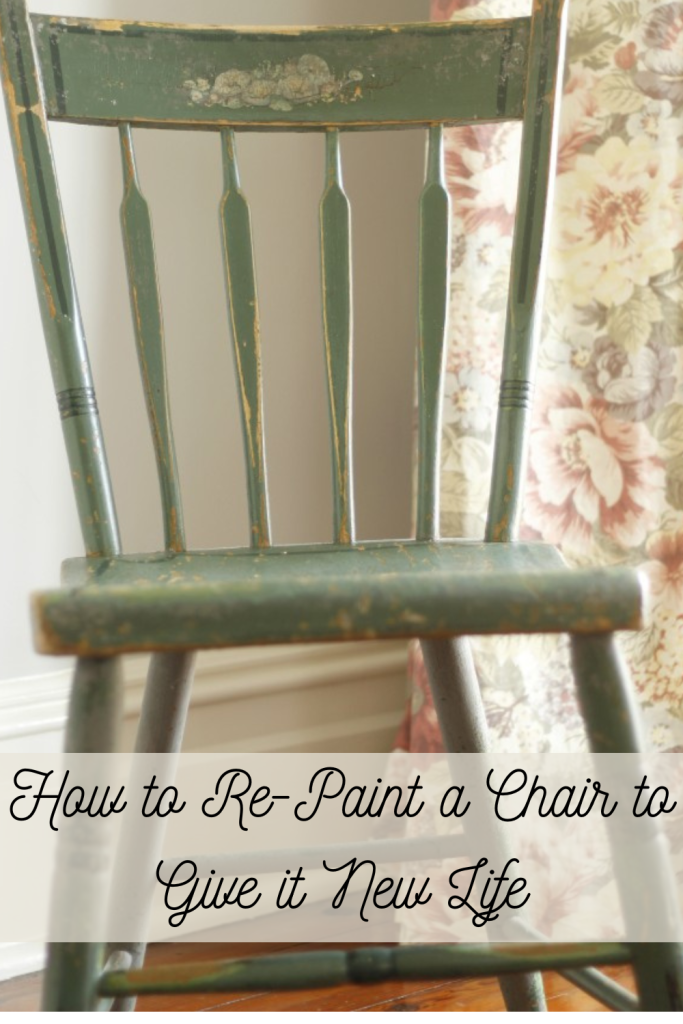
There is a set of four small farmhouse chairs we have had in our household for over 20 years. I bought them at an antique market back then and I’ve since painted them with milk paint. That painting job was about 12 years ago, so it’s time they were re-painted. In this post, I’m going to re-paint a chair to give it new life in our home.
The First Paint Job
As you see in the above photo, the chair’s paint has worn down to its original green paint with floral decal on the inside back.
Twelve years ago when I painted this chair it was with Miss Mustard Seed paint color Trophy. Back then, I added Milk Grip to the paint to make sure the paint really adhered to the wood, since it is a chair it got a lot of wear.
Also, I did some decorative painting on the chair with the color Farmhouse White. As you can see the paint has almost completely worn off, but it lasted really well with the milk bond for a long time!
Re-Paint a Chair
First, I gathered my supplies so that I was organized and made the best use of my time.
Supplies:
- Re-cycled clean yogurt container or jar with a lid
- Paintbrush- I used a 1 1/2 inch chip-brush
- Drop cloths and rags
- Milk paint – I used Miss Mustard Seed Ink Blue
- Miss Mustard Seed Milk Grip
- Old spoon for stirring
Preparing the Paint
Next, I mixed my milk paint.
I mixed about 1/4 cup milk paint powder and a little less than 1/4 cup very warm to hot water into my re-cycled yogurt container, in that order.
I stirred, with my old spoon, for two minutes to incorporate the paint into the water.
I let my container set for about 15 minutes, to allow the paint to thoroughly absorb the water.
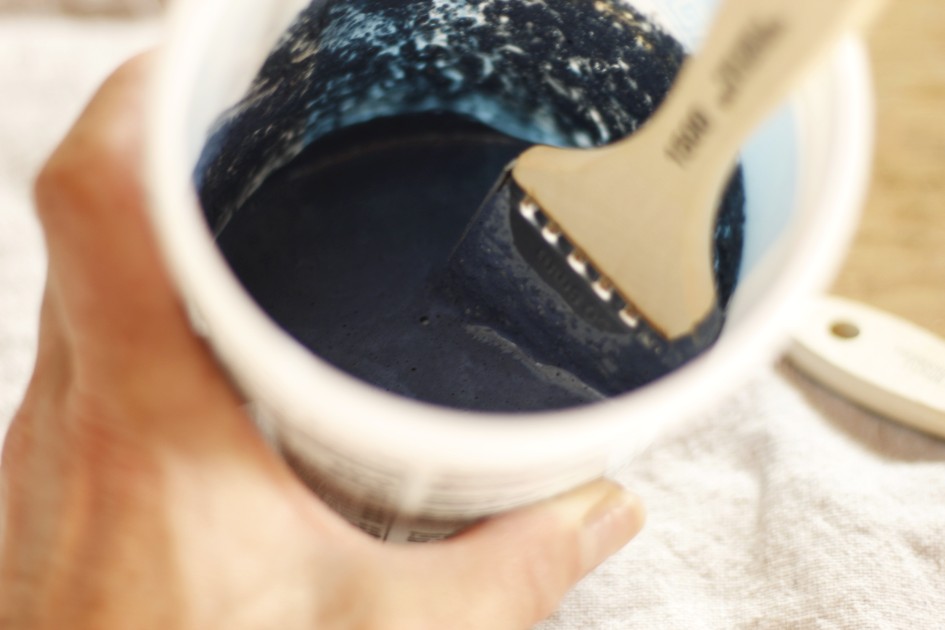
Then, I stirred it all up again and added about 3 Tablespoons ( I didn’t measure) of the Milk Grip.
I stirred the Milk Grip into the paint for another minute, or so. It’s simple, you just need a little mixed into the paint to get it to adhere and prevent chipping.
The First Coat To Re-paint a Chair
I removed dust and any loosened chipped paint from my chair with a drop cloth scrap.
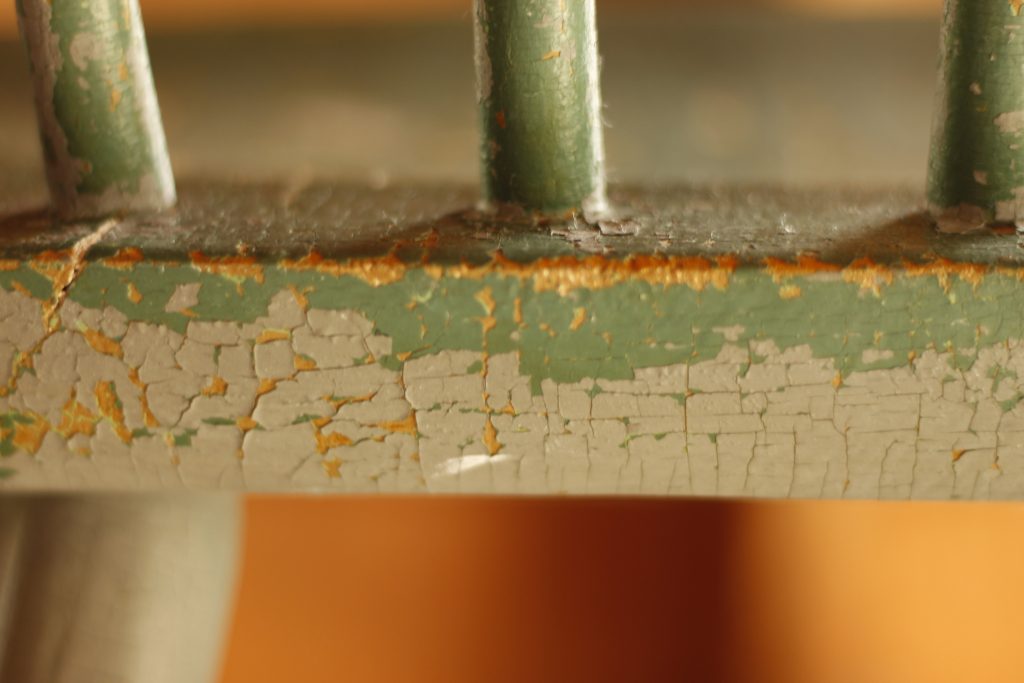
Then, I layed out a drop cloth and centered my chair on top of that.
Undoubtedly, the first coat of any painting job seems messy and it makes your furniture look worse.
So, I used my paintbrush to apply my paint, not overloading my brush, and starting at the top of my chair. I methodically used even strokes and worked my way down the chair. Every once in a while, I had to use my brush to catch paint that was dribbling down my chair.
As you can see in the above photo, my chair will need at least one more coat, maybe two, for a complete refreshing.
I let this coat dry for about an hour, the weather was hot and dry, so it would have taken longer in cool and damp weather.
The Second Coat of Paint for my Chair
I repeated with another coat of the paint, stirring my paint with my brush as I went along.
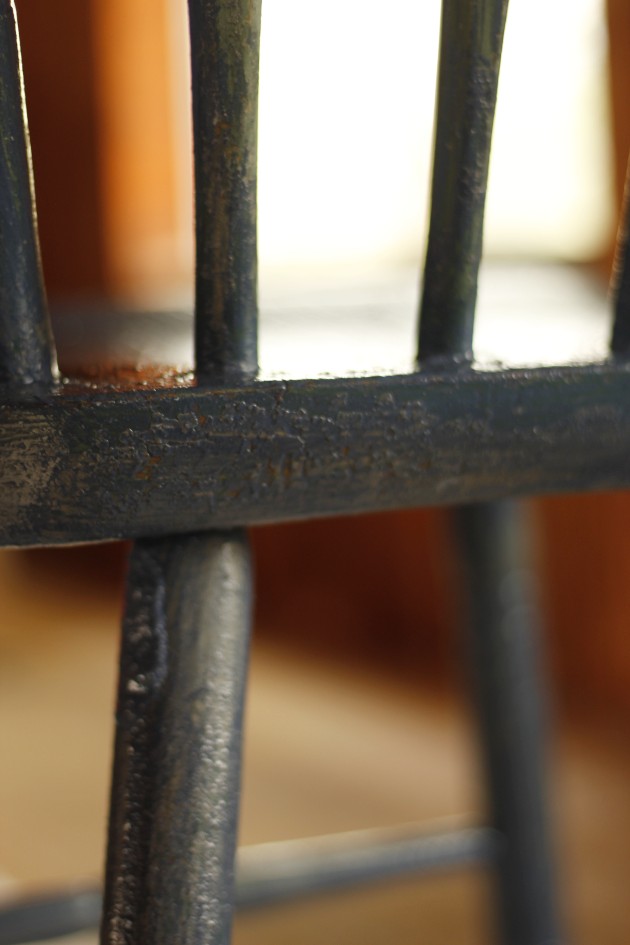
The above photo is the result of the second coat of paint.
After the second coat dried, I could still see some of the original paint through in some places, so I decided to apply one final coat.
Because I mixed up enough for just two coats, I needed to mix up a little more.
So, I mixed a scant 1/8 cup of paint powder with a little less than 1/8 cup very warm water and repeated the stirring and painting process one last time.
My Chair After Three Coats of Paint
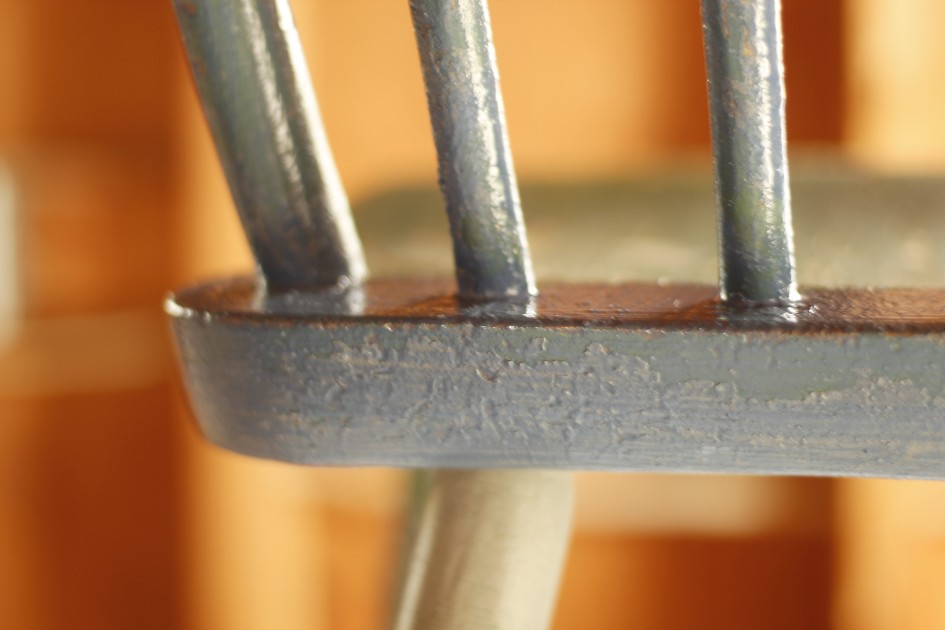
Here are the results of three complete coats of milk paint. Eventually, I will condition the chair with a couple coats of hemp oil.
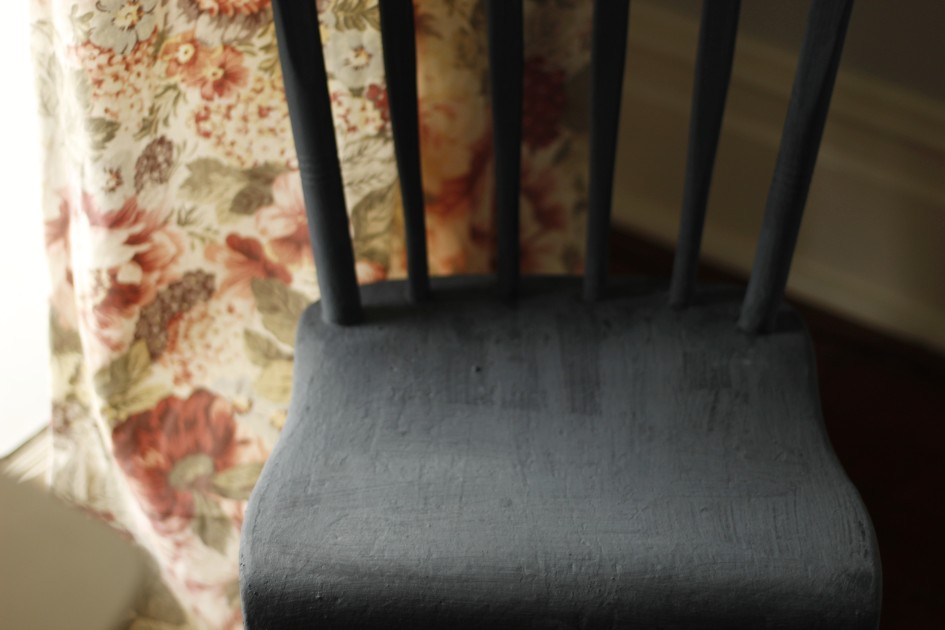
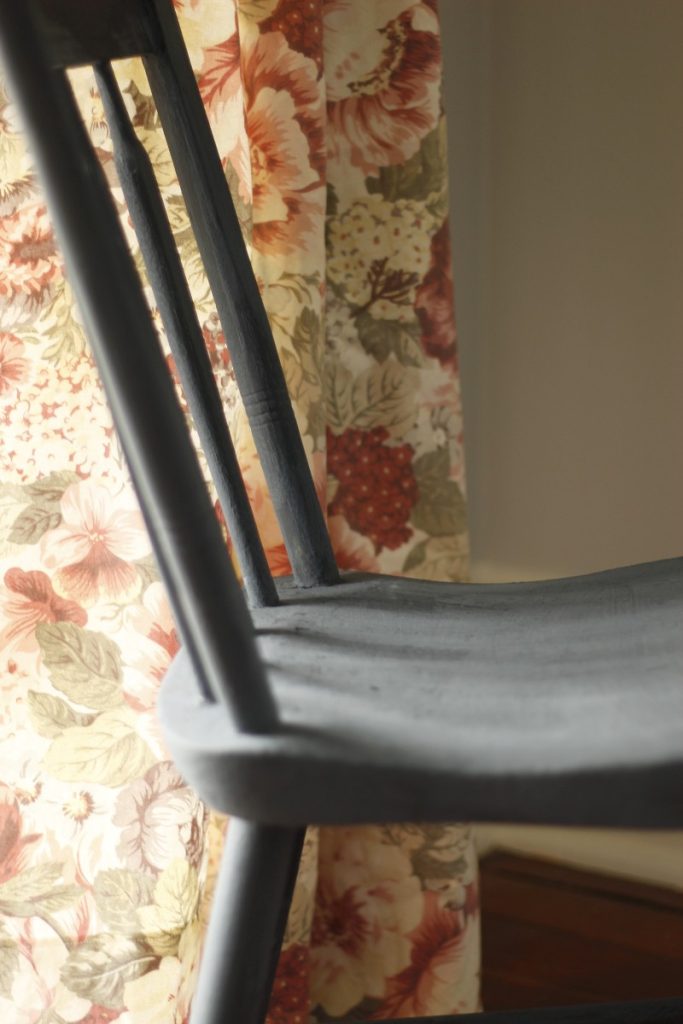
The color is beautiful with a lot of depth, I love how my chair turned out! Re-painting this chair was totally worth the time!
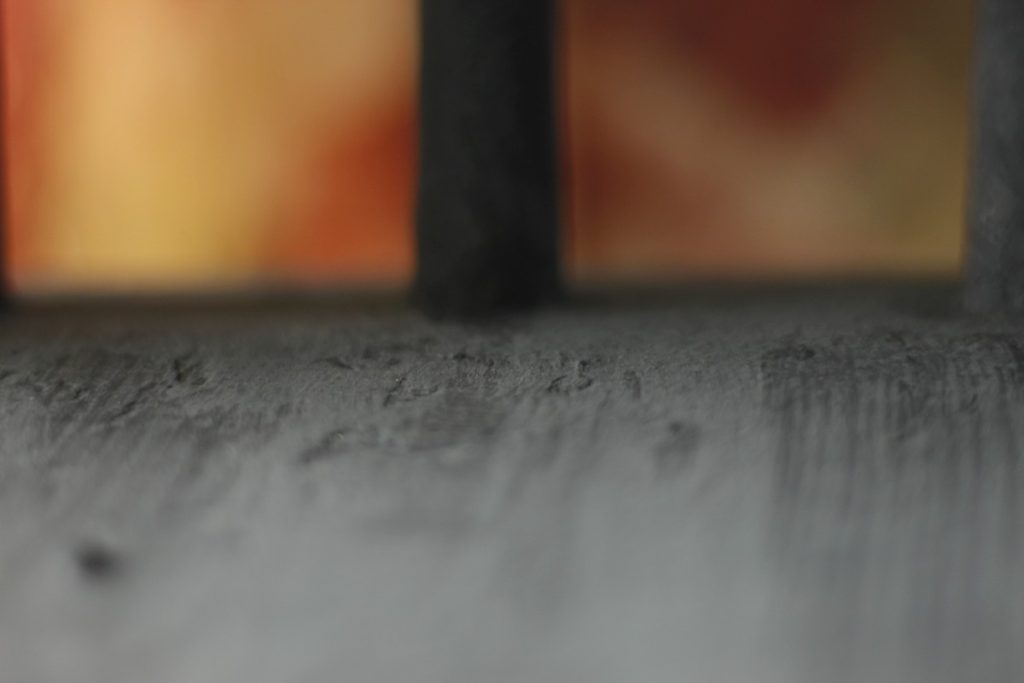
The above picture is an extreme close up of the chair seat.
This chair is destined for some decorative folk art painting, which I will show you in my next post.
Tip for Between Coats
Putting a lid on your container will prevent the paint drying. Placing your paintbrush into a plastic bag will keep the brush from drying out.
Check Back In With Me!
Check back for my next post which I’m working on, I will be showing you how I add the folk art painting and then seal my chair with hemp oil.
In the meantime, here are a couple posts you may enjoy. This one gives step by step instructions to painting thrifted wooden houses. This one is about sewing pretty Boro style stitched patches!
I hope this inspired you to freshen up a previously painted piece of furniture in your house with a re-painting job!
What furniture do you have that could use a fresh coat (or coats) of paint.
Start a conversation in the comment section below!
Leave a Reply