
Do you want to dye natural fibers with plant based dyes? I find the variations and nuance achieved on fabrics dyed with natural dye simply beautiful. Join me through this project in which I am dyeing a lovely thrifted treasure of silk fabric with madder root.
My Inspiration
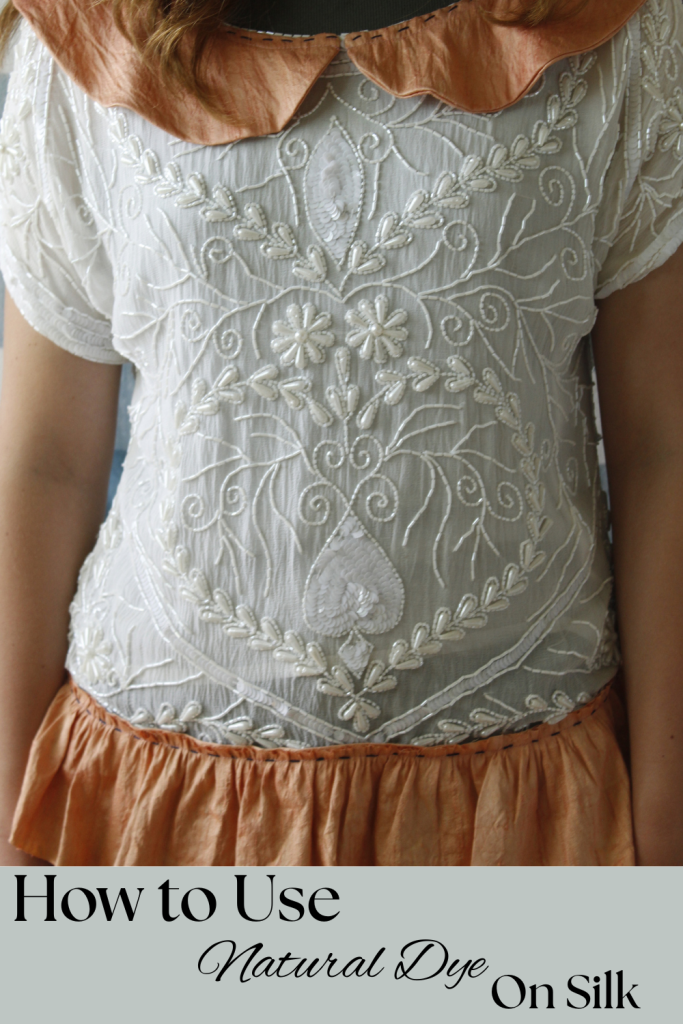
I found a white vintage beaded silk blouse at a local thrift store. It was very pretty and fancy but in my opinion it needed something to make it special.
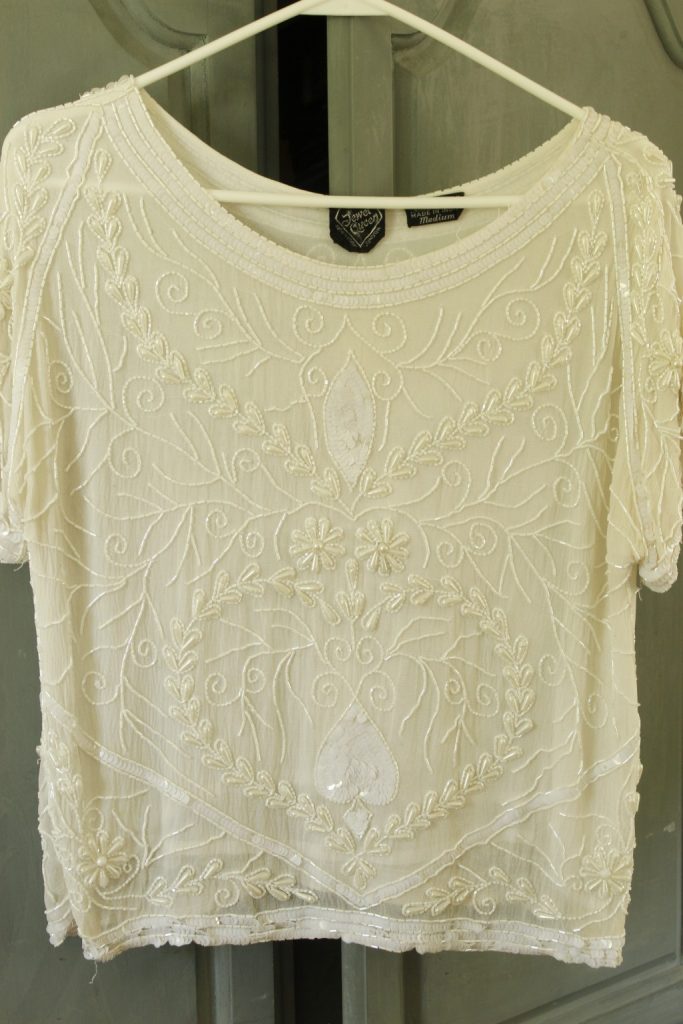
I thought about dyeing the whole blouse but was unsure how safe that would be for the beading. Then I remembered a piece of white silk fabric I also found while thrifting. I got the idea to dye it and use it to embellish the silk blouse. In this post I will take you through the process of dyeing my silk fabric naturally with madder root powder.
What is Madder Root?
Madder is a dye plant native to Northern Africa, the Mediterranean, and the Middle East. The color from a dye bath of madder root can range from deep red ,to orange, to pink. The roots of the madder plant are dried and then ground into powder.
Supplies I Gathered:
- Large stainless steel stockpot used exclusively for dyeing (do not use for food after using for dyeing)
- Symplocos powder
- Digital kitchen scale
- Long wooden spoon (save this for exclusive use on future dyeing projects, not for food)
- Non-chlorinated water
- Stovetop
- Silk Fabric
- Madder Root powder
- Re-useable kitchen gloves
Natural Dye
Naturally-derived dyes will beautifully transform certain fabrics. Any fabric that is made from synthetic fibers such as polyester, nylon, and acrylic will not hold the color from natural dyes.
The lovely cottons, linens, silks, and wools are the fibers that will perform amazingly with natural dyes.
Before plunging ahead with making a dye bath, an important first step is to wash your fabric to remove any coatings, sizing, or oils that could be on there.
The next step is to mordant your fabric.
Mordanting Your Fabric
There are various substances that will condition your fabric to hold on to the natural dye bath that you prepare. Without a mordant, the color will not adhere,or it will be very faint and then fade quickly with use.
I chose to mordant my silk fabric with Symplocos. This is a shrub that naturally contains alum. It grows well in acidic soil and is found in various places around the world. The dry, fallen leaves have very concentrated amounts of alum. The fact that the Symplocos leaves are best used after they have already fallen makes this a great choice for a “make do and mend” philosophy.
I bought my Symplocos here. It came in powdered form.
The yardage of raw silk fabric that I wanted to dye weighed 203 grams. It measures about 2 yards. So, I needed about 50% of the weight of fabric in weight of Symplocos powder.
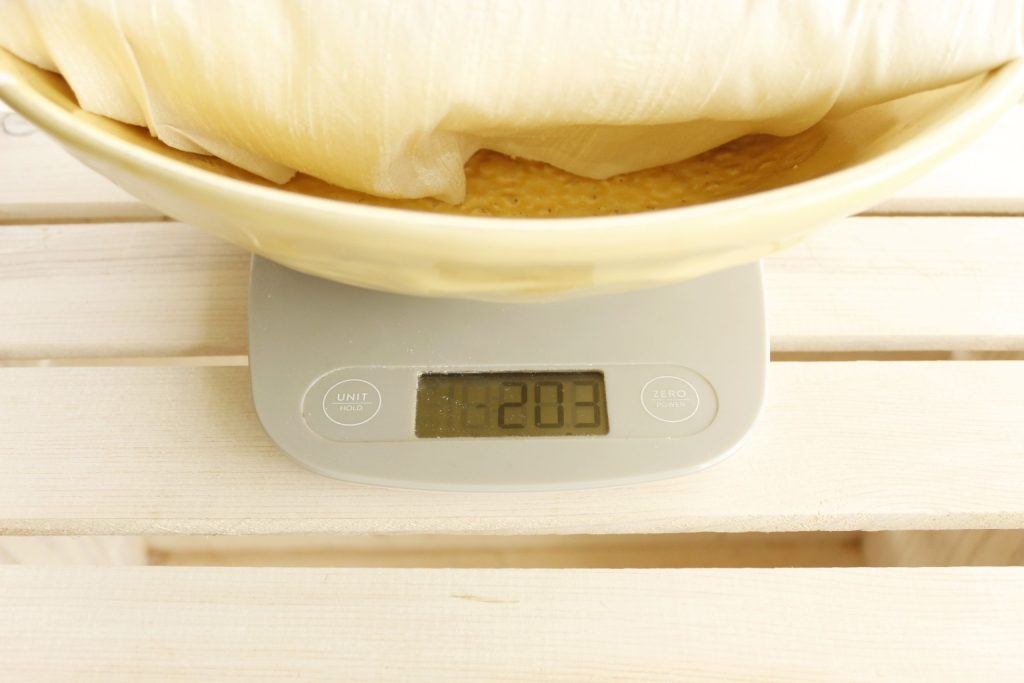
After I weighed my fabric and mordant, it was time to make the mordant bath.
Making My Mordant
First, I filled my large dye-pot 3/4 full of filtered water so that my fabric could be fully submerged and stirred.
Next I added about 1/4 cup of the water to my bowl of measured Symplocos and stirred it together into a paste. This helps to prevent clumping in the big dye-pot.
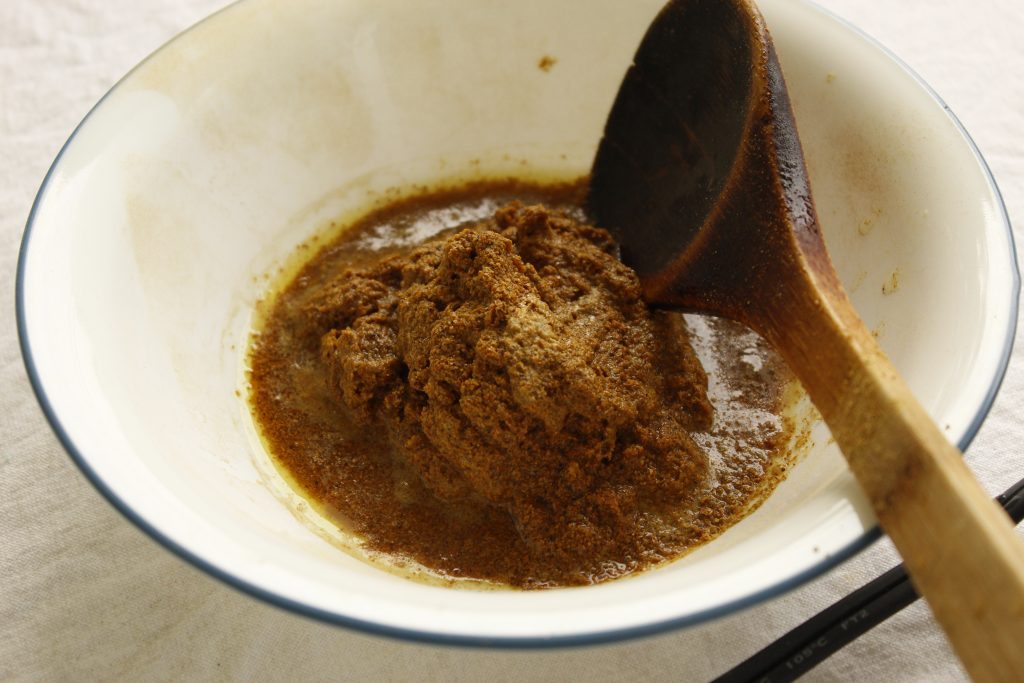
I scooped the paste into the dye-pot water and stirred well with my long wooden spoon.
The temperature of the mordant bath needs to go up to near boiling. So when it started to steam and seem close to boiling, I reduced the temperature, covered my pot, and simmered very gently for 1 hour.
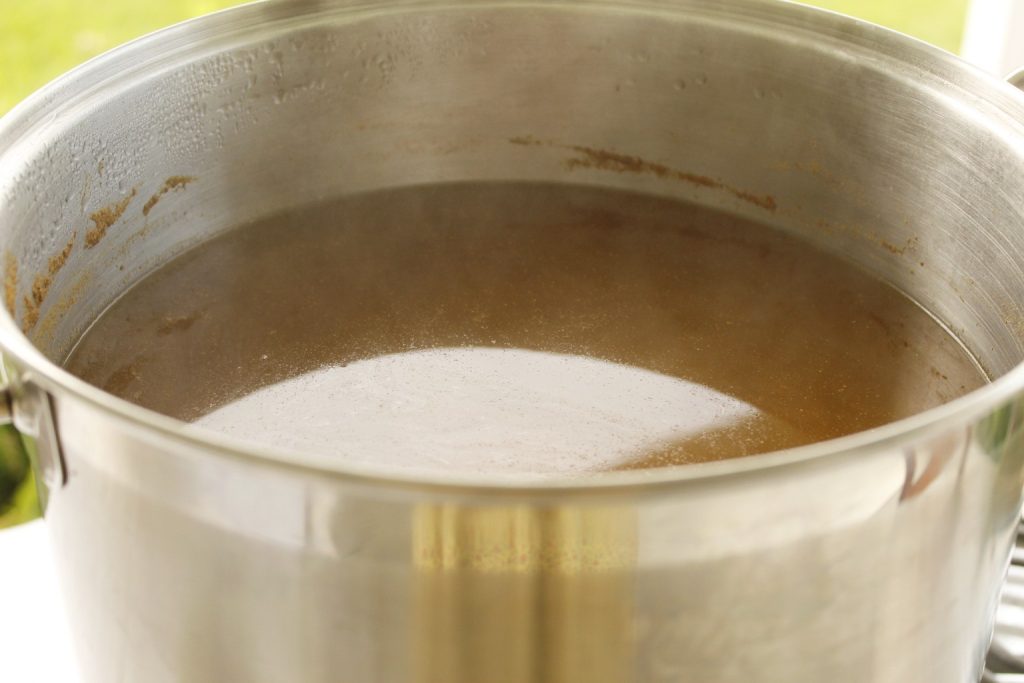
Set your timer so you don’t forget your mordant pot!
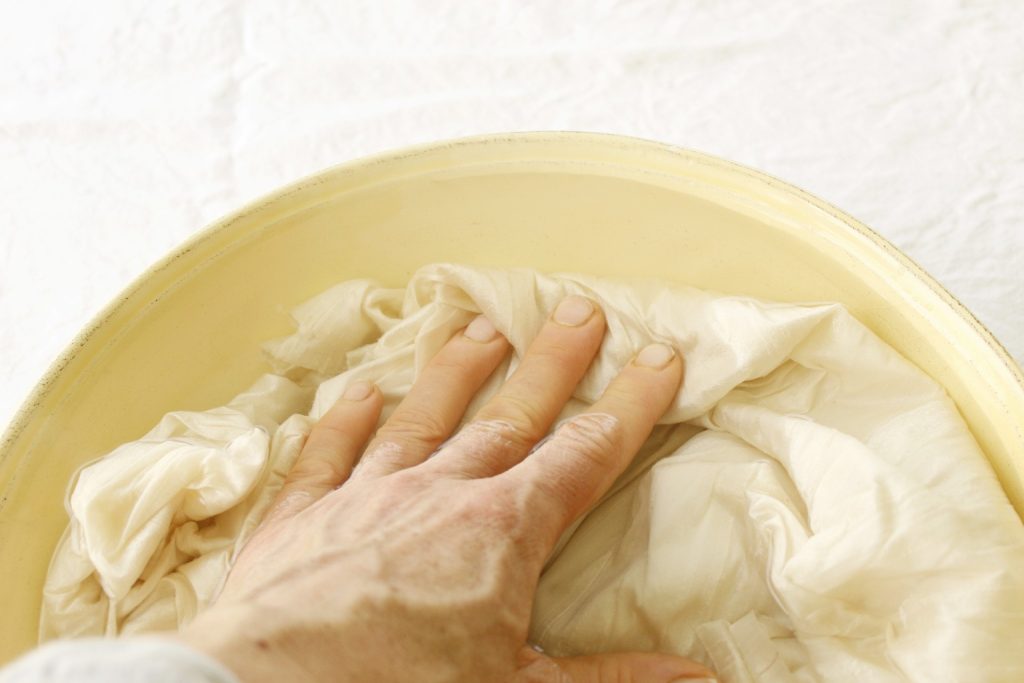
While the Symplocos was simmering, I submerged my silk fabric in a large bowl of water. This is called “wetting out” your fabric. You don’t want to put dry fabric into a mordant bath or dye bath. Wet fabric will take up the mordant or dye more effectively.
Mordanting My Silk Fabric
After the mordant bath has simmered for 1 hour, remove from heat and strain off the solid powder residue that will be floating on the top of the mordant bath. This residue can be thrown away in the trash or spread onto your lawn to wash away. Since it is plant matter, it’s much easier to dispose of, it’s non toxic for the Earth.
Drain your fabric and squeeze to remove a lot of the water. Unfold and open up your fabric as much as possible and place it carefully into the mordant bath.
Push the fabric down into the mordant repeatedly when you think about it. I left mine to soak for about 24 hours.
I recommend you wear gloves to remove your fabric from the mordant bath. Rinse in cool water and squeeze excessive water out of the fabric. Hang to dry or move on to your dye bath with your wet mordanted fabric.
At this point my fabric was a light yellow hue from the color of the Symplocos.
Making a Natural Dye Bath
For the next portion of my dyeing project, I weighed my silk fabric again to decide how much madder I would need.
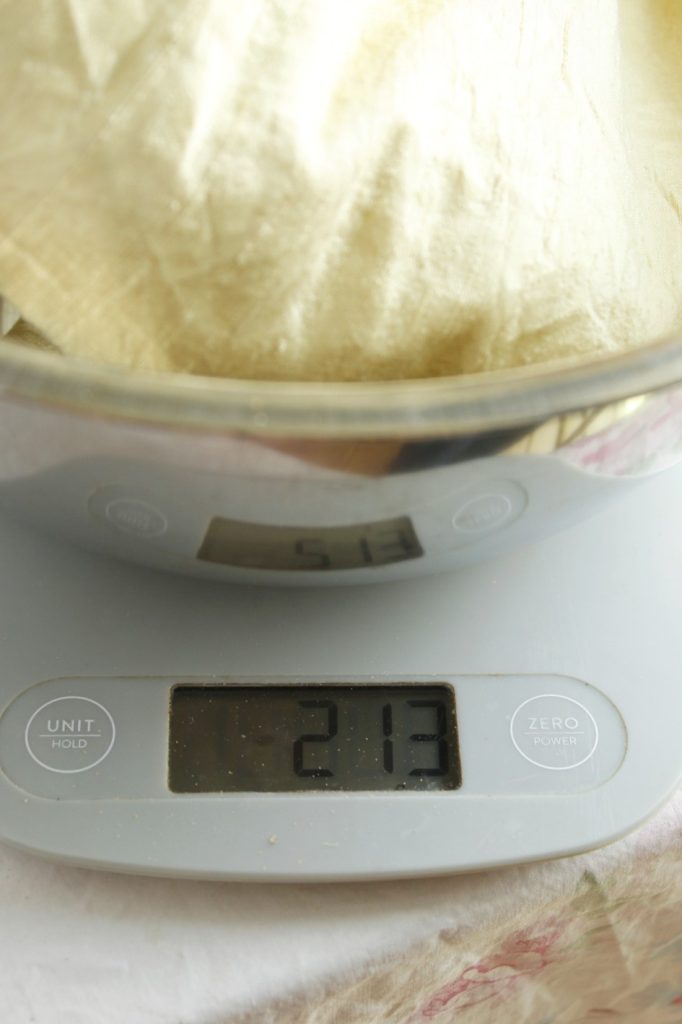
My silk fabric gained a little in weight from the mordant bath and was now 213 grams.
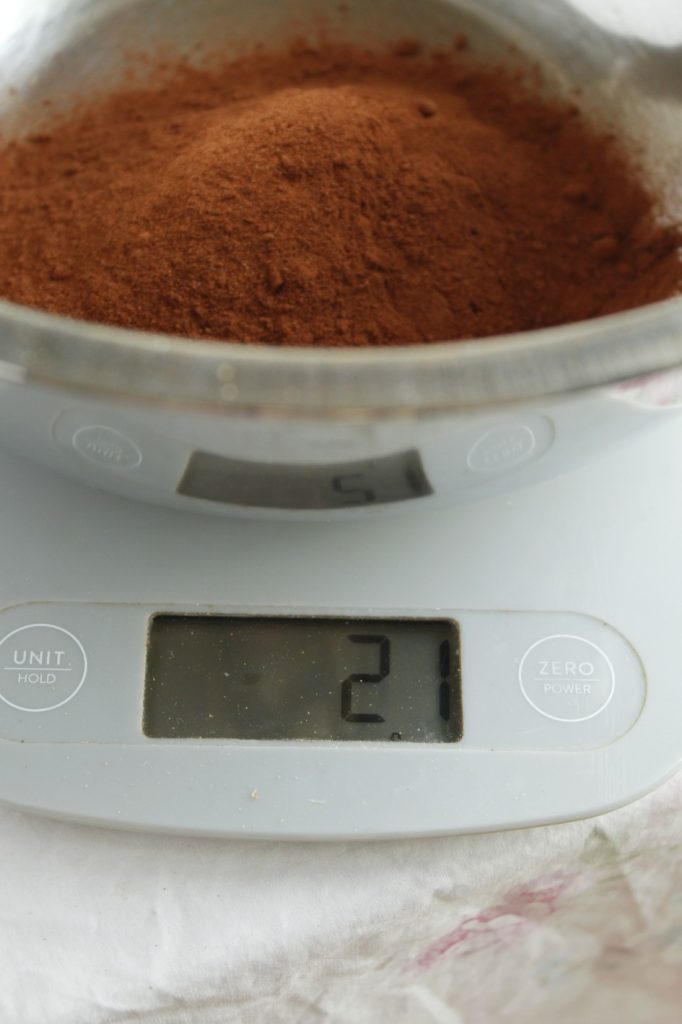
A good ratio for achieving pink with madder root is 10% powder to weight of fabric. I was hoping to end up with pink rather than red, so I decided on 21 grams madder root powder for this dyeing project.
So, first I filled my large dye pot 3/4 full with non-chlorinated water.
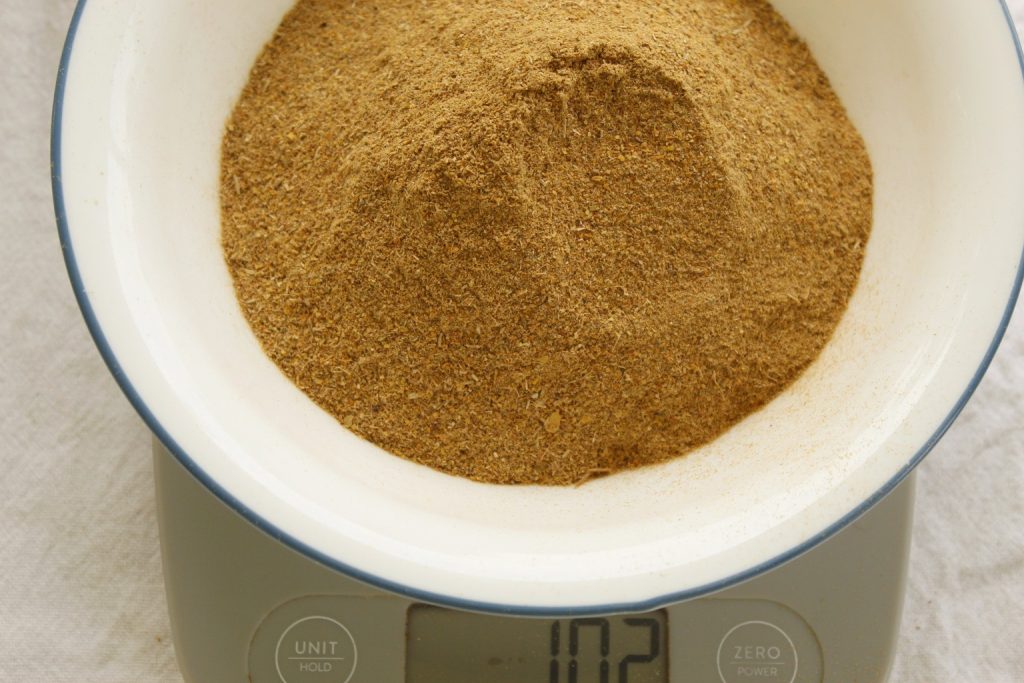
I weighed out my madder root powder
Next, I added my madder root to the pot of water immediately and stirred it with my wooden spoon.
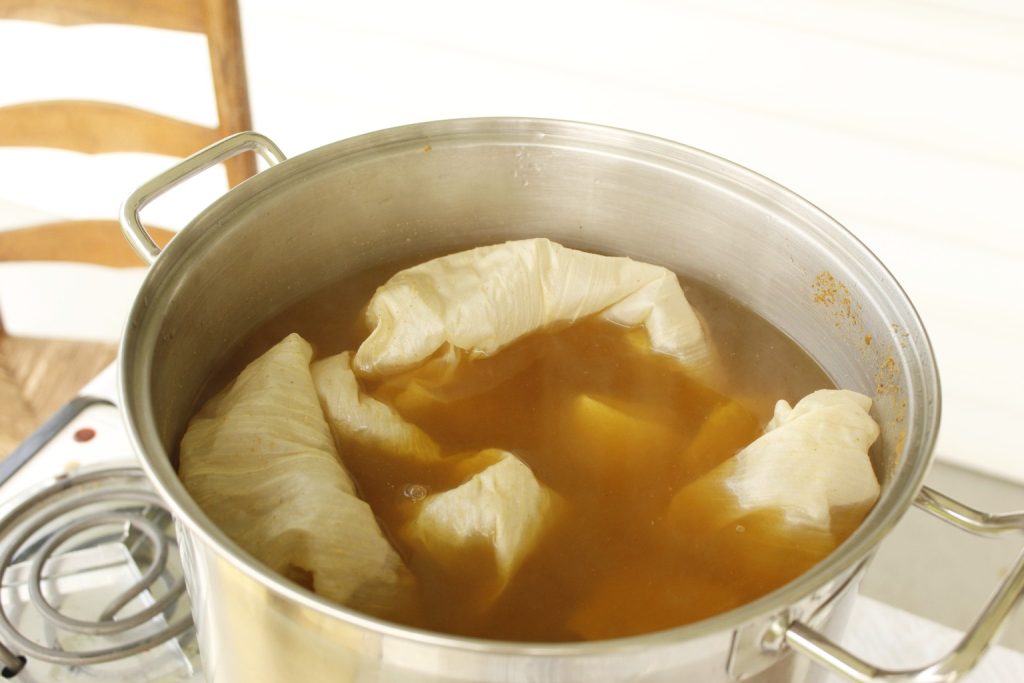
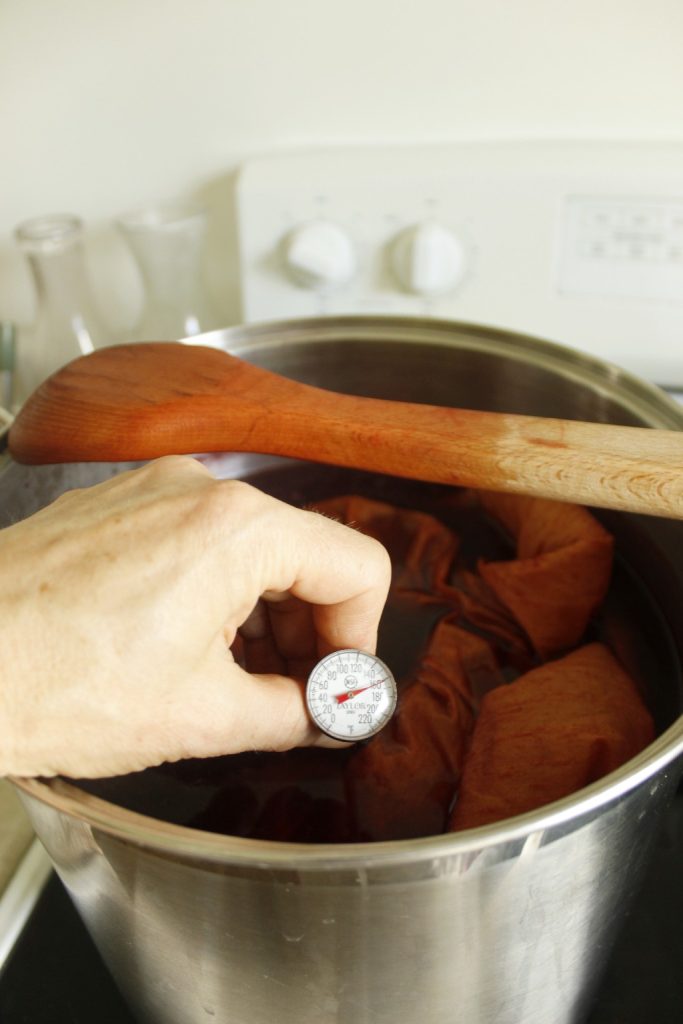
I heated my dye-bath to 120 degrees F. (50 degrees C.) and then added my mordanted, wetted out silk fabric to the dye-bath. I also unfolded and straightened out my fabric to get even coverage
After that, I brought the temperature slowly up to 160 degrees F. (70 degrees C.).
Hold the temperature at that temperature for 1 hour. The best way to do this is to occasionally lower the temperature on your stovetop and then raise it back up a little.
Stir your dye-bath every so often to evenly distribute the fabric in the dye bath. I soaked my silk fabric in the simmering dye bath for 1 hour.
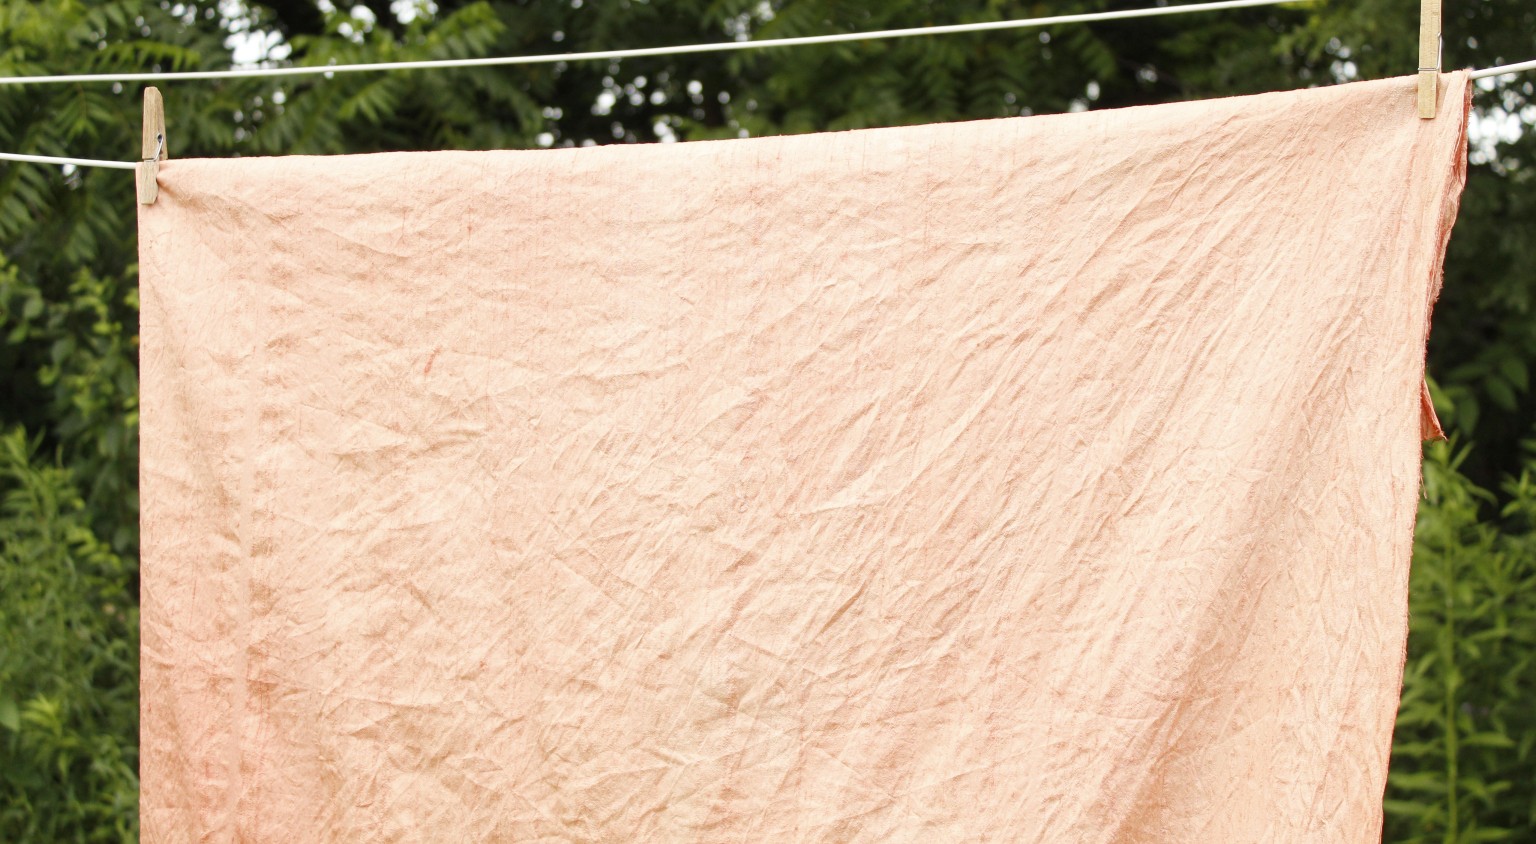
The Results of the Natural Dye
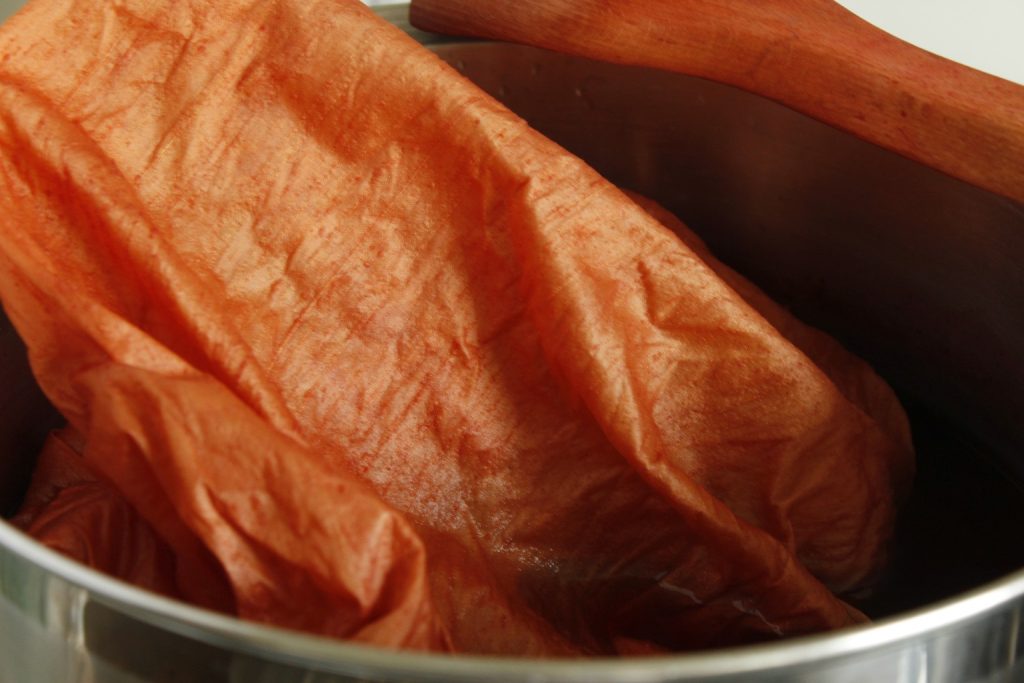
My goal was to achieve a pink hue, but I think my actual results are very pretty! It is a peachy pinky color!
Wearing my kitchen gloves, I carefully carried my dye pot outside and poured out the liquid. After my fabric was cooled, I gently wrung it out and then rinsed it in cold water. I hung it on my wash-line to dry.
Thrifted Silk Up-cycle!
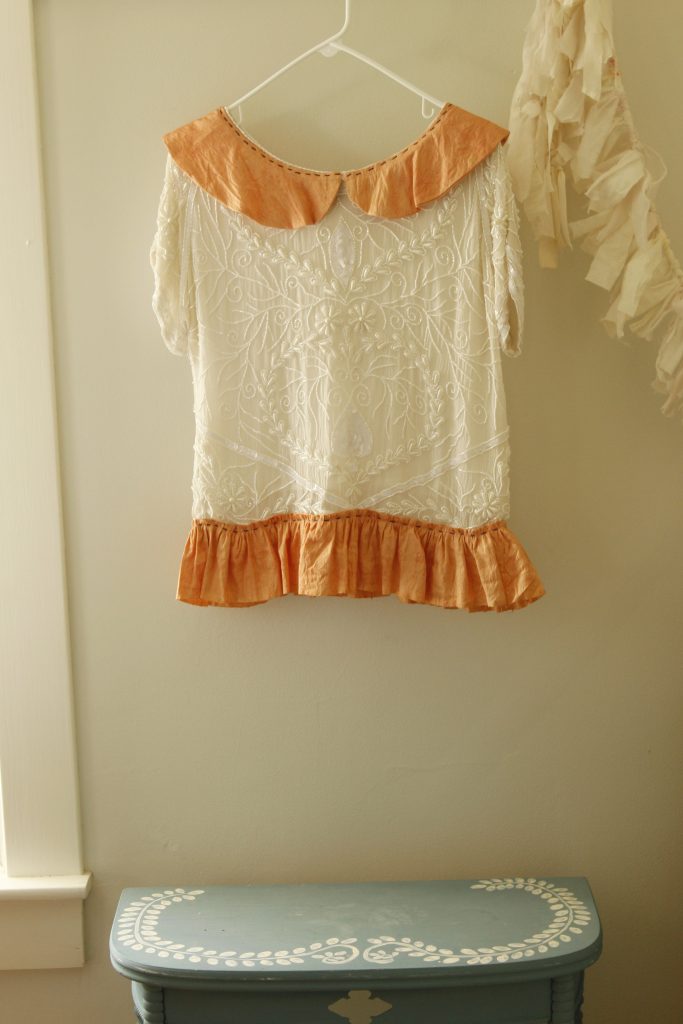
My Naturally dyed silk fabric turned out perfectly for what I had in mind for this thrifted vintage silk top!
If you have interest in this garment, you can find it or maybe something similar, in my Etsy shop here.
I have other natural dyeing posts to check out here and here!
Thanks so much for reading, I hope you try your hand with beautiful natural dyes, please let me know about your results in the comments below!
Leave a Reply