
One of my favorite things included in Spring decorating is bunnies. They, among other elements, are quintessential for springtime. My mini bunny pillow with a pocket is simple and brings great satisfaction. They bring me joy to make, and I hope they do the same for you!

Supplies For Paper Pattern:
- Bunny outline printable- I used this one.
- Paper for tracing the pattern onto. I used brown paper that was left over at the end of a Christmas gift wrap tube- super handy to save!
- Pen
- Ruler
- Scissors that you use for paper
Supplies For Mini Bunny Pillow
- Main body fabric- I used a pink double gauze that I bought at JoAnn Fabrics.
- Fabric for the pocket- I used cheesecloth that I washed and dried to soften.
- Sewing thread
- Sewing machine
- Iron
- Fabric scissors
- Pins
- Stuffing that is used for pillows and toys- I sometimes use wool, which I prefer, but for this project I used this.
Preparing the Pattern
If you sew this bunny with the pattern “as is” it will be quite small. Enlarging the pattern slightly will make it a mini pillow size. I have enlarged my pattern by hand, but if you prefer, you can have it done for you at an office supply store to any size you desire.
First, print a bunny template and cut it out. I suggest fixing it to your pattern paper with a few pieces of washi tape to keep it from shifting. Trace around the edge and remove your bunny template from the paper.

Fill in the gaps left where the washi tape was.

To enlarge the pattern by hand, begin by marking the pattern one inch bigger around the entire perimeter, making a small mark every inch or two. Making your marks close together allows you to connect them into an outline that is an enlarged copy of the bunny.

Next, connect the dots on your pattern and adjust any areas by drawing freehand with your pencil or pen.
Cut out the new enlarged paper pattern of the bunny.

Tracing the Mini Bunny Pillow
Pin your paper pattern to your fabric. Use a water-soluble marker to trace around the bunny pattern. Alternatively, use a pencil, it marks more quickly, but the line cannot be removed. You can decide if that matters to you. The line may be visible after the bunny is sewn.
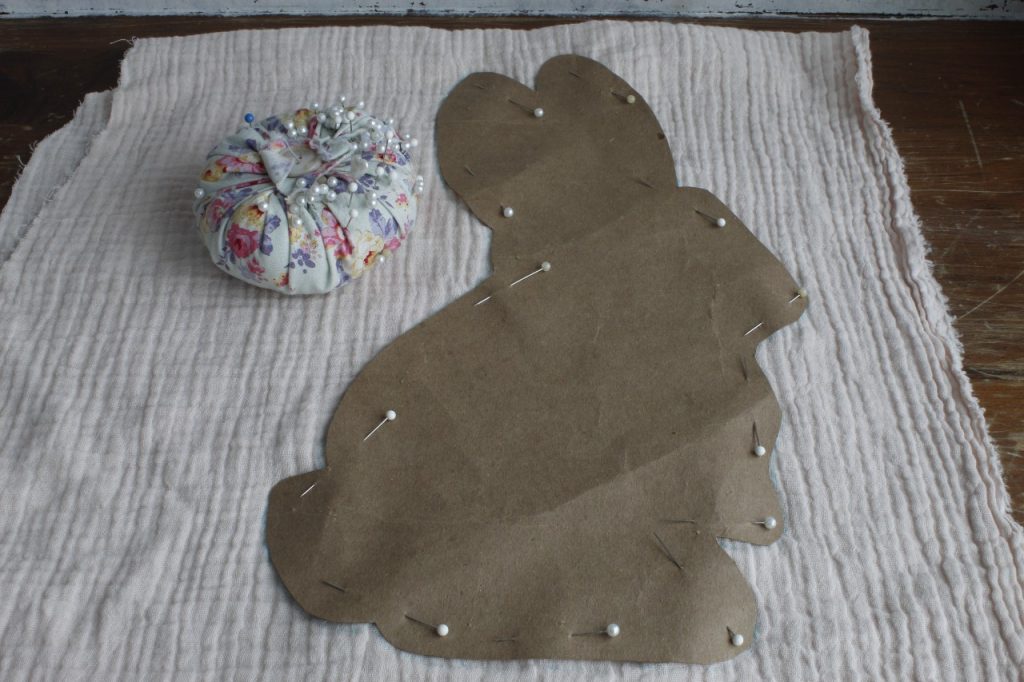
It may require a few swipes of the fabric marker across each section to make a visible line but be patient with it. It is important that the outline is visible in order to sew the seam neatly and accurately.
Do Not Cut Your Bunny Out Yet! You will sew along the traced line, so it will have an exposed raw edge.
Preparing the Pocket

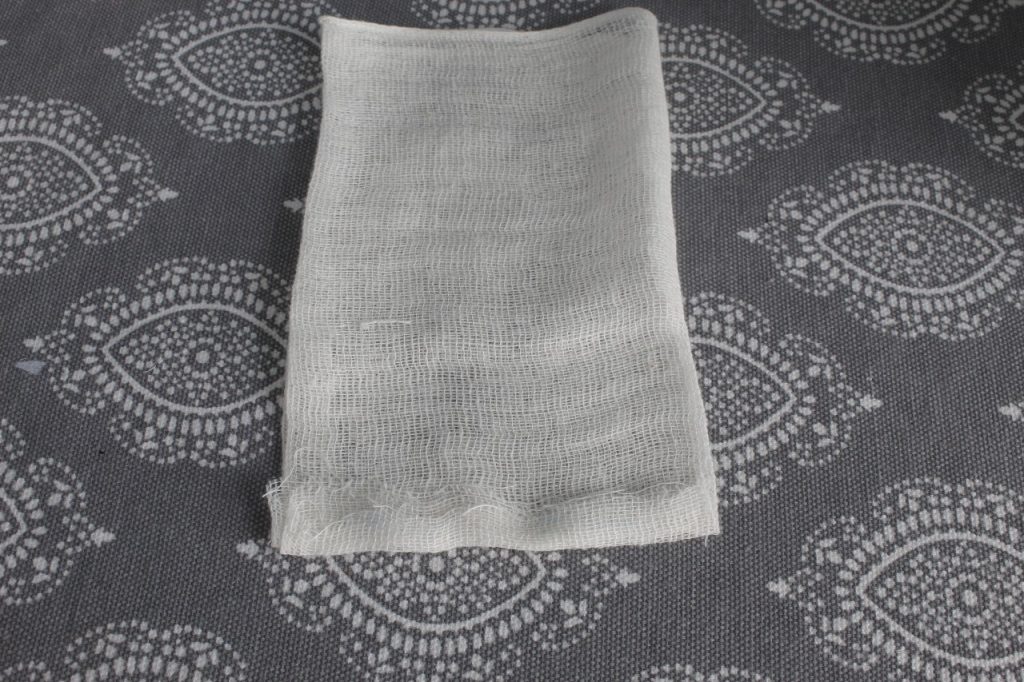
Cheesecloth may seem like a strange choice for a sewing project, but its gauzy and delicate weave are pretty for Spring. It is lovely for a pocket on a mini bunny pillow, imagine it holding a few sprigs of lavender.
So, prepare the pocket for your bunny. Cut a 10-inch wide by 5-inch-high piece of cheesecloth along one of the selvedge edges, the longer edge being the selvedge. I reserved the selvedge edge for the opening of the pocket.
Next, fold one of the 5-inch-long edges over ¼ inch and press it flat with an iron. This is to enclose the raw edge.

Fold the 10-inch length of the fabric into thirds and press it flat.


Next, fold up the bottom edge 1/4 inch and press it with your iron.
Remove the pattern from your bunny, separate the layers and place the traced layer of the fabric on a table. You will now need to pin the pocket onto the single layer of your mini bunny pillow. This is to be done before it is sewn together.
Attaching the Pocket

After separating the layers of fabric, place the pocket in the middle of your bunny and pin around the sides and bottom of the pocket keeping the top edge open.
Next, topstitch close to the edge of the pocket. Start your topstitching at one top corner and backstitch to secure the pocket. Sew the side seam going toward the bottom of the pocket. With your sewing machine needle stuck in the fabric, lift your presser foot and pivot at the bottom corner. Lower your presser foot and sew across the bottom to the other corner. Repeat the directions for the previous corner and then sew up the other side, then backstitch.


The above photo shows the pocket sewn onto the center of the bunny outline.
After sewing the pocket, I pressed the seams with a hot iron.
Sewing the Mini Bunny Pillow
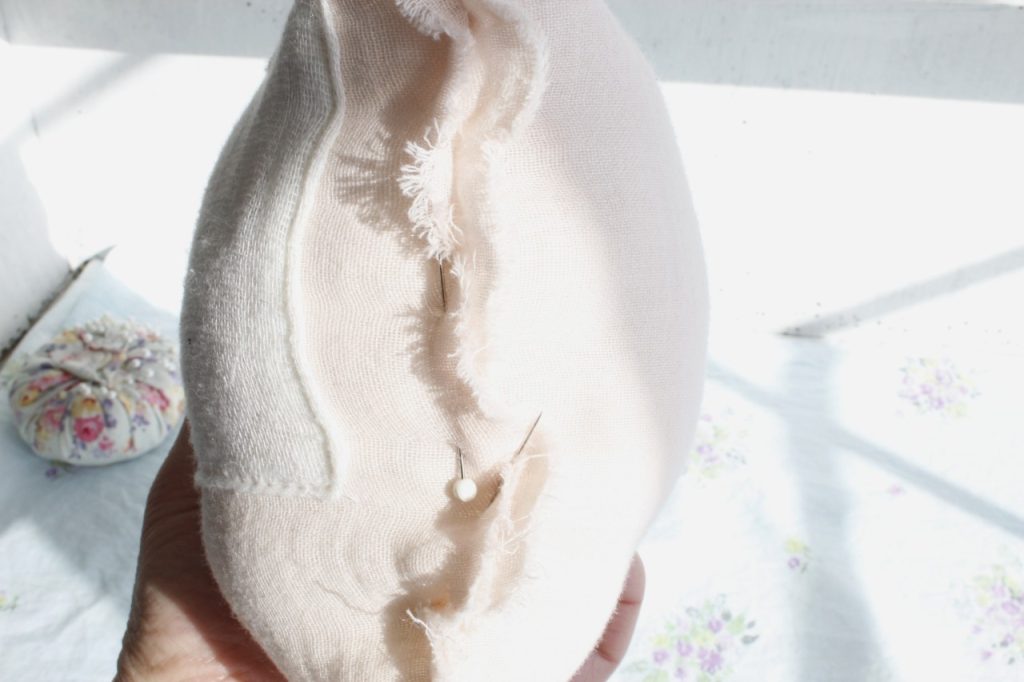
After the pocket is sewn in place, line up the layers of your main fabric once more. Make sure that both layers are going in the same direction. Pin the two layers together with the pins along the traced pattern line of the bunny.
I recommend starting the topstitching at the bottom left side of the bunny, sewing all the way around, ending at the right bottom side. You will need to keep open a four-inch gap on the bottom in order to stuff your pillow.
So start your topstitching on the bunny line by lining up your sewing machine needle right over the line. Try to keep your needle traveling along the line that you have drawn. Sew very slowly by putting your foot onto the pedal of your sewing machine very gently and then removing it. The “stop, start” action of your foot will keep the speed from going too fast.

Cutting Out Your Pillow

Once you have completely topstitched your mini bunny pillow, leaving the gap open on the bottom, the next step is to cut out your bunny. Very carefully cut about 1/4 inch- 3/8 inch from the topstitching. Over time your raw edge will develop a frayed look.
After your bunny pillow is cut out, the marks (if you used a water-soluble fabric marker) can be removed. I used a scrap piece of the cheesecloth, dipped it into a cup of water and dabbed the blue line making it slightly damp. When the marker comes into contact with the water it dissolves without any rubbing.
Press your stitching, this will make all your sewing neater and help to dry your bunny pillow.
Stuffing Your Mini Bunny Pillow

Starting with small handfuls of toy stuffing, push the entire way into the ears of the bunny. It is best to stuff small sections at once before moving to the next section because it is easy to end up with strange lumps if this process is rushed.
Once the ears are stuffed to your liking, move on to the head. I paid attention to stuffing the nose until it looked right to me.
I wanted my bunny quite stuffed and plump and for it to look round from the side as well as the front.
Down at the bottom of the bunny was the most difficult, in my opinion, since the stuffing did not easily stay put into the corners.
So, I kept stuffing until the bottom was good and full. I found that it was tricky to get the stuffing to stay in the toes, so if that happens to you, I have a solution. Hand stitch the opening of the bunny closed an inch or two and then you can still put more stuffing into the smaller opening. But it will stay where you want it because the hole is smaller.
When your mini bunny pillow is well stuffed, it is time to hand stitch it closed.

I used a backstitch and followed the bottom of the bunny pillow about 1/4 inch- 3/8 inch from the edge.

Even up the handstitched bottom seam by cutting a small amount off with your fabric scissors.
Displaying Your Mini Bunny Pillow
These bunnies are adorable on their own, but I think they are even better with wide ribbon tied in bows around their necks. I used this ribbon.
I have come up with several ways to display and use my mini bunny pillows. First, the traditional place for pillows, leaned up against a pile of pillows on a bed or couch.

Alternatively, I’ve sewn a pillow without the pocket to show that as an option.

The above photo shows my bunny holding a wooden scoop in the bathroom beside jars of bath salts made by my lovely daughter!
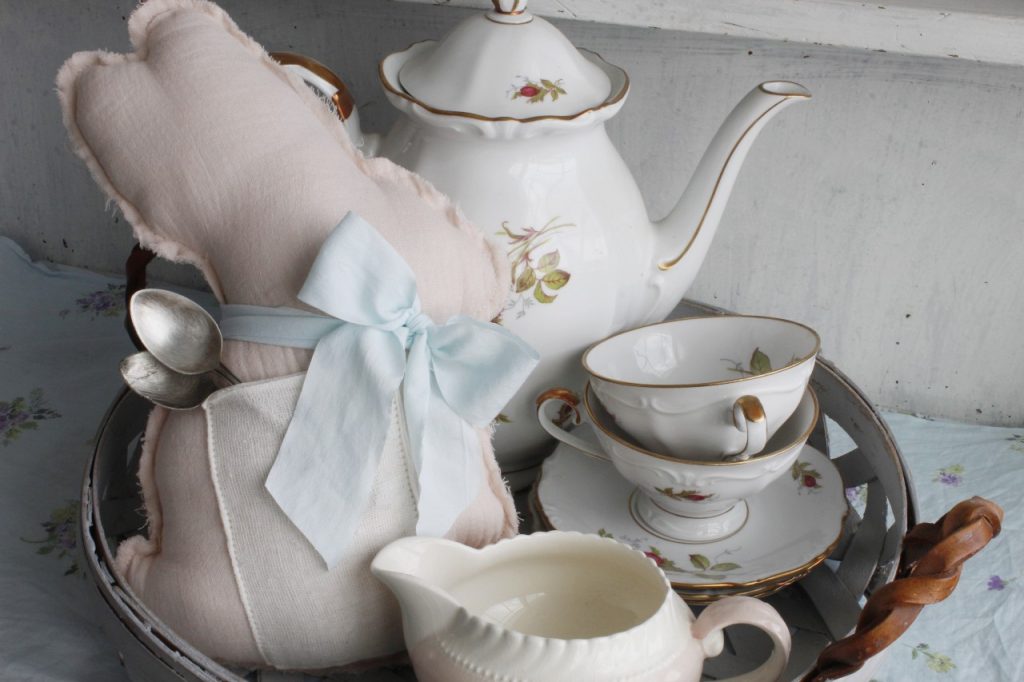
It looks great displayed on a tray of afternoon tea supplies.

Another idea is to put sprigs of lavender in the pocket, I think that would be so sweet, unfortunately I had no lavender for these photos, but I plan to save and dry some lavender from my garden this growing season.
In the photo above, I have displayed both my mini bunny pillows with my Yellow Cottage Tea Cozy I have for available on my Etsy shop! They look so great together.
For other sewing projects to embellish your home, I recommend this post and this post.
Do you feel inspired to sew Spring-time projects for your home? What ways can you think of to use your mini bunny pillow? Are you going to try other fabric combinations? Please comment below to start the conversation!

Great pictures and easy to follow. What a wonderful project!
Thanks!