
Do you love rugs but find it at the bottom of your budget priorities? This is where I’ve found myself. When my wonderful aunt gave me some leftover upholstery fabric in a very neutral color, I decided to try to sew a rug. Join me as I figure this out!
The Fabric
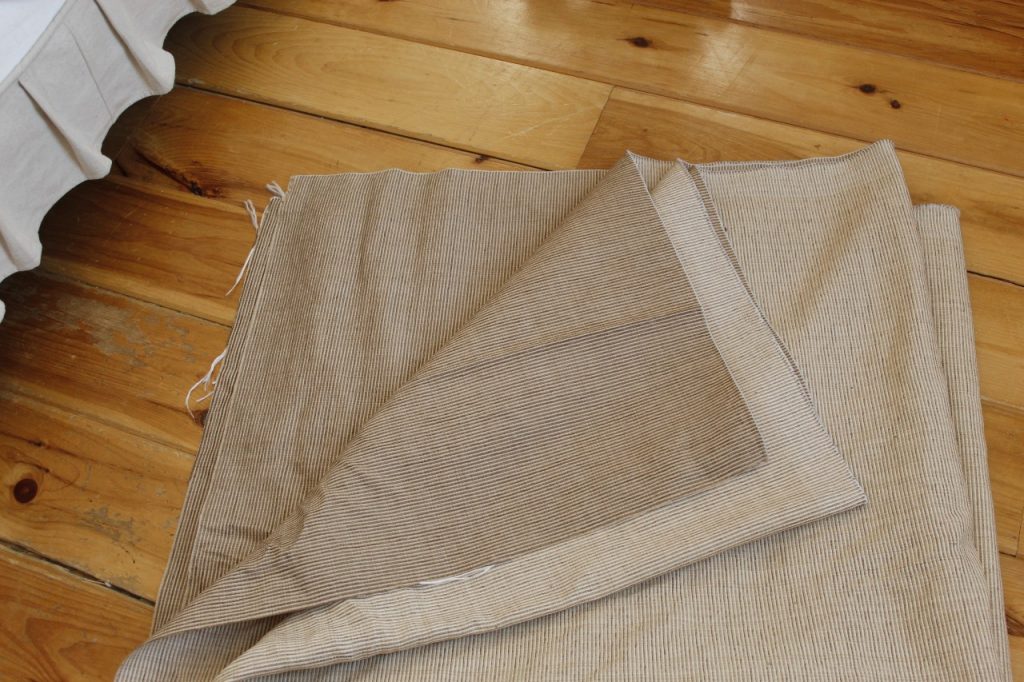
The fabric is a good quality neutral tan with textural stripes woven into it. The dimensions of the fabric are 60 inches by 130 inches. After a little searching, I found this one, if you would like to buy something similar.
If you like making super useful items for your home, or even as a gift for a friend, check out this post!
Supplies Needed for This Project
- Strong upholstery fabric, of a size large enough to be the size you want when doubled
- Matching thread
- Sewing machine
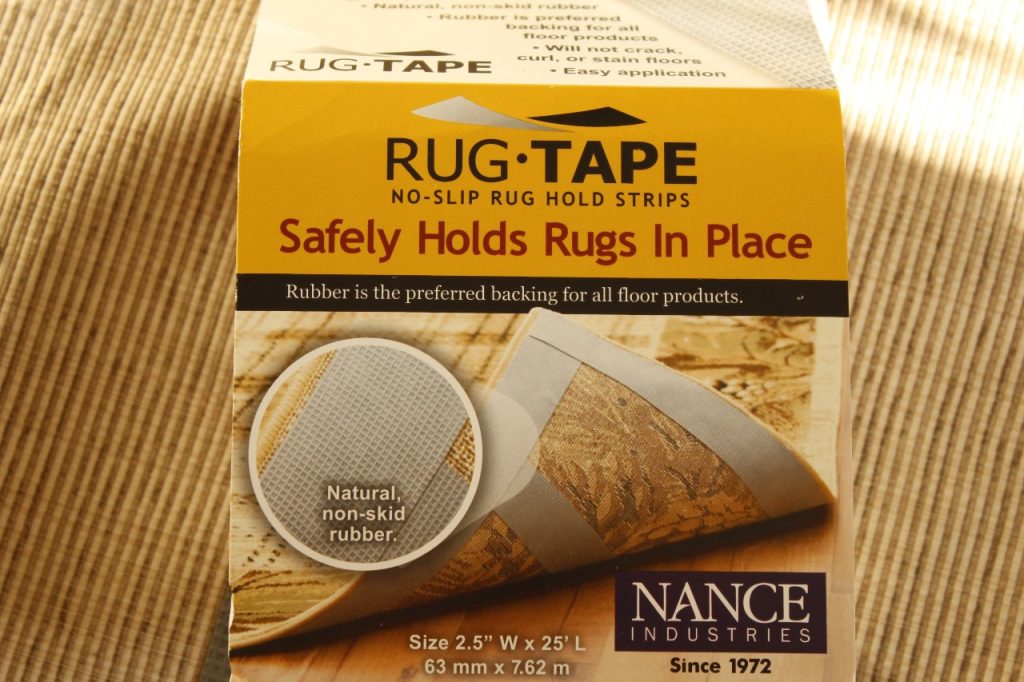
- Rug backing strips- this one is a good option
Fabric Measurements
You can make your rug whatever size you want. If you have a length of fabric in your stash, you can use that. Or, if there is a specific area in your home that needs a rug, you can measure your space and buy fabric.
Whichever you choose, you just need a double layer of fabric.
First Step for My Rug
I thought about it for a few minutes and finally decided to cut my fabric in half instead of sewing it together folded. So, I lined up the edges carefully and cut it in half along the width. This meant my double layer of fabric was now 60″ by 65″. I admit that this is an unusual size for a rug, basically a square, but this size is fine for the one side of my living room space.
Time to Sew the Rug
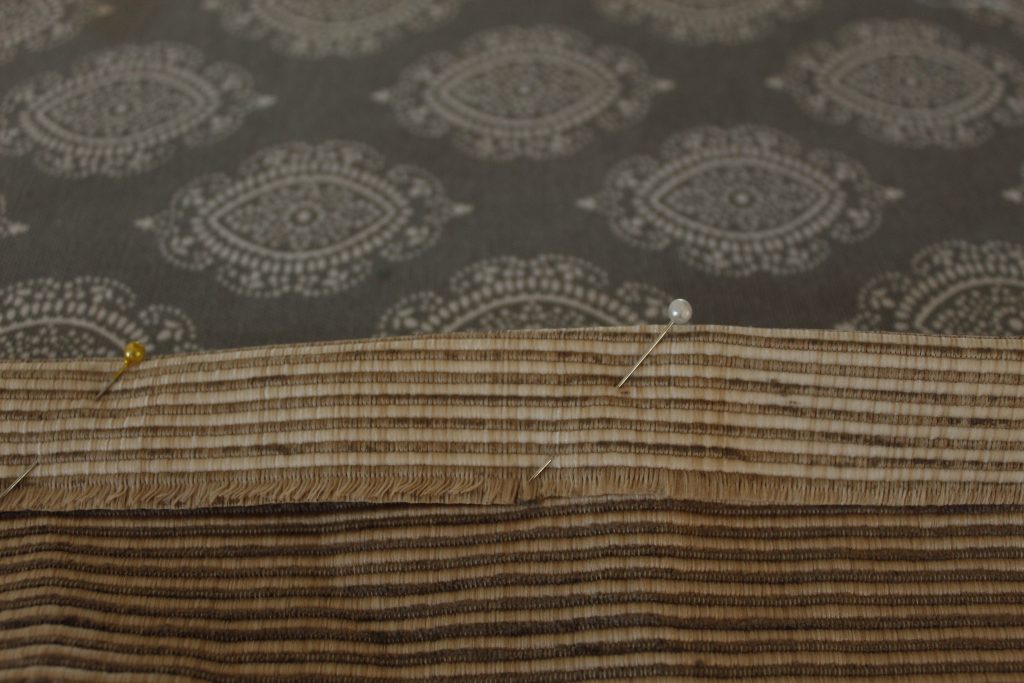
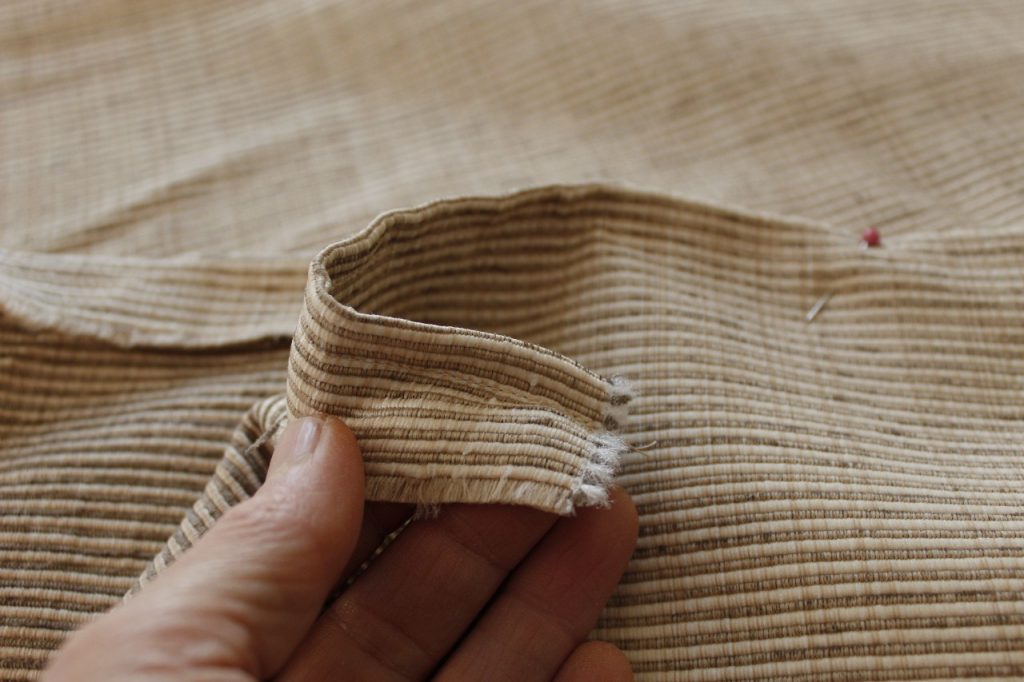
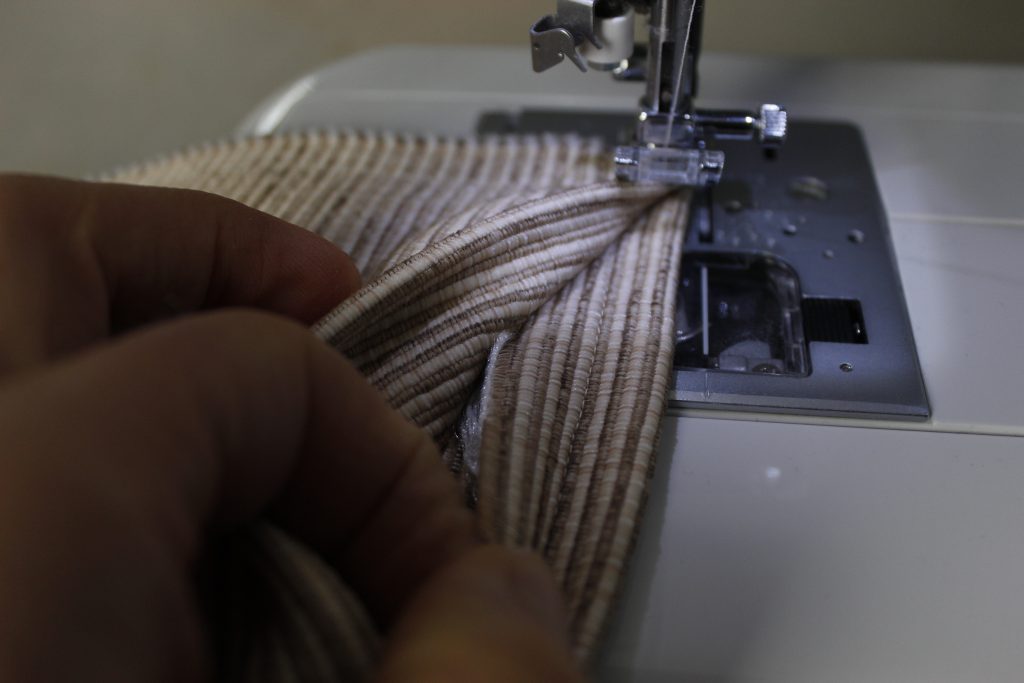
The next thing I did was to press in a hem of about 1″ along each side of my rug on both layers and pinned it. I used a scrap of fabric as a pressing cloth. My fabric was partially synthetic, and I didn’t want it melting onto my iron. Unless you are certain that your fabric is 100 percent natural, I advise you to use a pressing cloth to protect your iron from melting fabric.
I sewed a straight stitch all along each layer of fabric. The fabric was bulky, and I didn’t want it shifting around, so I took this extra step.
After that step, I topstitched the two hemmed layers together around the rug.
Applying Rug Backing
Rug Tape is a rubber-based rug backing that I found at my hardware store. There are many different brands that sell similar products, but this one worked really well and ended up holding securely to the back of my rug.
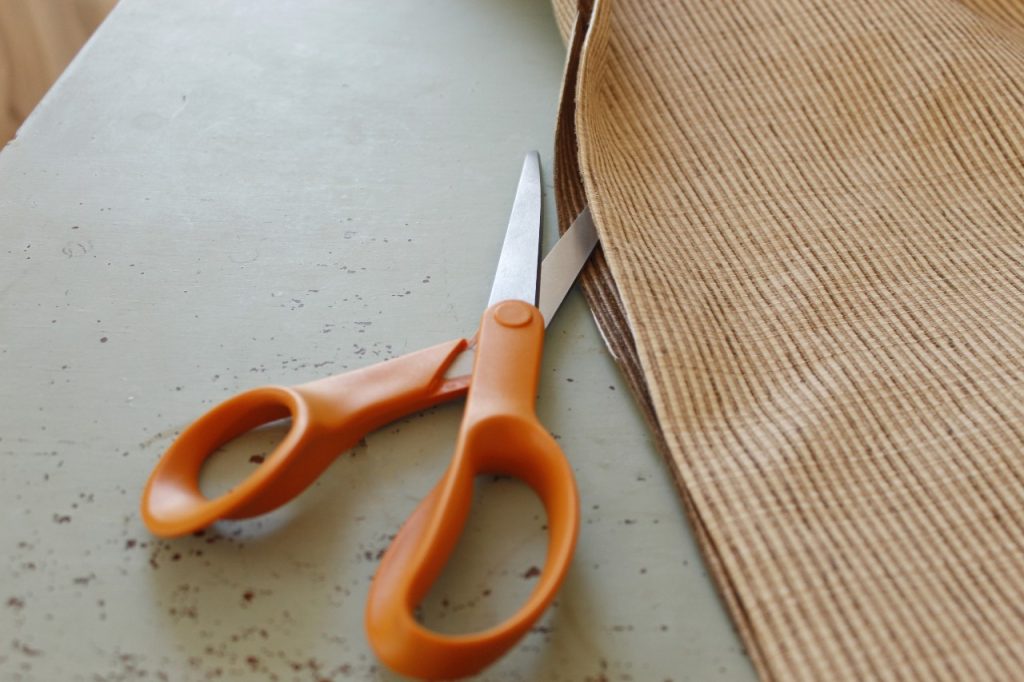
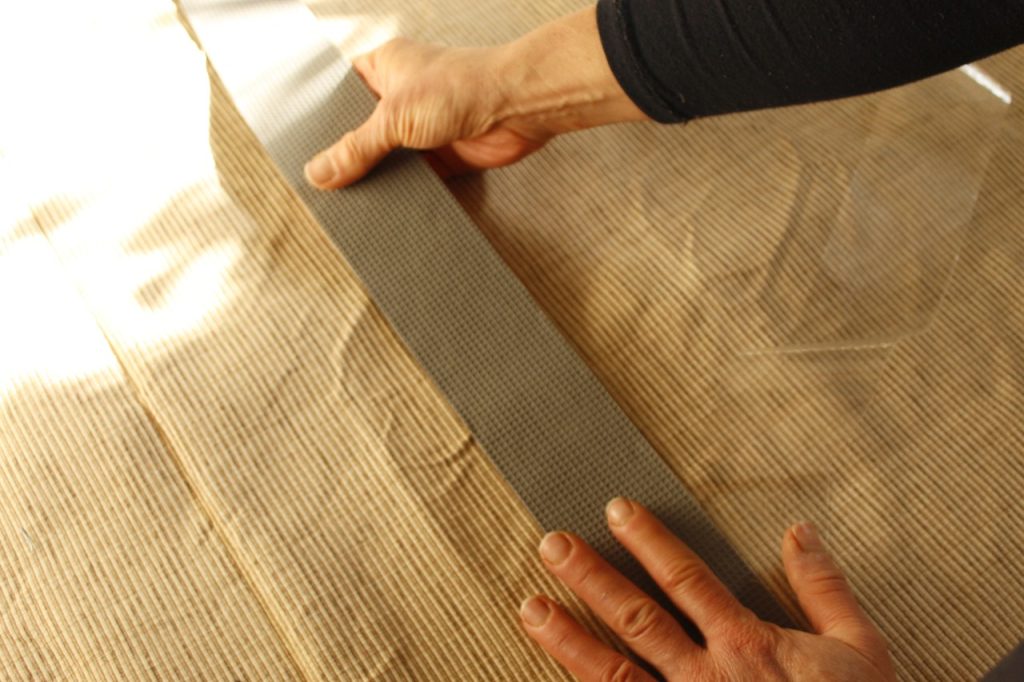
First, I cut the strips to fit the length of my rug, using sharp scissors. I made sure that I kept a 1/2-inch bare edge around the perimeter, which is what the instructions advised. One roll was enough for five strips on the back of my rug.
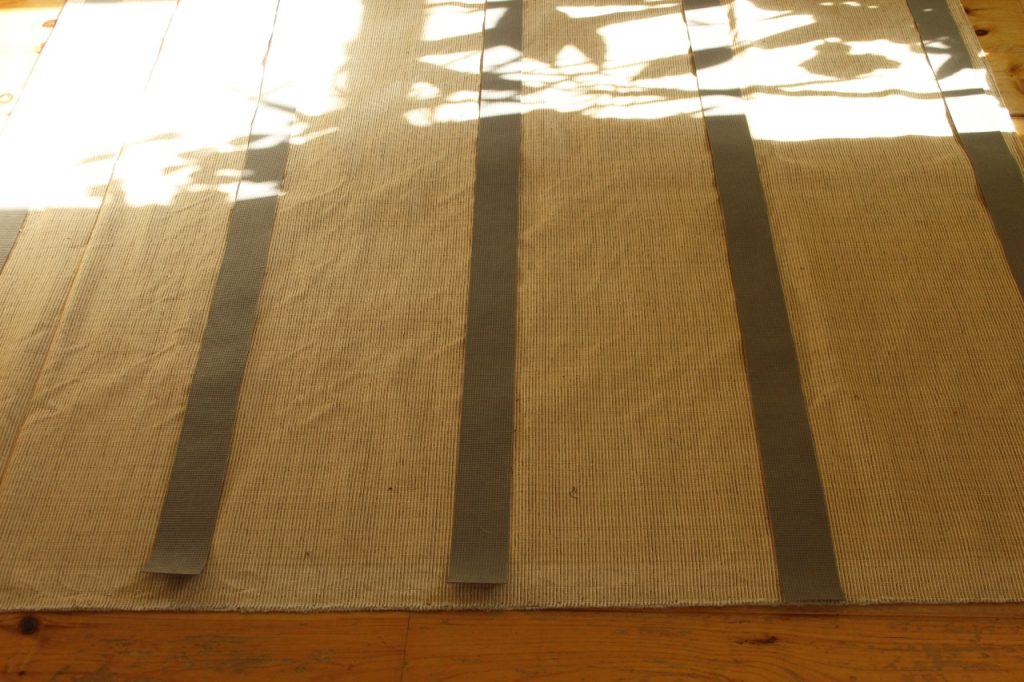
Next, I slowly peeled off the plastic strip that covers the sticky part of the rug tape.
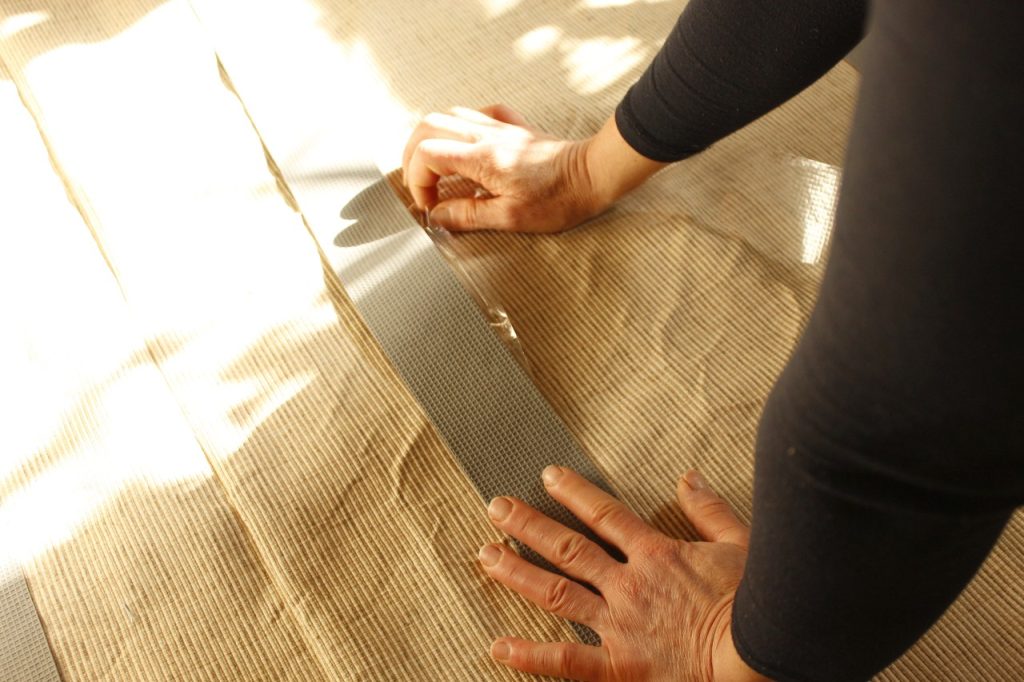
As I pulled off the backing, I pressed the tape firmly into place on my rug.
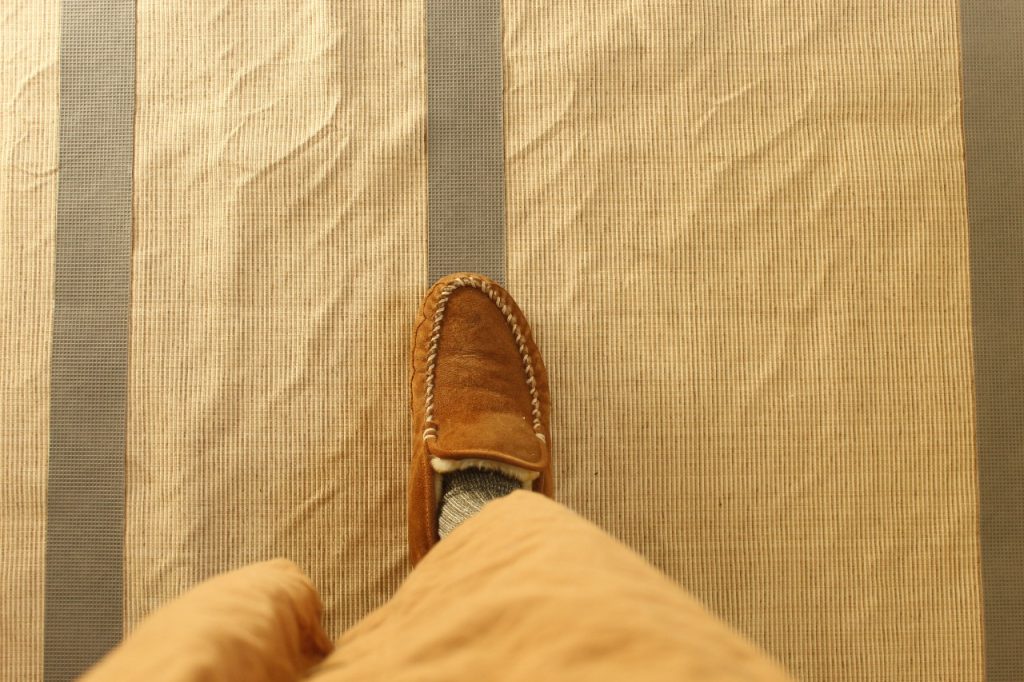
Make Sure the Rug Tape is Secure
I stepped on the rug tape to ensure it was secure. This seemed to work very efficiently!
Your Rug is Finished!
You can stop here and have a basic simple rug, or you can proceed and decorate it!
Ideas To Decorate Your Rug
- You can sew a fringe trim along two of the edges for a traditional rug style.
- Paint stripes onto it.
- Sew fabric patches onto it. (before the rug tape is added)
- Paint stencil designs onto your rug- which is what I’m going to do!
How to Stencil Your Hand Made Rug- Prepping
Gather Your Supplies:
- Stencil- I bought mine at Hobby Lobby but here is a similar one
- Acrylic paint- here is the kind I used- I bought three, but only used one for this project.
- 3/4-inch stencil brush
- Paper plate or bowl
- A ruler
- Rags

I had never stenciled before, so I wasn’t sure how this would turn out!
Before I began the stenciling process, I cut off this individual rose and set aside, because I didn’t want it to get in the way, since I wasn’t using that portion.

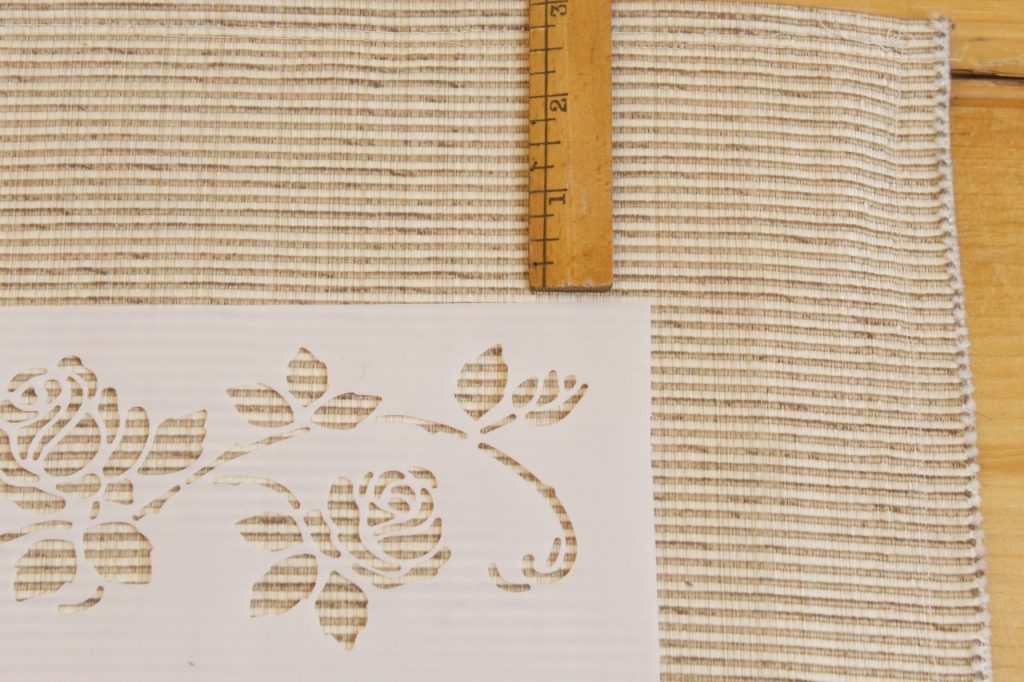
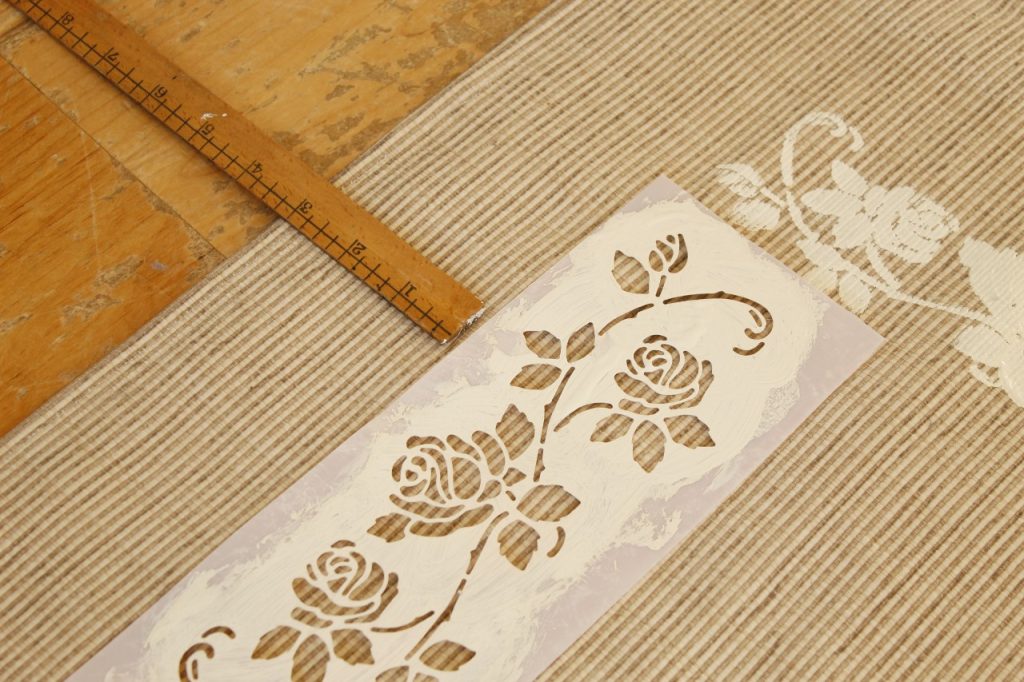
First, I decided how I wanted to place my stencil. I finally decided I wanted a border all the way around, 3 inches from the edge. So, I lined up my ruler so I could put my stencil in place.
After that, I squeezed my paint into a paper bowl. I had a large rag ready in case I needed to wipe my hands during the stenciling process.

Stenciling Begins
I dabbed my paintbrush into the paint and began to tap it onto the stencil, holding my brush vertically. Paint covered the entire open design of the stencil.
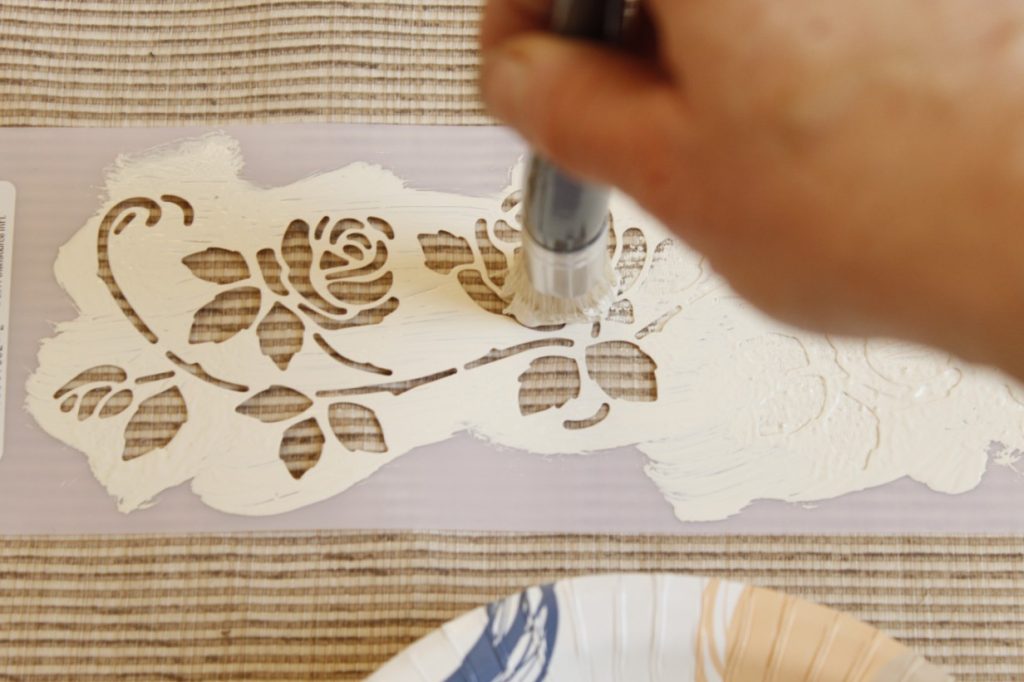
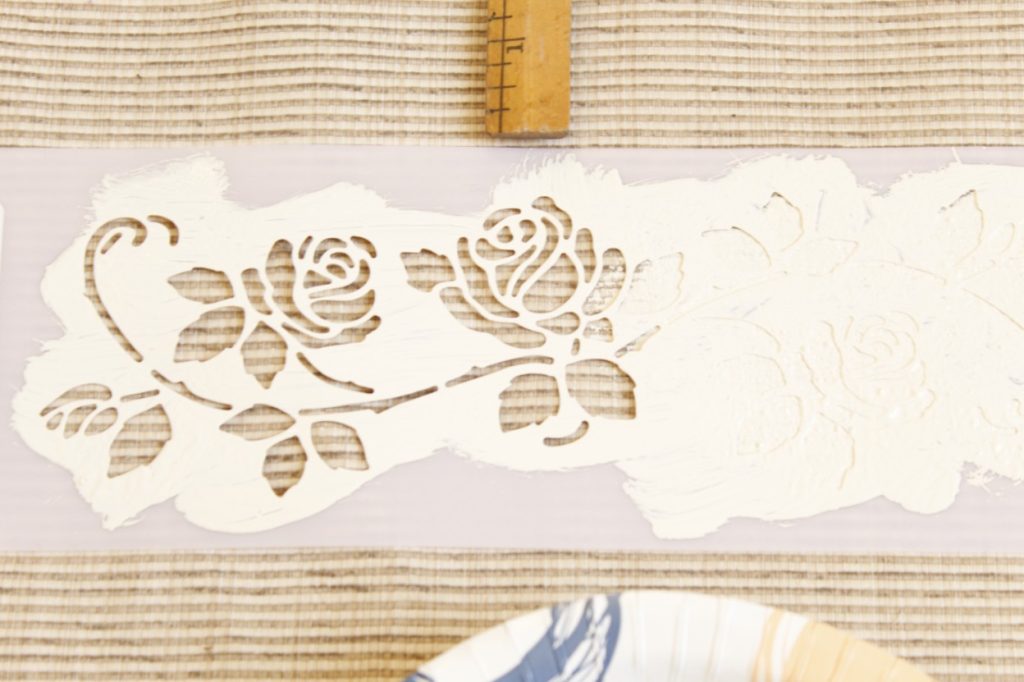
I really wasn’t sure how much paint to use, since this was my first time stenciling.
Below is a picture of a stencil early in the painting process.
After painting in the stencil, I moved the ruler, picked up the stencil, and moved it over. Then I repeated the process all the way around the rug. At the corners, I made sure to intersect the painting about 3 inches in from the corners.
Finishing Up Painting My Handmade Rug
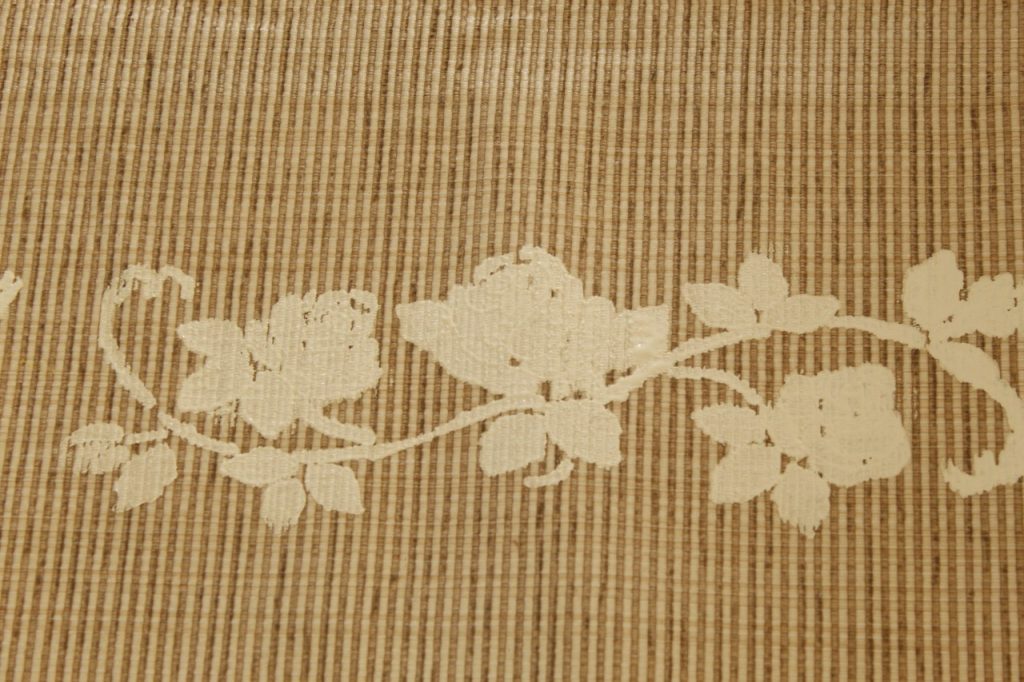
When I painted the first two sides of my rug, my paint usage was a little heavy. By the time I got my groove, I concluded that I had been using too much paint.

This picture above shows the rose pattern much more clearly, since I had a lot less paint on my paintbrush. So, that is my recommendation for you. I think it looks pretty to see some spots where the paint looks distressed.
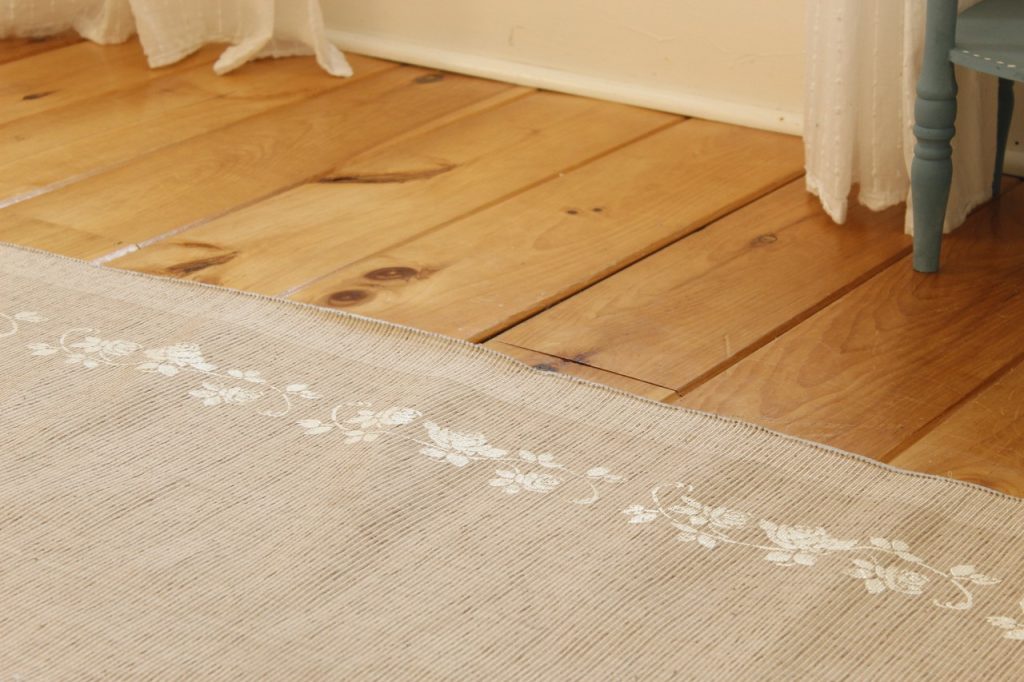
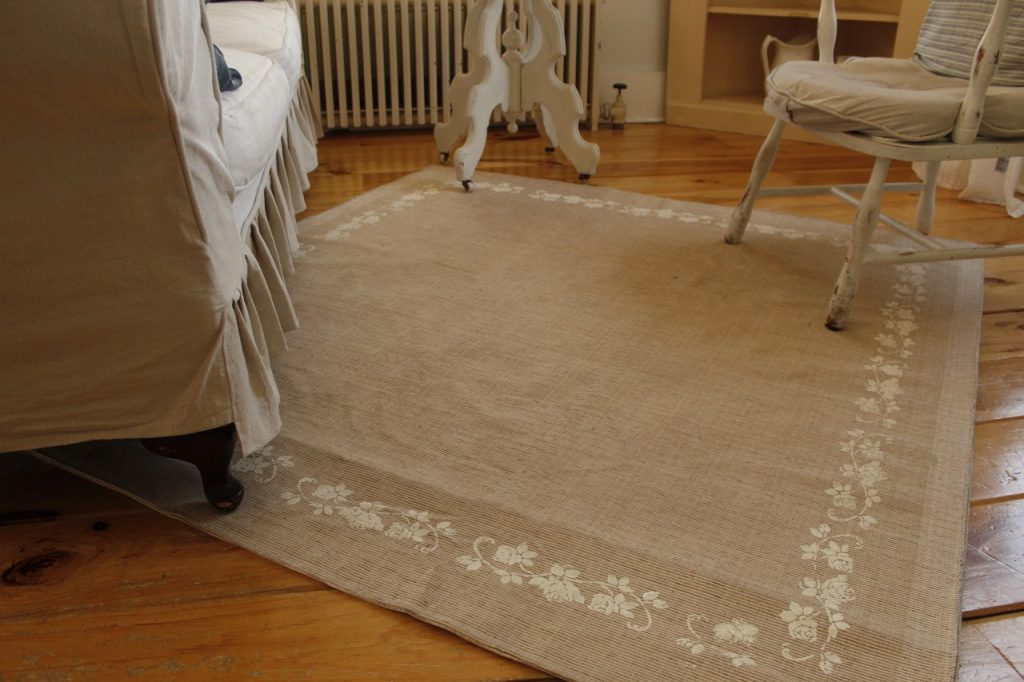
Overall, I really like my hand made rug, and I think the stenciling finished it off really well. The rug tape has been holding up exceptionally well and the rug is sturdy even though it is sewn out of upholstery fabric!
Here is another great project to make a very utilitarian object in your home beautiful!
What do you think? Would you attempt this project? How would you decorate a handmade rug for yourself? Please start a conversation in the comments below, I would love to hear your thoughts!
Leave a Reply